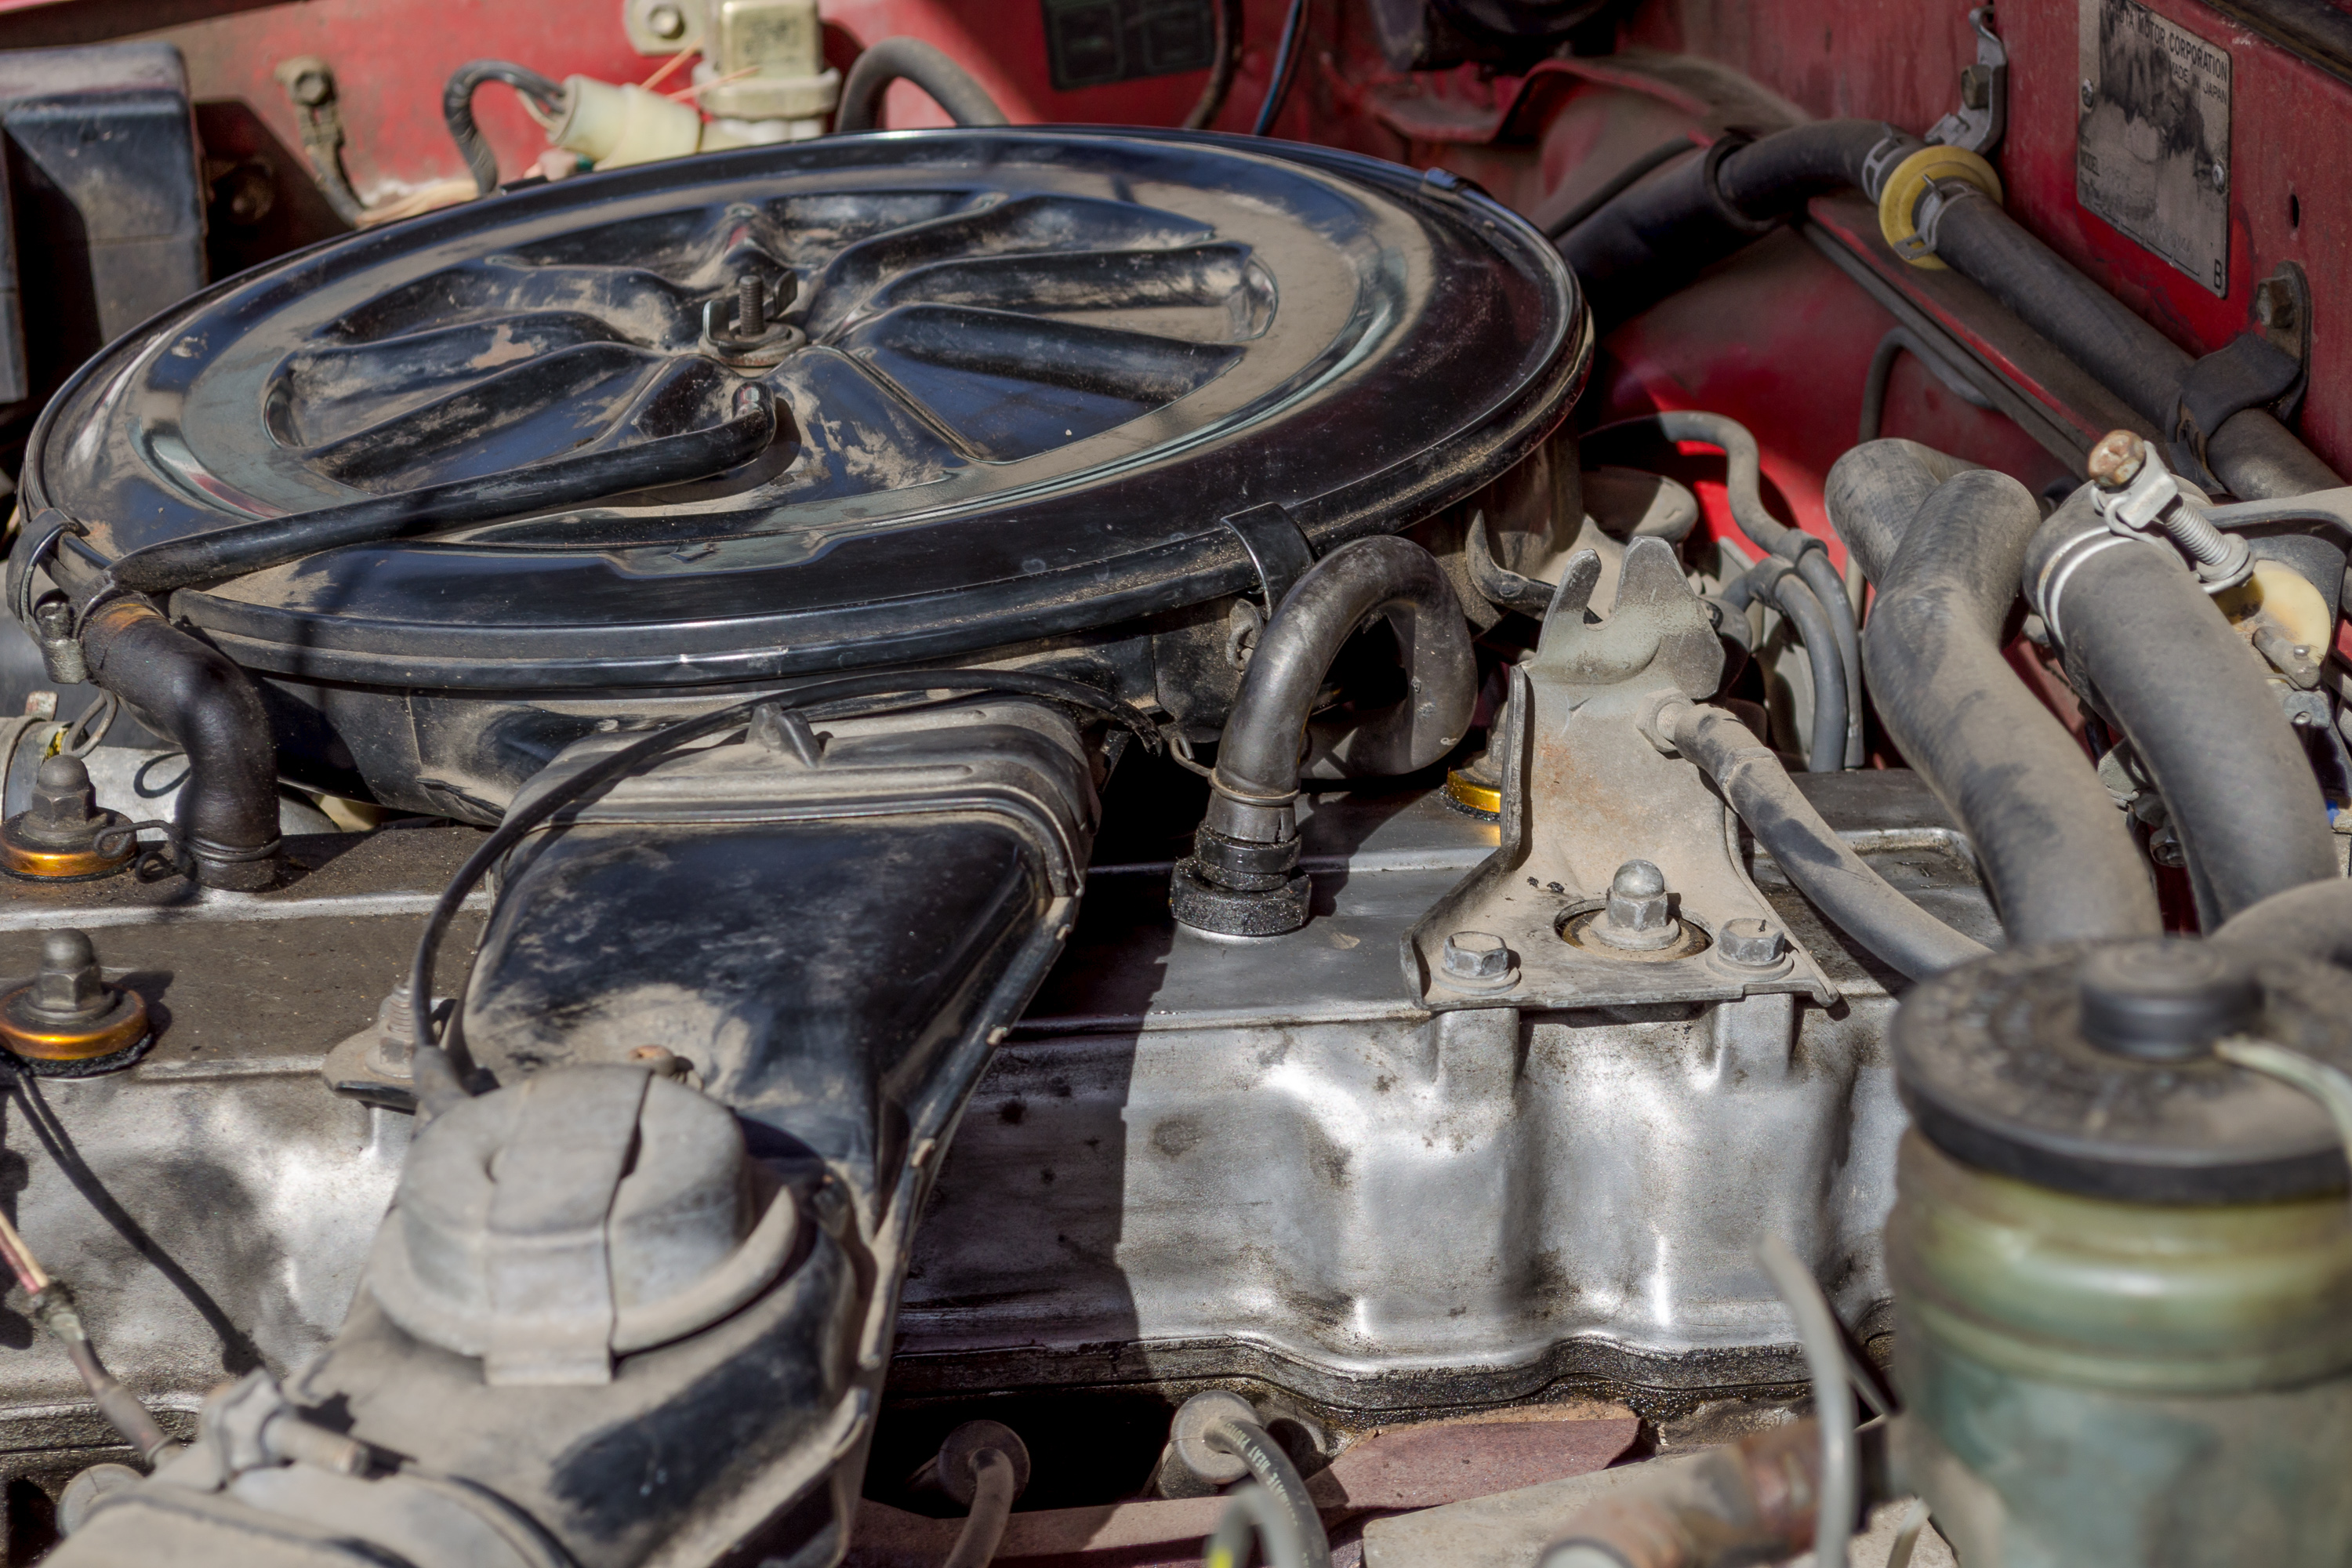
All combustion engine automobiles have a positive crankcase ventilation (PCV) valve. This valve allows built-up gases to escape from the engine chamber in a controlled manner. These gases carry moisture, oil and grease with them, which over time builds up a residue on the inside of the PCV valve. If these deposits build up too much, the valve won't open properly, which can lead to engine damage. Decreased gas mileage is also a symptom of a PCV valve that is getting dirty. Fortunately, it's easy to remove, clean and replace this part quickly.

Consult your owner's or repair manual to determine the exact location of the PCV valve on your year, make and model of vehicle. Typically, the PCV valve is located on top of the engine block, next to the valve covers, in an easily accessible location. The valve itself is a metal cylinder about two inches long, covered with a thick rubber hose.

Carefully pull the hose off of the top of the PCV valve. You should be able to do this with your bare hands.

Wrap the end of the PCV valve in a rag and clamp the pliers around it. Pull straight up to remove the PCV valve from the engine.

Blow through the hole in the center of the valve with compressed air from either a garage air compressor or a small hand-held can of compressed air. Make sure all loose debris are removed.

Spray a liberal coating of engine degreaser on the inside and the outside of the valve.

Blow out the center cavity of the valve one more time with compressed air.

Push the PCV valve back into its hole on top of the engine block. Make sure you push it all the way in so that the edge of the O-ring on the outside is flush against the engine. If you're having a hard time getting it all the way in, wrap the end in a rag, clamp the pliers down onto it and push it the rest of the way in with the extra leverage.

Reconnect the rubber hose to the top of the PCV valve. Push it all the way on.
