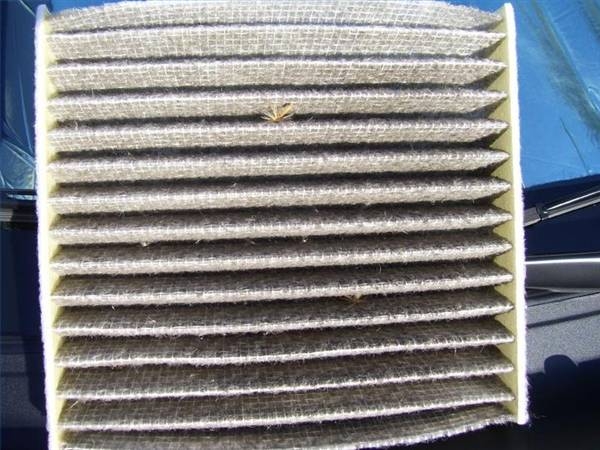
If you drive the ultra-rugged Toyota FJ Cruiser, you may be tempted to take it off-road in some dusty, dirty conditions. But do you ever stop to think how all that dust and dirt is kept out of the passenger cabin of the vehicle? After all, the air blowing through the vents comes from outside. The reason why the air is clean is because of the cabin air filter, a feature that didn't start becoming standard on certain Toyota vehicles until 2001. To keep your cabin air flowing freely and smelling fresh, you need to make sure you replace these filters regularly.
Open up the glove box on the passenger side and take everything out.
Place your hands on the side walls of the glove box door assembly and gently squeeze them together toward the center. The plastic body of the glove box door assembly will flex a bit, allowing you to disengage the door from the rest of the dash. When you've compressed the side walls enough, the door will be able to swing all the way toward you and simply dangle by its hinges.
Look through the cavity behind the glove box and find the rectangular, white, plastic case on the right side. This is the cabin air filter compartment. Remove the front cover by squeezing together the tabs on either side.
Look at the outside frame of the air filter for a little arrow before you remove it. This is important because the arrow indicates the direction of the air flow, and you'll need to install the new filter with the arrow pointing in the same direction.
Pull the old filter out and discard it.
Put the new filter in, making sure that the air flow directional arrow is pointing the right way.
Replace the cover on the cabin air filter compartment.
Lift the glove box door assembly back up, and squeeze the sides together again so that you can push it back into the dash assembly. Close it all the way at first just to make sure it's properly inserted and is rolling smoothly along its tracks. If it doesn't open and close quite right, just pull it all the way down again and try to reinsert it.
Replace the contents of the glove box.