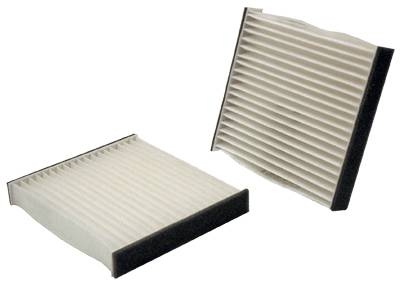
Not too long ago, cabin air filters could only be found on the most expensive vehicles. But in the late 1990s, these filters caught on as a trend among many of the largest auto manufacturers. They cut down on dirt, dust, allergens and even odor entering the Corolla's passenger cabin through the outside air intake. Of course, these filters become clogged with time and should be replaced regularly to ensure the cleanest cabin air and the best air flow to the cabin vents.
Check to see which model year your Toyota Corolla is. Cabin air filters were not installed on models older than 2003.
Open the passenger side glove compartment. Look for two small screws in the top of the glove compartment interior.
Remove both screws with a Phillips head screwdriver. Support the glove compartment unit as it swings down toward the floor of the car. It is hinged in the back, and will not come completely loose from the dashboard assembly.
Open the rectangular black plastic case hidden behind the glove compartment. You should be able to see the old filter inside.
Slide the old air filter to either side to loosen it from the plastic clips holding it in place. Discard the old filter, unless you determine that it isn't too dirty to need to be replaced yet.
Slide the new filter into place in the plastic case and replace the lid.
Lift the glove compartment back up and replace the screws with the screwdriver. Close the glove compartment lid.