ATV riding is an exciting and sometimes dangerous outdoor sport. ATV riders face formidable obstacles, such as rough trails, sharp rocks and steep hillsides. The last thing normally on riders' minds is whether or not their ATV is maintained or well tuned. However, in more than one instance, a mis-tuned or ill maintained ATV can sideline what would have been an enjoyable ride. One particular area of common problem, is the drive train and clutch. Replacing a clutch is a fairly routine maintenance and repair for ATVs and is not a complicated process. Even novice mechanics can accomplish this task by following the simple steps outlined below.
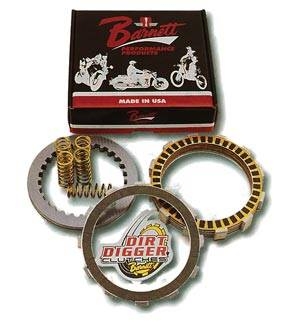
Begin by searching the owner's manual for the specific part numbers you will need to replace your clutch. You will need friction plates and pressure springs. Purchase the correct parts and soak them in oil overnight (this prevents excess wear and "breaks in" the plates prior to install).
Drain the oil from the bike by removing the oil drain plug located on the bottom of the crankcase. Remove the clutch cover by removing the four to five bolts around the case's exterior. Loosen and remove the bolts holding the pressure plate in place. Remove the friction plates and pressure springs now.
Inspect the inside of the case, all O-rings and any gaskets that you can see. Replace gaskets and O-rings if they are cracked or brittle.
Reverse the removal process for installation. Replace the pressure springs and friction plates. Reinstall the pressure plate and tighten down all of the bolts according the the manufacturer's specifications. Replace the clutch cover and fill the engine back up with oil.
Start the bike and check the clutch pressure. If when the clutch is engaged, gears still are grinding use the cable adjustment knob on the handlebars to adjust for more or less pressure. Test ride the bike and run through all of the gears to make sure that the clutch is engaging and disengaging properly.