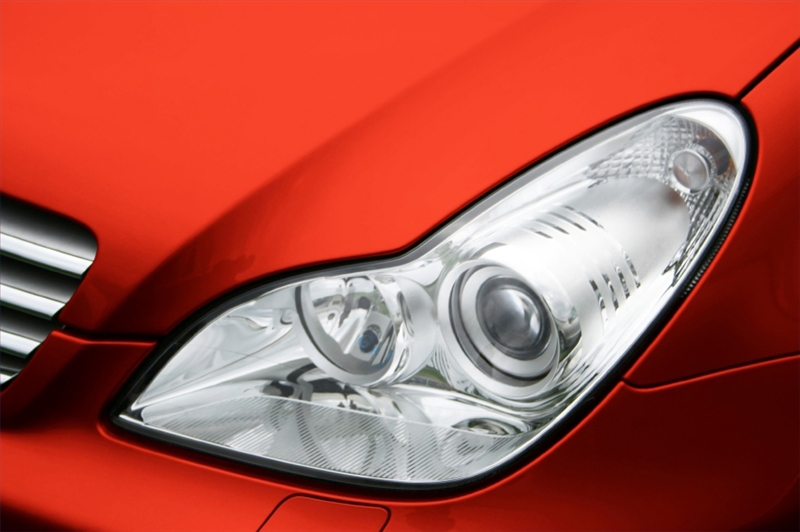
Car headlights sometimes become cloudy and less effective than they should be. This not only makes your vehicle look less attractive, but it can also create a dangerous situation when driving at night. Some people waste money unnecessarily by purchasing entirely new headlights when this happens, but you can easily and inexpensively restore your own car headlights. Your lights will look like new and you'll keep money in your pocket.
Purchase a headlight restoration kit. The leading kit on the market is the Crystal View kit, which costs around $20 and is sold at places like K-Mart, Wal-Mart and Advanced Auto Parts. It can also be purchased online at the Crystal View website (see Resources).
Verify that all parts to your headlight restoration kit are included in the box. There should be two pouches marked CV#1, four pouches marked CV#2, two pieces of brown sandpaper, two pieces of blue sandpaper, four hydro-weave cloths, and a glove. There should also be a set of written instructions.
Wash your headlights with soap and water. It is important to have a clean surface before you begin restoring your headlights. This prevents your restoration supplies from being wasted on removing simple surface dirt and grime.
Perform the initial sanding. First spray a mist of water onto the headlight. This acts as a lubricant for the sandpaper. Then, take one of the sheets of brown sandpaper and use it to thoroughly sand the surface of the lens. This removes most of the residue that is fogging the headlight. Finally, wipe the lens with a paper towel to remove any lose residue from sanding.
Perform the second sanding. Again, start by misting water onto the headlight. This time, use one of the sheets of blue sandpaper to refine and smooth out your initial sanding. After you have sanded the entire headlight, use a paper towel to wipe the surface clean once more.
Polish the headlight. Open one of the pouches marked CV#1 and pour a generous amount of this thick liquid onto one of the hydro-weave cloths. Firmly rub the cloth over the surface of the lens to polish the entire headlight. If the polishing solution begins to dry before you finish, either add more CV#1 to your cloth or spray water onto the headlight lens to reactivate the solution.
Clean the headlight. Use a damp cloth to clean the entire surface. Scrub the surface as hard as is necessary to remove any remaining residue before proceeding to Step 8 when you'll apply sealant.
Apply the clear coat sealant to the headlight. Open one of the pouches marked CV#2 and pour the contents onto one of the hydro-weave cloths. The solution can pour out quickly, so go slowly to allow the liquid to soak into the cloth. When all the solution is soaked in, make long, smooth swipes across the headlight, from one side to the other, until you have coated the entire surface. Wait 2 minutes for this initial coat to dry.
Apply a second coat of sealant. Use a new hydro-weave cloth and a new pouch of CV#2. Do everything exactly as you did in Step 8, applying a full second coat over the first.
Clean up any excess clear coat. Most headlight restoration products are paint-safe, but the clear coat that was applied in Steps 8 and 9 will harden over the top of paint or chrome if it is left alone. If you accidentally get the clear coat onto other areas of the car, simply wash it with a damp cloth before it dries.
Return to Step 1 and repeat the entire process on the other headlight. A headlight restoration kit should contain enough supplies to clean, polish and restore both of your car's headlights. There is no need to purchase a separate kit.