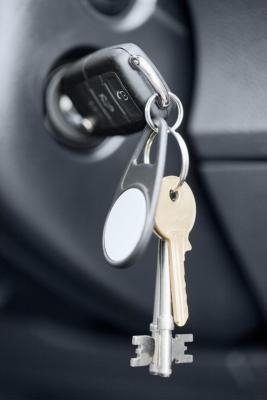
The wiring schematics for the ignition switch of any vehicle can be found on the Internet or in the vehicle service manual. Most home mechanics run into difficulty when trying to wire a five-pole ignition switch because OEM and replacement switches are not labeled in a way that corresponds to the specific vehicle wiring schematic, but to a standard industry code. Once the code is understood and the wires identified, you can wire a five-pole ignition switch in 20 minutes..
Open the hood of the car and loosen the lock nut on the terminal holding the negative battery cable to the negative post on the battery. Pull the negative cable off the post. Wait 15 minutes for the stored charge in the car's electrical system to dissipate before proceeding.
Identify the five wires to be connected to the ignition switch. Trace each wire to either the fuse box or its connected accessory (i.e. headlights, wiper switch, radio). The starter wire will connect to an inline fuse before continuing to the starter in the engine compartment. The battery wire will trace back to the fusebox, as may the accessory wires. Consult the diagram on the fusebox to identify the wires by which fuse connects to them.
Strip a 1/4 inch of insulation of each wire and crimp a terminal connector onto their ends using electrician's pliers. Use ring-style terminals if the poles on the back of the switch are posts and female spade terminals if the poles on the switch are male spades.
Identify the poles on the back of the ignition switch. The pole labeled "BATT" or "30" is for the battery wire. The center pole, or the terminal marked "87" or "ST," is for the starter wire. Five-pole ignition switches have standard markings, but the layout of the poles may vary by manufacturer. The pole marked "IGN" or "87a" is for the wire to the ignition module or control. The last two poles marked "ACC," "85,"86," "X" or "SU" are for accessories that can be run without the ignition being in the "On" position and the engine running. Mark the back of the switch with a fine-point permanent marker to identify the poles.
Place the ignition switch in the dash or steering column following the instructions for installation provided with the switch or from the vehicle manual.
Connect the wires to the poles on the back of the switch, placing the wire that is at the top of the switch first. This will prevent the wires from getting in the way as the others are attached. When connecting the accessory wires, the headlight wire is typically connected to the "X" or pole marked "85." However, if the switch makes no distinction between the two poles labeled "ACC" either pole will do as long as the headlight wire is the only wire connected to that pole. Multiple accessories can be connected to the remaining ACC wire (LED lights, aftermarket sound systems, and so on).
Reconnect the negative battery cable to the negative post on the battery, making sure to tighten the lock nut on the terminal with a wrench to finish the project.