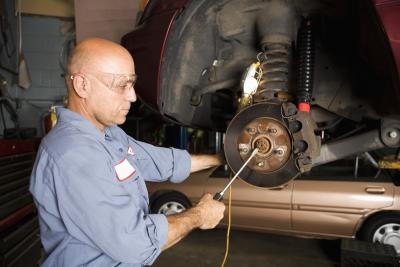
Brake boosters are mechanisms used for automobiles with power braking systems, to enhance the power of the brakes when a smaller amount of pressure is applied to the brake pedal. Replacement brake boosters need to be installed when damage is done to the valves or pressure chamber of the boosters. After installation, the valves can sometimes be faulty or not switching to the "On" position. Checking the valves of the replacement brake boosters before driving prevents accidents.
Open the hood of your car and locate the brake booster system. The brake booster system will be located on the driver's side of the vehicle, close to the steering wheel and brake pedal of the car. The brake booster is a cylindrical object that will be mounted vertically to the car. If you recently had your brake booster replaced, it will be shinier and less dirty than the surrounding parts.
Remove the check valve from the brake booster by pulling it towards your body. The vacuum valve is a tube connected to the back portion of the brake booster.
Examine the check valve for any cracks in the hose or the valve itself. If you see cracks, this part of the brake booster will need to be replaced.
Remove the master cylinder from the booster system by ratcheting the out the two nuts on either side of the cylinder, then pulling the cylinder towards you.
Locate the air valve at the back of the master cylinder. Visually check for cracks in the valve. If there are cracks or the valve cannot be tightened, it may need to be replaced. Check to make sure the valve is turned all the way to the left. Tighten the valve to the left with a wrench.