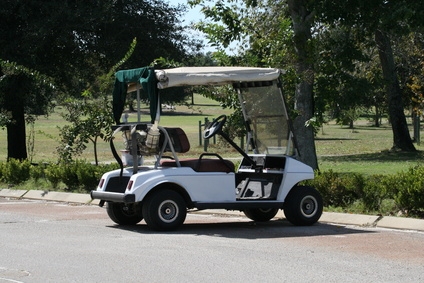
The law says that you need to have headlights on the front of your electric golf cart if it is your intention to drive the cart on a public road. A set of headlights can be bought in kit form that should come with everything you need to complete the installation. Fitting the lights is relatively straightforward if you have at least a little electrical knowledge and you follow the instructions that come with the kit carefully.
Buy a headlight kit that is suitable for the golf cart that you will be fitting them to. The kits should be available at shops and on websites that sell specialist golfing equipment.
Open the kit up and make sure that everything is there. There will be a list of what you should have in the installation instructions that came with it. Read the instructions and make sure that you understand the process.
Choose a position on the cart to locate the headlights. They will need to be positioned so that they illuminate the road but do not shine into the eyes of oncoming drivers. There will be recommendations for where to position them in the instruction guide.
Fix the headlights to your chosen position on the front of the cart using the attachments that were provided with the kit.
Plug the headlight cables into the electrical system of the golf cart. The cables will have formed part of the kit and the instructions will have advice on the best way to run the cables to the engine. Different makes and models of headlights will have different suggestions, but it is best to follow those recommended by the manufacturer.
Follow the instructions to fix the ends of the wires into the switch connection. That switch then needs to be attached near the steering wheel.
Check that the lights work properly before driving the golf cart on the road. This should be done with the engine running so that the lights do not drain the battery. Check that the beam is at the right angle and adjust accordingly, if necessary.