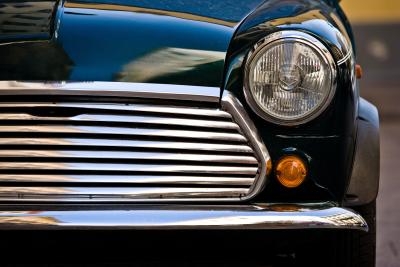
A broken headlight should be removed and replaced immediately to avoid an accident. A broken headlight can lead to a dangerous driving situation. Not only is your vision impaired in dark or foggy conditions, but oncoming traffic will have difficulty seeing you coming. Replacing a broken headlight bulb is a job any do-it-yourselfer can handle. While a local garage could charge as much as $85 per visit, plus parts, you can do this job at home for less than $20.
Park the vehicle on a flat, level surface. Turn off the engine and lights and engage the parking break. Locate the hood latch, which usually is located under the dashboard around the left side of the steering wheel. Pull it to release the hood.
Go behind the broken headlight to the rear of the headlight assembly. First determine if anything is blocking access. On some vehicles, you may need to remove an air filter or reserve tank, which are normally attached with screws or bolts. Use the appropriate tool and remove them before continuing.
Inspect the electrical connector cord that connects the headlight assembly to the car's electrical system. Inspect the connection; if it somehow came loose, plug it back in and try turning on the headlights. If the bulb still doesn't work, you will need to replace it. Unplug the cord and pull it away from the headlight assembly.
Push in the bulb and twist it a quarter turn to the left to release it from the socket. Take the bulb to a local auto parts store to find the correct replacement bulb.
Insert the new bulb by pushing and twisting it a quarter turn to the right. Reconnect the electrical connector. Replace any parts that needed to be removed to access the headlight assembly and close the hood.