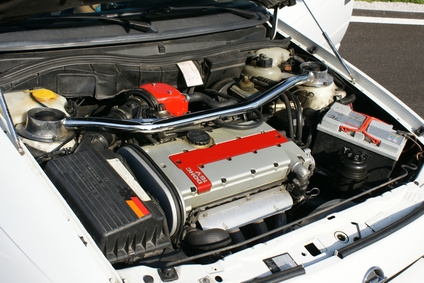
The older model Chrysler vehicles rely upon a V-belt system that is similar to serpentine belts, but the newer models of Chrysler have the more accessible serpentine belt system to drive their vehicles. The serpentine belt makes its way through the various components of the engine along with the crankshaft itself, such as the air conditioner pump, the alternator, and the power steering pump, depending on the model of Chrysler you are driving. When the belt begins to fray, crack or break over time, a replacement belt needs to be installed to keep the vehicle on the road where you need it.
Open the hood of your Chrysler vehicle and disconnect the battery leads from the battery with the adjustable wrench. Locate the serpentine belt routing chart and refer to this for the exact configuration of pulleys that your particular type of Chrysler has the serpentine belt running through. Refer to the chart to locate the automatic belt tensioner, which will need to be loosened in order to install a new belt.
Route the new belt through the pulleys within the engine of your Chrysler vehicle. Refer to the configuration diagram for the proper routing method, and start with the crankshaft pulley at the base of the engine. Work your way from the bottom up. Apply a small piece of masking tape to each belt and pulley once you have routed it through a particular part to keep the belt in place while you work your way through towards the automatic belt tensioner pulley. Save the tensioner for last, as you will need some slack in the belt until you reach that point in the process.
Find the automatic belt tensioner within the engine and check the size of nut that protrudes from the side of the tensioner pulley by slotting a socket over the end of it. Understand that while most Chrysler models use a 3/8 inch socket, certain models may have a different sized nut on the pulley. Attach the socket to the end of the breaker bar ratchet and slot the ratchet and socket over the end of the pulley nut. Apply pressure in the direction indicated on the chart diagram for several seconds until the tensioner has a chance to release all of the tension, and slide the belt into place over the pulley with the flat-head screwdriver. Release the leverage pressure slowly until the belt tensioner is in its original, automatic position.
Remove the masking tape from the pulleys and belt once the tensioner has been put back in place and the belt is installed. Replace the battery leads with the adjustable wrench, close the hood and start the vehicle.