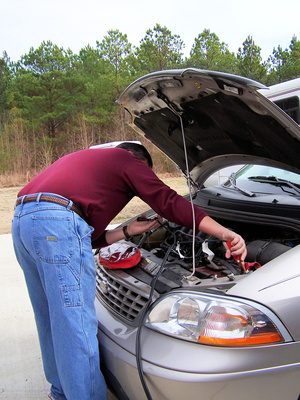
Most lead acid batteries are now of the sealed, maintenance-free variety and require little servicing beyond a periodic cleaning and inspection. Older lead acid batteries often have plastic caps on the top that you can remove to inspect the water level and to add water if needed. If electrolyte levels get too low, damage to the battery cells and battery failure can result. Although batteries contain electrolyte acid, only water is added to maintain the electrolyte levels.
Lift the hood of the vehicle and locate the battery. It will be the large rectangular or square box with two large cables connected to it.
Use a rag to wipe off any dirt that has accumulated on the top of the battery.
Use a screwdriver to gently pry up the edges of the caps on the top of the battery. Work your way around the edge of the cap with the screwdriver until the caps are free from their mounts. Remove the caps. Some batteries have screw-on caps.
Inspect the water levels in each cell of the battery by looking into the holes. If the water is lower than the metal plates inside the battery, then distilled water needs to be added to the cell. Use a measuring cup to add enough distilled water to a low cell to bring the electrolyte level up approximately 1/4 inch above the metal plates.
Replace the caps and press firmly on them until they are fully seated into the holes in the top of the battery. Place the battery caps in place and tighten them.