The front drive shaft on the Jeep Cherokee runs from the front output flange on the transfer case to the pinion yoke on the front axle housing. Removing the drive shaft will allow you to replace the U-joints if needed, to remove the transfer case if it needs repair, or to remove the front axle if necessary. In any case, removing the front drive shaft uses the same procedure across all year models of the Cherokee.
Raise the front of your Jeep Cherokee with a jack. Position a set of jack stands under the front axle housing, near the ends of the axle so they are not in your way. Remove the jack from under the truck once the Jeep is sitting securely on the stands.
Shift the Cherokee's transfer case into neutral and block the rear wheels with a chock or scrap lumber so the Jeep cannot roll. Locate the bolts on the front pinion yoke, where the drive shaft meets the front axle.
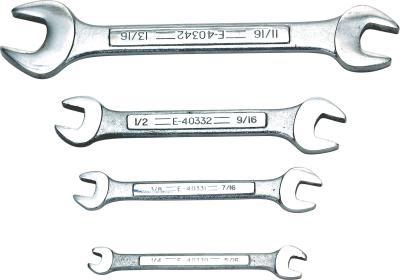
Remove the four 10mm bolts from the pinion yoke with a wrench. You will need to rotate the drive shaft as you work to access all the bolts. Set the bolts aside for reuse later.
Move to the transfer-case end of the drive shaft and locate the four bolts that secure the shaft to the transfer case flange. Remove the bolts with a 12mm wrench and pull the drive shaft off the flange.
Lower the drive shaft down, then move it out from under the Jeep. You can now work on the shaft or on parts of the Jeep that required the removal of the drive shaft.