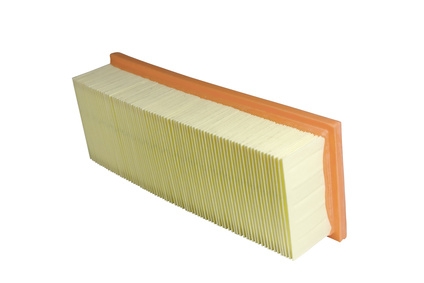
The cabin air filter on your 2007 Toyota Tundra (the first model year to have a cabin filter) not only protects the heating and air conditioning system, but also keeps outside air pollutants and contaminants from flowing through your ventilation system and throughout the cab of the truck. The filter can keep soot, bugs, leaves, debris, pollen and sometimes odors outside of the vehicle.
Remove the glove box on the passenger side of the truck by first sliding of the damper shock on the lower right side. Next, squeeze inward on the glove box until it is loosened from the snapping pieces and lower the assembly until it is hanging in place.
Locate the cabin air filter box, which is behind the glove box assembly. Open the cover and remove the old filter. Remove the old filter from the outlet piece. Inspect the housing to ensure excess debris is not left in the housing area.
Insert the new filter onto the outlet piece while making sure the arrow is oriented upward. Insert into the housing and snap the cover back into place.
Lift the glove box back into place while simultaneously squeezing the sides to ensure the compartment snaps back into place. Replace the damper shock by sliding it back into place and close the glove box.
Turn on the vehicle and set your vehicle heating or air conditioning system to the highest level. You should be able to feel additional air flow and, depending upon the air filter chosen, possibly smell the deodorizing fragrance used in the filter.