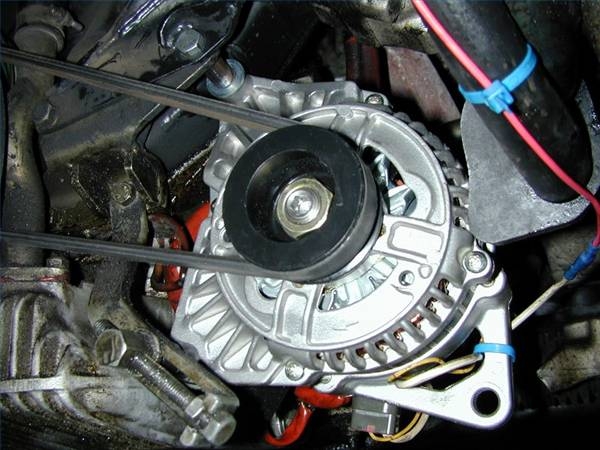
The alternator belt on your car's engine needs to be kept at the proper tightness in order to insure that your alternator is charging correctly. If your belt is too tight, you could shear the bolts of the pulleys, or the belt itself might break off while you are driving. You will need to adjust an alternator belt whenever it has been removed from the car. It's easier to do this with two people, but one person can manage the job, and it will only take about 10 minutes.
Feel underneath the alternator to find the bolt that mounts the alternator to the frame. Make sure it is in place and that the rear nut is firmly attached.
Loosen the nut on the top bolt of the alternator that passes through a "track" and allows you to position the alternator. You want the nut loose enough so you can easily push the alternator towards and pull it away from the main engine block, but not so loose that the bolt or nut falls off.
Pass your alternator belt around the pulleys on the front of the engine block and the alternator itself. You may have to push the alternator toward the engine block to get the belt around the alternator itself. Check your car's manual to make sure you have looped the belt around all the necessary pulleys.
Pull the alternator away from the engine until the belt is tight. You want to be able to press down on the belt at a mid point between two pulleys and only be able to move it downward about 1/8 to 1/4 inch. When you have the alternator in the right position, have an assistant tighten the top bolt and nut to lock the alternator in.