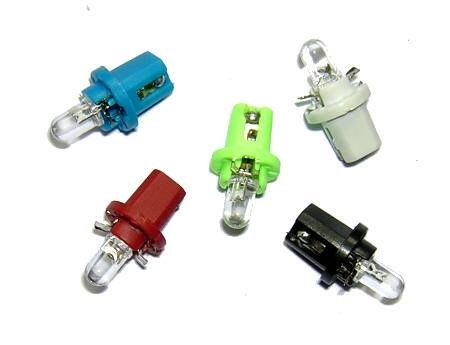
You may need to replace light bulbs in a dashboard for a variety of reasons. Light bulbs can simply burn out, or maybe you want to "dress" your lighting with some of the new LED bulbs available on the market today. If you want to replace a bulb that is not working, make sure that it is the bulb and not the fuse that has burnt out. Once you are sure it is the bulb that needs to be replaced, the process is simple.
Make sure that the bulb's wattage and pole (single or double) matches the specifications for your vehicle. This information should be in your car's manual.
Follow the directions in your car's manual for accessing the dashboard lights. For most vehicles, this will be a simple matter of using a Phillips screwdriver to remove the four screws holding the panel over the gauges; some vehicles may require you to remove the entire dash face. In this case, you will still only need a Phillips screwdriver, but you will need to consult your manual to locate all of the dash screws.
Pinch the metal base of the light bulb you need to replace and draw it slowly out of the metal holding cylinder on the back of the gauge.
Look at the replacement bulb you purchased to learn how to remove the old one. If the base of the new bulb is round and has two nubs on the bottom, then you will remove the old bulb by holding the socket with one hand and pinching, pushing and turning the new bulb (in any direction) until you feel it release with the other hand. If your replacement bulb has a square or flat end, simply pinch the old bulb and pull it out of the socket.
Daub a little grease on the outside of the round end of the replacement bulb; if it is square or flat, daub some grease on the connectors in the end. This will help keep out moisture and corrosion, and make any future bulb changes easy. Install the new bulb by reversing the method you used to remove the old bulb. Re-install the bulb into the gauge clip and close the panel.