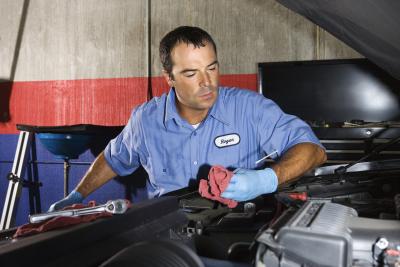
Changing the oil filter on your Chevy Cavalier will keep the oil clean and extend the life of your engine. It's important to drain the oil from the car before removing the oil filter, so it is recommended to change the oil at the same time. You can get a new filter for your Cavalier at the Chevy dealer, an auto parts store or some department stores that have automotive parts departments. Properly dispose of the old oil when you have finished the job.
Raise the front of your Cavalier with a jack and support it on a set of jack stands. Position the jack stands under the frame and be sure they are sitting on flat, solid ground so they will not fall over while you are working.
Place an oil drain pan under the oil drain plug beneath the car. Remove the oil drain plug from the oil pan with a socket and ratchet. Allow the oil to drain until it stops. Replace the drain plug and tighten it with a socket and ratchet.
Move the drain pan so that it is under the oil filter. The filter is located on the side of the engine block near the fire wall of the car. Loosen the filter with an oil filter wrench and remove it from the car. Place it upside down in the drain pan so it can drain.
Coat the gasket on the new oil filter with fresh oil and smear it around the gasket with your finger. Insert the new filter up into the space at the back side of the engine and screw it onto the block. Tighten it by hand until it is snug.
Remove the jack stands from under the car and lower it to the ground with the jack. Fill the engine to capacity with the recommended oil and verify it is full by checking the level on the dipstick.