Are you hearing the sound of a lifter going bad inside your engine? Every time you idle the motor do you hear the tick, tick, tick of a lifter telling you it needs to be checked? These steps show you how to check a valve lifter because if you're hearing that sound you need to do something to fix it. When you check a noisy valve lifter now, you avoid camshaft or valve damage in the future.
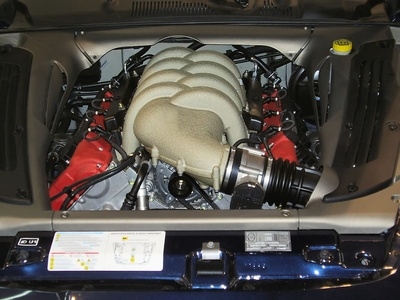
Remove the intake manifold from the top of the motor. Use standard U,S. wrenches and sockets with a 3/8-inch drive and ratchet to remove the intake manifold according to the method prescribed by the manufacturer. Ford, General Motors and Chrysler have different bolt patterns. Know yours before removing or installing the intake manifold to check a valve lifter.
Remove the valve covers from the engine (V-8 small block). Starting from the No. 1 cylinder (front driver's side for a Chevy/GM) loosen the rocker arm retainer nut until the valve push rod can be removed. Do not take the rocker arm off the valve spring unless necessary. Pull the push rod out and place it to the side.
Extract the lifter from its cylinder at the base of the air intake chamber of the engine and examine if for damage. Worn lifters have irregular shapes at their base or are dry on the inside and filled with grit and debris. Replace worn or damaged lifters at this time with a new lubricated lifter.
Replace the valve push rod and set the tension for the valve by tightening the rocker arm nut until the motion of the push rod is restricted. Tighten the nut a full 3/4 turn more to set the 'lash' of the valve correctly. Repeat the process to fix all noisy lifters.
Replace the valve cover(s) and intake manifold following the manufacturer's bolt pattern and torque specifications. Lubricate all moving and exposed parts before assembly. Tighten correctly and the job is done.