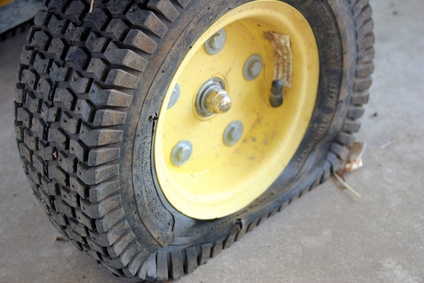
Tires are one of the most vulnerable parts of a car, prone to damage from roadside litter. Repairing tire punctures allows you to extend the life of the tires and the life of the car.
Remove the damaged tire from the car with a car jack, and remove the bolts. Be sure the car is not on an incline and is securely elevated. Be cautious of the tire temperature from the brakes, engine heat or driving.
Inspect the tire for nails, glass, or other causes for damage. After a visual inspection, perform a touch inspection by running your hand carefully over the surface of the tire for further punctures.
If no damage is found after these inspections, pump the tire with air, and do an audio search for punctures. Alternatively, place the tire in water and look for bubbles escaping from the damaged area. If a large body of water is not available, use a soapy cleaning solution.
Clean the area around the puncture mark, using the tire kit scraping tool, tire cleaning material or a clean cloth. This cleaning is to ensure maximum surface contact when applying a tire adhesive for the tire patch. Ensure the area around the punctures are clean and dry before applying the tire adhesive.
Place a patch seal on the air tube breach of the damaged portion of the tire with tire glue/adhesive. Apply pressure, as directed on package. Wait for the designated setting time before testing the seal integrity.
Insert a tire plug into the breach of the treading. Think of the pug like an arrow, which is to go into the puncture, but difficult to remove. When the majority of the plug is inserted, pull the tire plug tool straight out.
Pump the tire with air, and check to see if tire pressure is maintained. Smooth out any surface differences around the damaged portion. Place the tire back on the vehicle, and carefully lower it.