Replacing the oxygen, or O2, sensor in your Mazda Miata can be accomplished with a little advanced planning and a few basic tools. The O2 sensor in the Miata is located in the exhaust pipe near the catalytic converter and will be one of two styles. The first is a standard screw-in type sensor and the second is a flange-mount style. Before buying a new O2 sensor for your Miata, verify which style your car uses. New O2 sensors can be purchased through the dealer or most auto parts stores.
Position a jack under the car and lift it off the ground. Support it on a set of jack stands so you can comfortably work under it. Be sure to place the car on solid, flat ground before jacking it up.
Locate the O2 sensor in the exhaust system and trace the wiring harness connector back to the connection on the car's wiring harness. Separate the connector on the sensor from the connector on the car by releasing the locking tab and pulling the two halves apart.
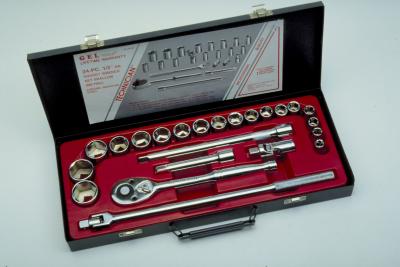
Remove the sensor from the exhaust pipe. If you have the screw-in style sensor in your car, use an O2 sensor socket and ratchet and unscrew it, turning it counter-clockwise. If you have the flange style, remove the two mounting nuts with a socket and ratchet then lift the sensor out of the pipe.
Install the new sensor by screwing it into the pipe and tightening it with a O2 sensor socket and ratchet. If you have the flange style, replace the gasket on the flange with a new one and insert the sensor in the exhaust pipe, then replace the mounting nuts and tighten them with a socket and ratchet.
Route the wiring harness connector to the connector on the car and plug the connector into the socket on the car's wiring harness.
Support the car with the jack and remove the jack stands from under the car. Lower the car to the ground and test run the car to verify the repair was successful.