 John Cappa
Former Editor, Four Wheeler
Photographers:
Jp Archives
If you’ve decided that a rattle can paint job is right for you and your Jeep, then you’ve also acknowledged that you will forever own a 50-foot Jeep. What’s a 50-foot Jeep you ask? Well, it’s one that looks great from 50 feet away, but as you move closer, its dents, scratches, rusty spots, and lackluster paint become more glaringly obvious than a pimple on the butt of a Sports Illustrated swimsuit model. However, using a few of these spray-can tips, you might just be able to make your Jeep a 25-footer.
First and foremost, if you think you can rattle can your Jeep and get a deep glossy finish paint job, don’t fool yourself. Spray painting small items may make them look like new, but over a larger surface, there are too many elements working against you to come close to even the quality of a low-buck professional paint job. For this reason, it’s generally best to embrace the dull finish and stick with flat or matte paints. If you are very meticulous with prep and paint then you might do OK with a satin, but we generally would not recommend it.
While it’s true that lighter colors show fewer body imperfections, flat- and matte-finish light colors like white or gray are more likely to show hard-to-remove greasy hand prints. However, if you decide to try your hand at a glossy spray paint, go with a lighter color epoxy. The glossy epoxy paints are very durable, will not show greasy finger prints as much, are easier to lay down, and the light color will hide the flaws in your paint and body.
If you think that you may want to paint your Jeep for real someday, as in spending several hundred dollars and having a pro shoot it in a booth, or even having a buddy shoot it in the garage with a real paint gun, then stay away from the rattle cans. You will spend way more time and money than it’s worth trying to prep a rattle-can-painted Jeep for a real paint job. Save your money and do it right the first time. But if you think you are ready to live the carefree life of owning a rattle-can Jeep, never worry about trail damage, scratches and door dings, and enjoy the ability to touch-up any mishap at a moment’s notice, then here are a few tips to put some color on your panels.
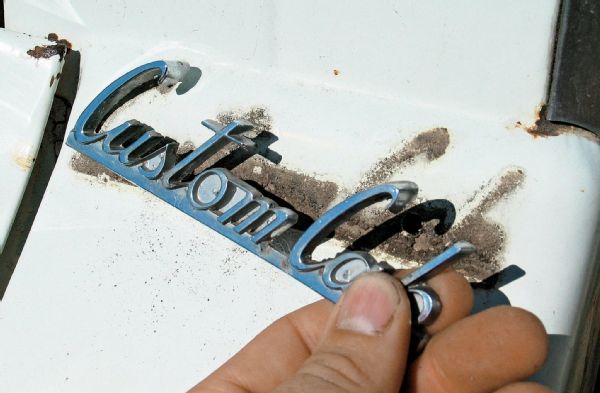
Just as with a real paint job, prep work is key if you want a 25-foot Jeep. Remove emblems and anything that can be unscrewed. It’s often easier than trying to mask off the area. Don’t forget to wash the Jeep and let it dry thoroughly. If you’re looking for 50-foot quality, you can pretty much skip the washing and masking altogether, unless you have big clumps of mud and grass stuck to your Jeep’s hood.
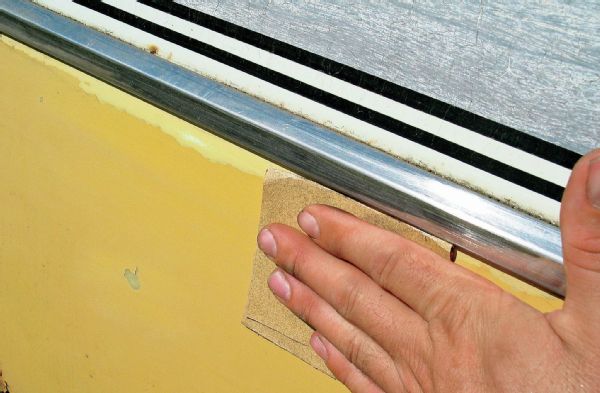
Ideally, you should hit the chipped and peeling areas with 240-grit sandpaper and run a dual-action air sander with 240- to 400-grit sandpaper over the whole vehicle. However, you can scuff the entire vehicle by hand if need be. The scuffed surface gives the paint something to adhere to. The better job you do at sanding, the better the paint will stick. Pay special attention to corners and edges because this is typically where a poor paintjob will start peeling. We could have removed the trim, but we decided to sand and paint it. Sun-baked stickers pose a problem. You can either sand them off, or simply paint over them like we did.
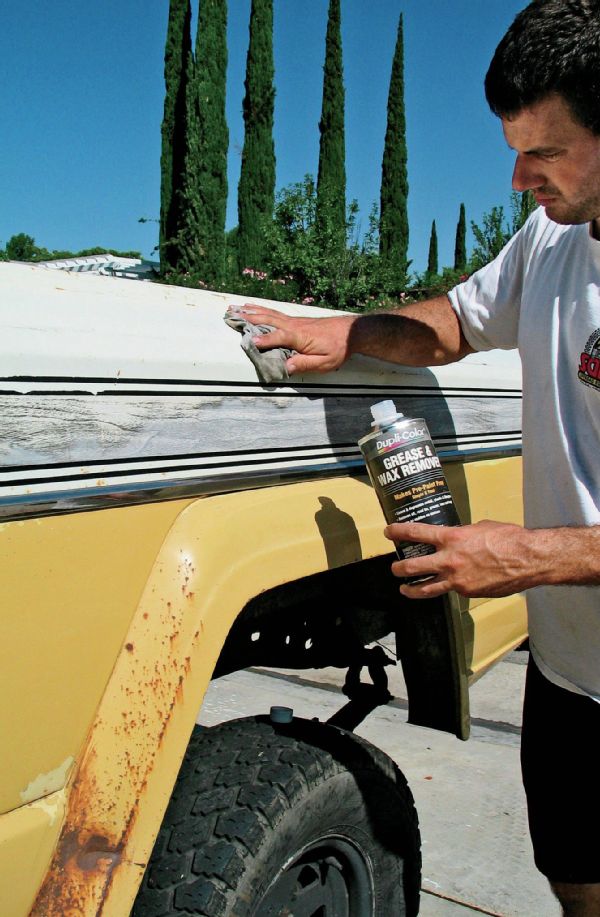
Consider washing the Jeep again if there is a ton of dust leftover from sanding the paint chips and dings. Wipe down the Jeep with a grease and wax remover. You can find it at most auto parts stores for a few bucks.
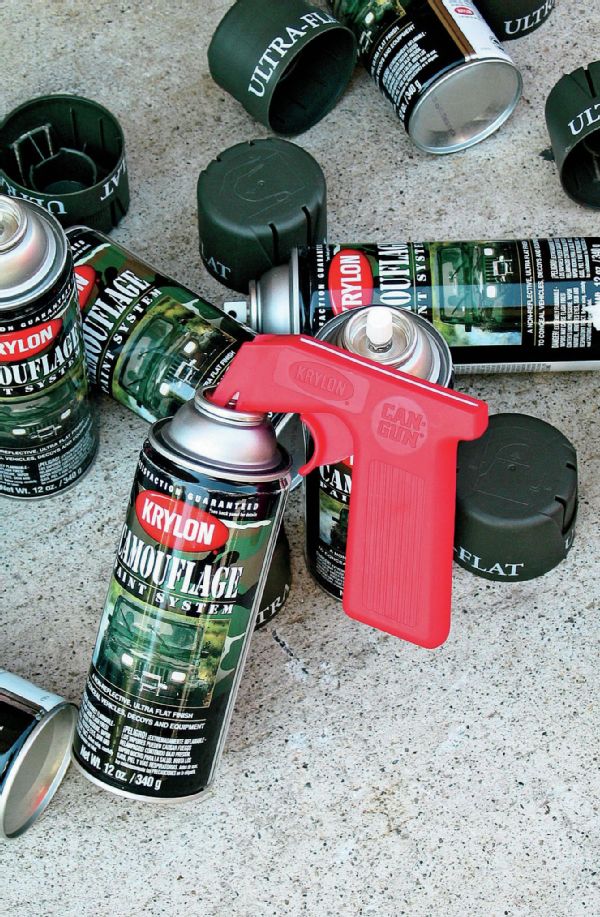
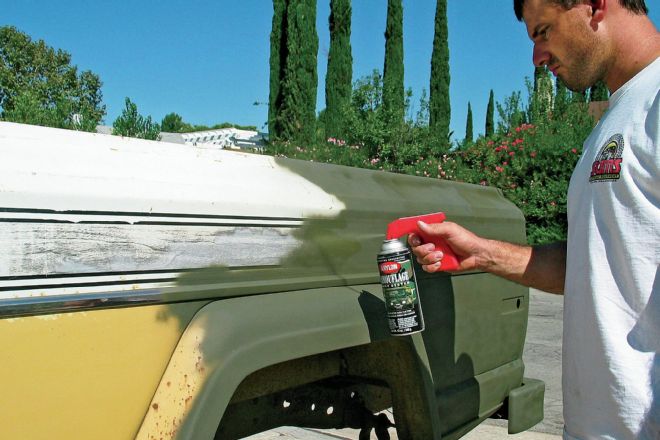
Depending on the size of your Jeep, you will go through about 12 cans of paint. Save your trigger finger from fatigue and get your hands on a spray can handle like this one from Krylon.
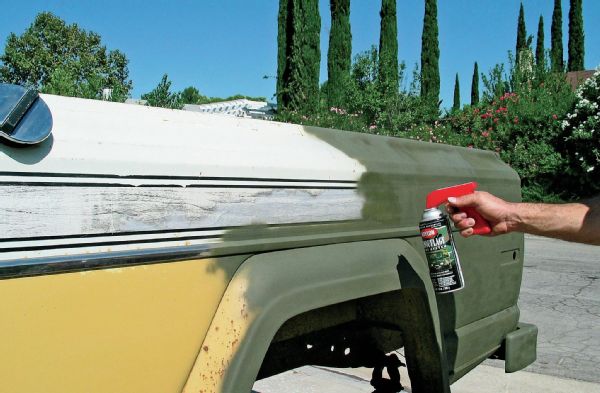
Wait for a cool, calm, slightly humid day and paint in the shade if you can, but not under a tree or anywhere bugs or debris are likely to land on your freshly painted Jeep. If it’s too hot and dry, the paint will cure too quickly and leave spray lines behind. As fun as it might seem to your buddies, avoid the temptation to spray paint funny pictures and words on your Jeep prior to the repaint. Anything you lay down will be an extra coat of paint in that area, and will likely still show up once your spray-can paintjob is done. Cover a panel at a time keeping the area wet with paint as you move along. For best paint job results and to avoid drips and runs, move side to side and lay down several thin coats rather than one thick coat.
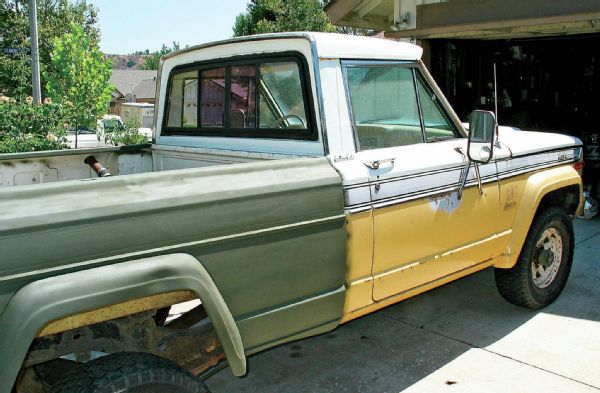
One advantage with spray cans is that very little masking needs to be done. In most cases, you can simply hold a small piece of cardboard over the area you don’t want painted. You will inevitably end up with some spray lines on the body. Don’t worry, if you laid down an even coat everywhere the lines won’t be noticeable in a few months. Gloss paint lines would be far worse because the edges dry more quickly and the overspray can leave a rough surface on top of your fresh paintjob. That’s why it’s important to only do a panel at a time and keep the paint in the area you are working on wet.
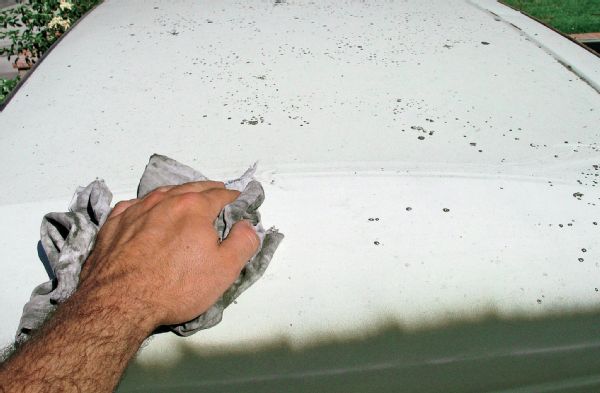
The atomized paint can dry in the air and land on the surface to be painted, screwing up your cheap paint job. On larger horizontal panels like hoods and roofs, you may need to wipe off the overspray dust as you go. If you need to stop painting for any reason, its best to finish at a seam or bodyline. This will help hide the paint lines common with rattle cans.
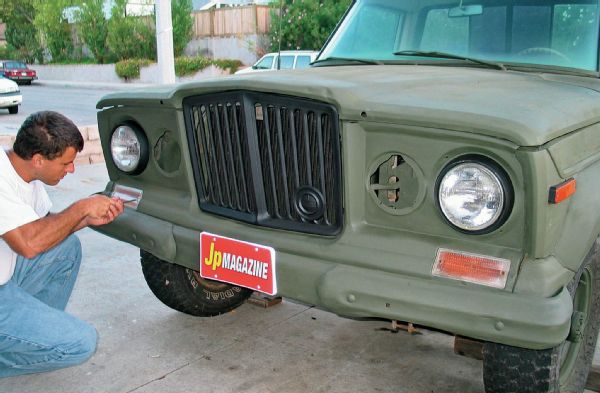
With your rattle can paint job complete, you can reinstall all the lights and trim pieces. Consider painting some of the trim bits a different color for contrast. Any overspray on window glass can be quickly and easily cleaned up with a razor and glass cleaner.
PhotosView Slideshow
