
 Verne Simons
Senior Editor, Jp
We often joke with non-Jeep people who don’t get it that Jp stands for Jaguar Parts magazine—sounds fancy and expensive, doesn’t it? They think we are serious, or they catch on to the joke when they see the 20 Jeeps parked in the yard. Well, for once, that is not too far from the truth, although it really isn’t very expensive or fancy. That is unless you really, really want to go get the parts at your local Jaguar dealership. What in the heck are we talking about? Well, it turns out that a fan clutch intended for a ’88-’96 Jaguar XJ6 or XJS—whatever those are—is not only good for keeping strange British cars’ engines cool, but also can help keep your Jeep engine cool too (PN: Hayden 2765, $42.97 from Summit Racing). It does this because it is exceptionally thin, allowing the fan blade and clutch to fit between the front of an engine and a very closely mounted radiator. We recently did this swap on our ’49 CJ-3A running a Buick V-6 and an aluminum race radiator, and it has helped keep our Jeep cool, come what may. Check it out.
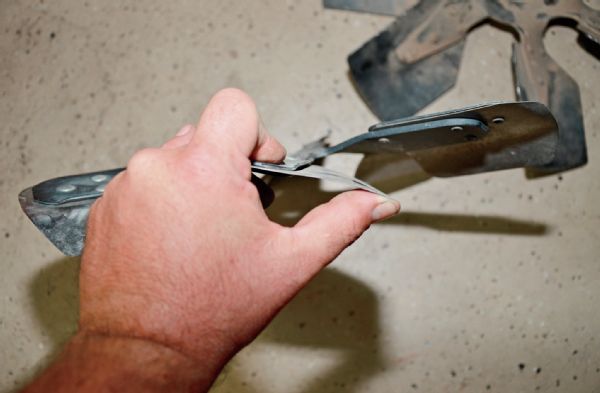
For several years, we ran a flex fan on our ’49 CJ-3A. It worked—kind of. Recently, we found a repeatable scenario where the fan definitely was not working. This was on one particularly long, slow, steep climb on a rough, switchback-filled mountain trail. We are pretty sure the flex fan was ageing and flattening out with RPMs, restricting air movement through the radiator. Also, the fan was hard-mounted to the water pump, which is less than ideal. One way or another, it would overheat. In general, a fan clutch on a mechanical fan helps to match the fans speed to the engines cooling needs. As the engine heats up, the fan will spin faster, offering more cooling.
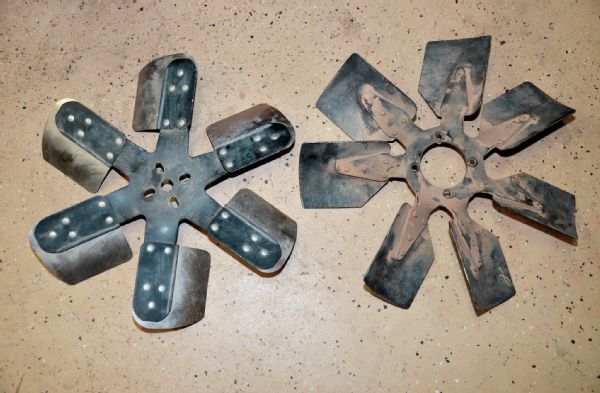
The other component that was necessary for our conversion was an actual fan. We went to our local Jeep junkyard and scoured their used factory fixed-fan selection. If you are getting a new or used fan, you want to make sure that the blades are oriented correctly for the direction that your water pump turns. Another important detail when selecting a fan is the diameter. We grabbed the one on the right. It’s either from an early XJ or YJ with a normal-rotation water pump. The one on the left is our tired, old flex fan.
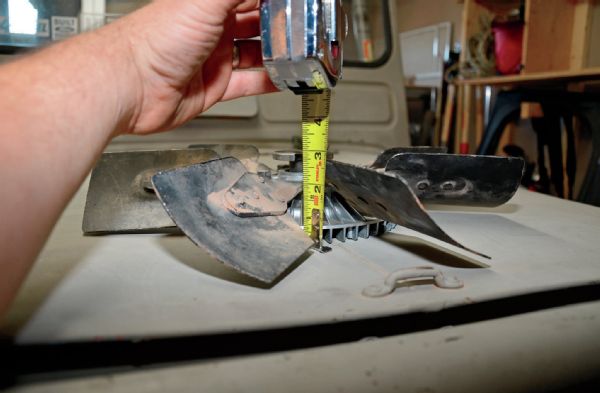
Here is the new (to us) fan and Jaguar clutch all bolted together. This shows what we are achieving by using this part. The distance between the front edge of the fan and the mounting surface (where the clutch mounts to the water pump) is about 23⁄4 inches. That’s not much for a mechanical fan and will allow for plenty of space between our radiator and the fan.
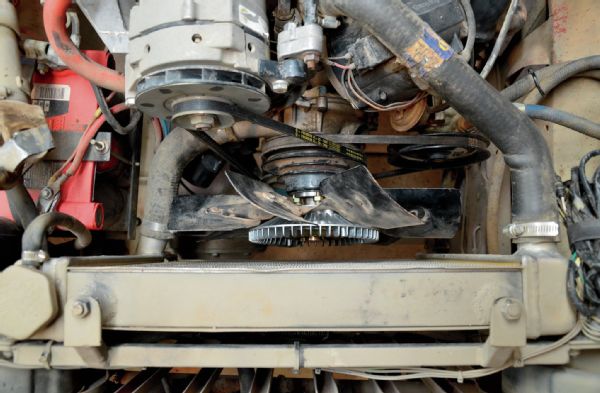
Once we got the fan and clutch all mounted up, you can see why we needed to use the Jaguar fan clutch. We don’t have much space between the radiator and the front of the even-fire Buick we are running in our Flattie. So far, this set-up has helped keep our Willys cool even on the dreaded long and rough mountain climbs. This includes at least a few thousand-mile-plus on-road and off-road adventures.
It’s Electric
Some people prefer manually driven fans. Some prefer electric fans. Both have pros and cons, but one thing is for sure: If you’ve read this article and prefer electric fans, then you are a trooper. Here’s your reward: a thin electric fan option for you. On one project vehicle, we didn’t have very much space between the engine and radiator. To cool this engine, we went to Flex-a-Lite for one of their thinnest electric fans—the Black Magic S-blade fan (PN 160) with thermal controller that can move 3,000 cfm of air. This fan is super thin at 41⁄4 inches with the rubber bulb seal and just under 4 inches without the rubber bulb seal on the front surface of the fan’s shroud. If that’s too thick, Flex-a-Lite’s Lo-Boy fan (PN 118 Puller and 119 pusher) is only 33⁄16-inches thick. The Lo-Boy cranks out 2,500 cfm, enough for a six-cylinder powered Jeep.
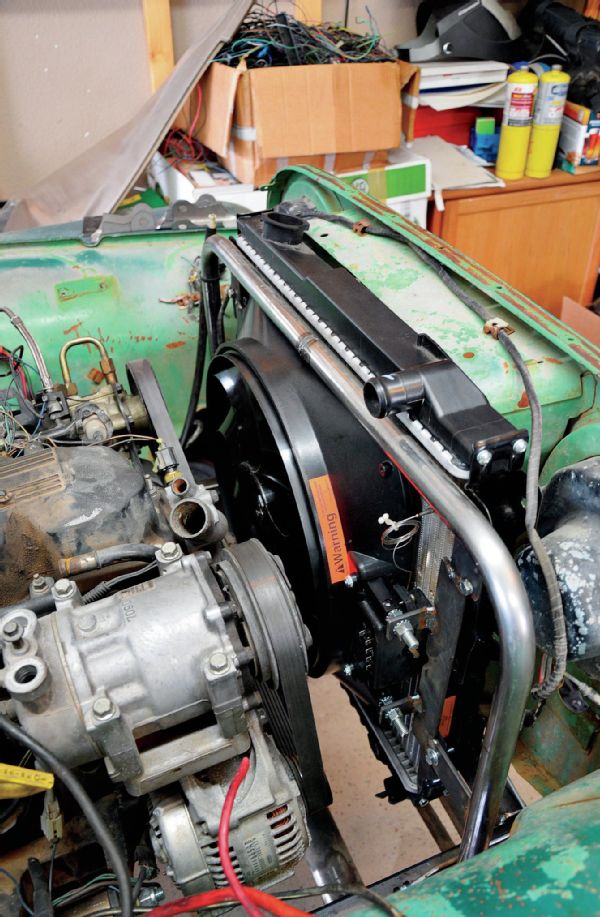 Here is the Black Magic S-blade fan (PN 160) in our CJ-5. The fan can be squeezed between a radiator and engine. This fan can move 3000 cfm and should be good for cooling up to a 500hp engine in a Jeep.
An Inexpensive Fan Shroud
Getting a fan in front of your engine and behind the radiator is really only part of the solution to keeping your Jeep cool. Another component that can make a big difference in keeping your Jeep cool or having it blow steam is a fan shroud. Generally, these simple air baffles come from the factory with your Jeep. What if yours was lost, broken, or the engine in your Jeep is non-stock? Well you can have a custom shroud made from aluminum, or maybe you could tack one up out of steel using a MIG-welder. Alternatively, you can make one relatively easily with a few bits of wood, a stretchy shirt, some epoxy, and a little fiberglass. We’ve done it a few times, and here is the basic recipe.
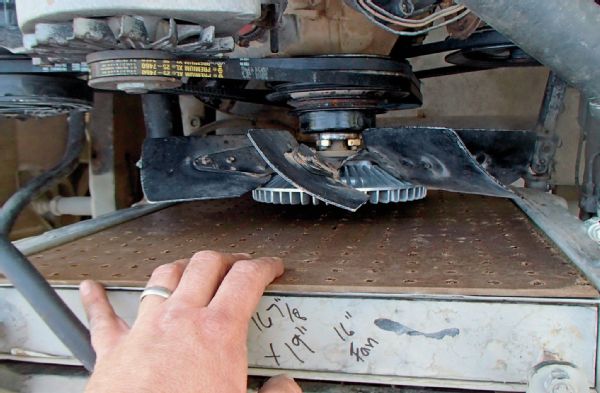
Measure the surface area of your radiator where air flows through. Then, cut a piece of thin wood (we used some pegboard) that is maybe 1⁄4-inch short on both the width and height. You should be able to slip the piece of wood on to the back of your radiator and get a pretty good idea of where the center of the fan is. Mark the center of the fan. Now, use more of the pegboard to make a circle 11⁄2 inches larger than the diameter of your fan (so you’ll have some clearance between the fan and shroud). Our fan is a 16-inch fan so our circular piece of wood is 17 1⁄2 inches in diameter. Again, mark the center of the circle.
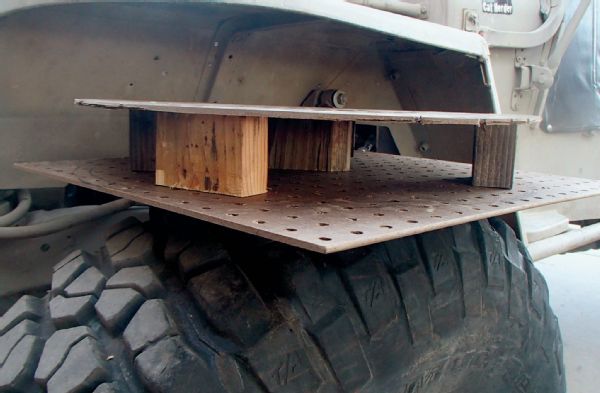
Using cut-to-length chunks of 2x4 or 4x4, secure the round piece of pegboard to the square piece. You want the round piece to be centered where you marked the center of the fan (this should make sense soon). The 2x4 or 4x4 should be cut to length matching the distance from the back face of your radiator to the center of the fan blade. For our Jeep, this was about 2 1⁄2 inches
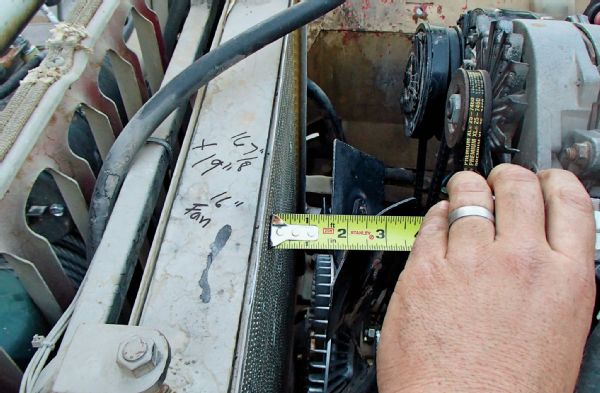
Using cut-to-length chunks of 2x4 or 4x4, secure the round piece of pegboard to the square piece. You want the round piece to be centered where you marked the center of the fan (this should make sense soon). The 2x4 or 4x4 should be cut to length matching the distance from the back face of your radiator to the center of the fan blade. For our Jeep, this was about 2 1⁄2 inches
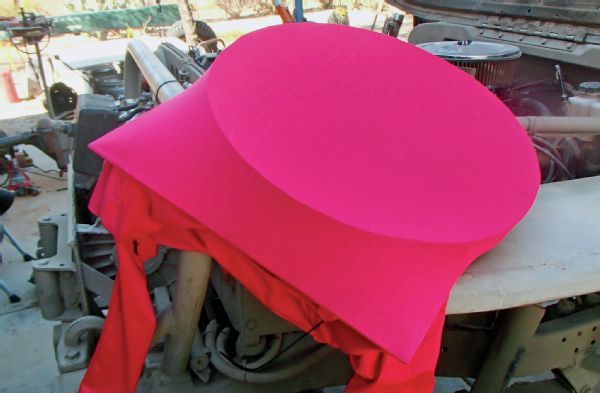
Now, stretch a cheap athletic shirt over the wooden creation you’ve made, and staple it in place. We got our pinkish-red shirt from the clearance rack at Wally World. Parts of your cloth and wood creation should start to look like a fan shroud right about now. Then mix up the epoxy, and using disposable cups and cheap brushes from the hardware store, paint several layers onto the fabric parts not supported by the wood.
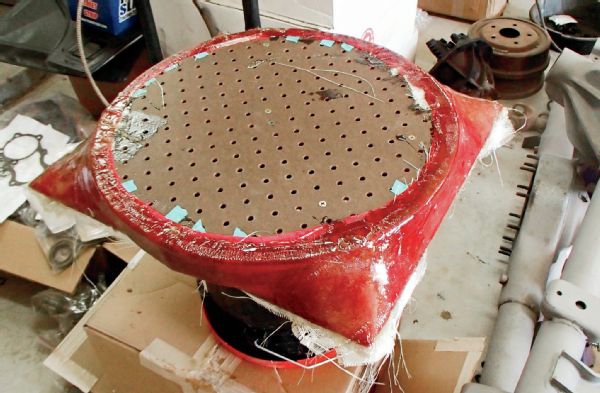
Once they have cured you can add more epoxy and woven fiberglass cloth to the sides of the shroud in layers. Three layers or more will yield the best strength.
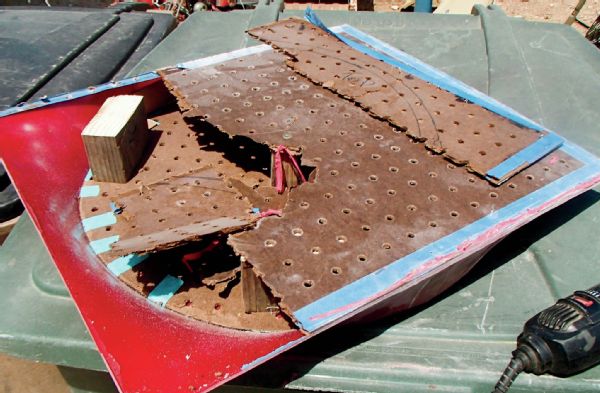
Once the epoxy is fully set, you can cut the edges of the wood. We used a Dremel tool and an angle grinder to trim the excess fiberglass and epoxy. Then, knock the wood out of your new shroud. How you mount the shroud to the radiator is up to you, but we’ve cut ours into two halves and riveted on small pieces of steel that help everything bolt in place.