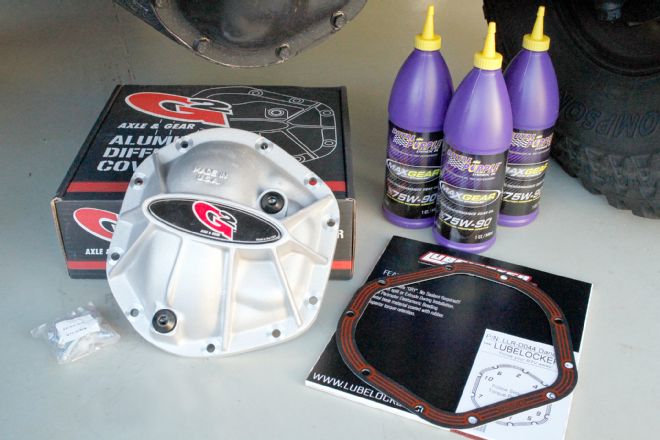
Spend a little time bouncing around in the boonies and you're bound to bump your differentials on rocks, stumps, or just gnarly chunks of dirt. Persisting in that effort with most standard differential covers will leave you with battered metal at a minimum, a leaky axle, or a bashed cover that rubs on your ring gear.
It's probably time you changed your axle lube too, so why not upgrade to an armored diff cover and seal it back up right at the same time? We'll show you how with a few quality products and an hour or so of your time.
We were still running the original front cover on our Jeep Wrangler so opted to upgrade the Dana 44 stamped-sheetmetal cover with a G2 Axle & Gear Hammer cover. These webbed aluminum covers are heat-treated for strength and shot-peened for stress relief.
We gave up long ago on paper gaskets on most differential covers and third members, opting instead for one of various silicone gasket sealers. We've used many tricks to ensure seal reliability and generally let the silicone set up overnight before adding lube.
When it comes time to service again, we usually have to beat the cover free to break the silicone seal and then scrape away the old sealant.
We found a no-mess way to seal differentials with the use of Lube Locker gaskets. They are made for many common axles and transmissions, and each gasket uses three full-perimeter beads of an orange elastomer on a steel base material to provide a barrier to the gear lube inside the axle. They are designed to be temperature stable and maintain seal even if the diff cover shifts slightly from being hit, and that's usually what starts ours weeping again after a rock beating.
We installed a new cover using a Lube Locker, and topped off the axle with a couple of quarts of 75W-90 Royal Purple Max Gear oil. It's a high-performance synthetic lube with a friction modifier additive. Our axle should be happy.
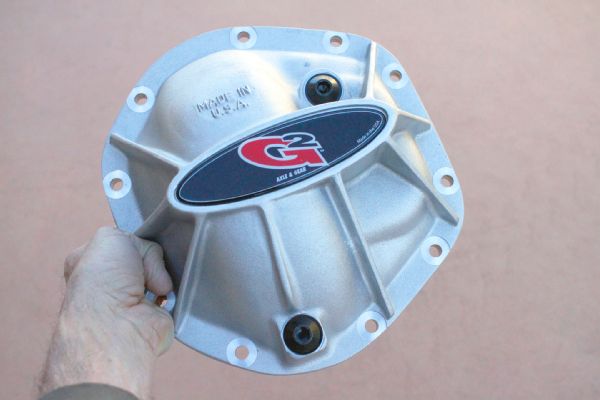
We were still running the stock sheetmetal cover on our Jeep, so we needed gear armor. We opted to use a G2 Hammer differential cover. These are heat-treated, cast aluminum pieces with built-in fill and drain plugs. They come in either raw aluminum or gloss black. G2 also offers the Torque cover, which functions as a girdle with load bolts to offer increased rigidity to the gearset.
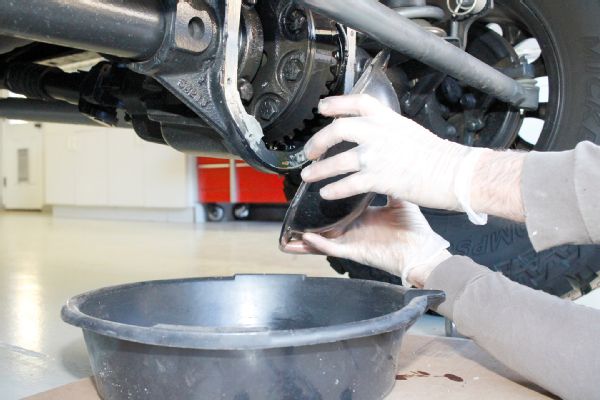
We loosened and pulled the stock cover bolts to drain all the old oil. It took some work with a screwdriver to pry the cover free. We then cleaned all the old silicone sealer off the differential surface and wiped it down with solvent to ensure a good seal with our new gasket.
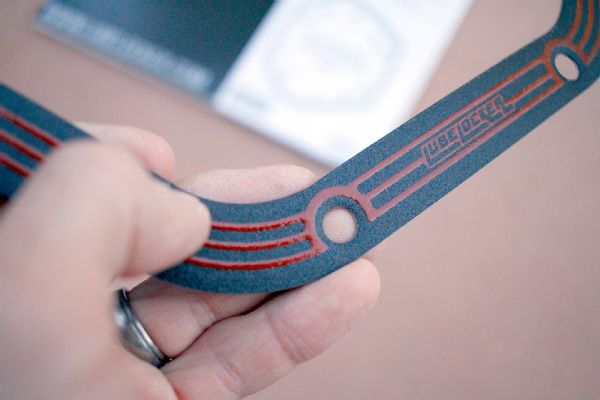
We opted to skip the hassle of sealing with silicone-type sealers and used a Lube Locker gasket instead. The orange elastomer rings on the gasket are all that are needed to seal the cover face. Then when the time comes to pull the cover on your axle again, the Lube Locker lifts free of both surfaces with no material left behind.
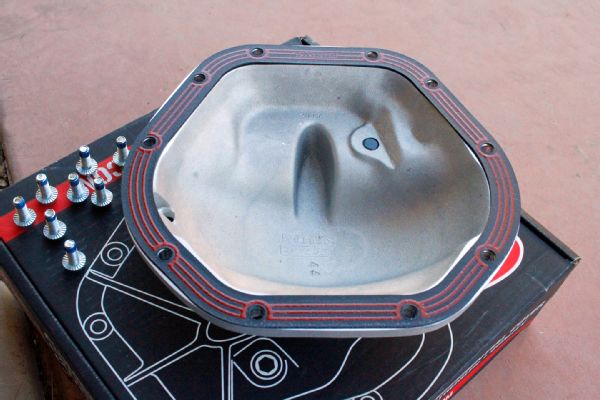
We slipped a Lube Locker gasket in place behind the G2 cover and used the new cover bolts included to secure everything in place. Lube Locker recommends you tighten the new bolts to the factory torque spec, and provides a specific crisscross pattern.
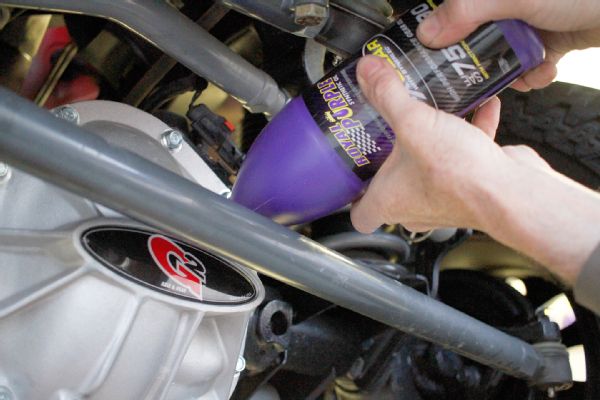
There was no wait time to fill the diff with oil as there would be with silicon. We used Royal Purple Max Gear 75W-90 synthetic lube in the axle, squirting it through the fill hole in the new cover.
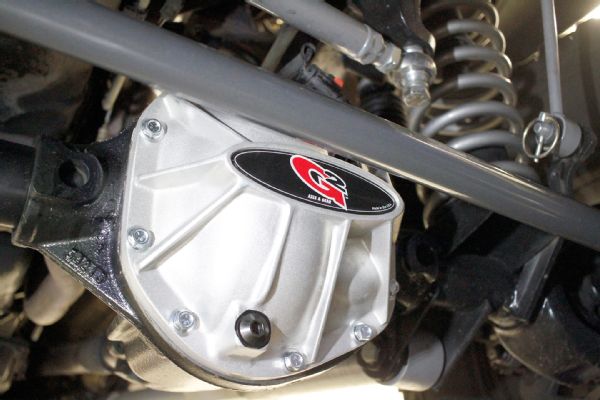
The fill and drain plugs come with gasket washers. We run a larger-than-stock Synergy tie rod, and we checked for clearance issues by cycling the steering lock-to-lock. There were no issues.
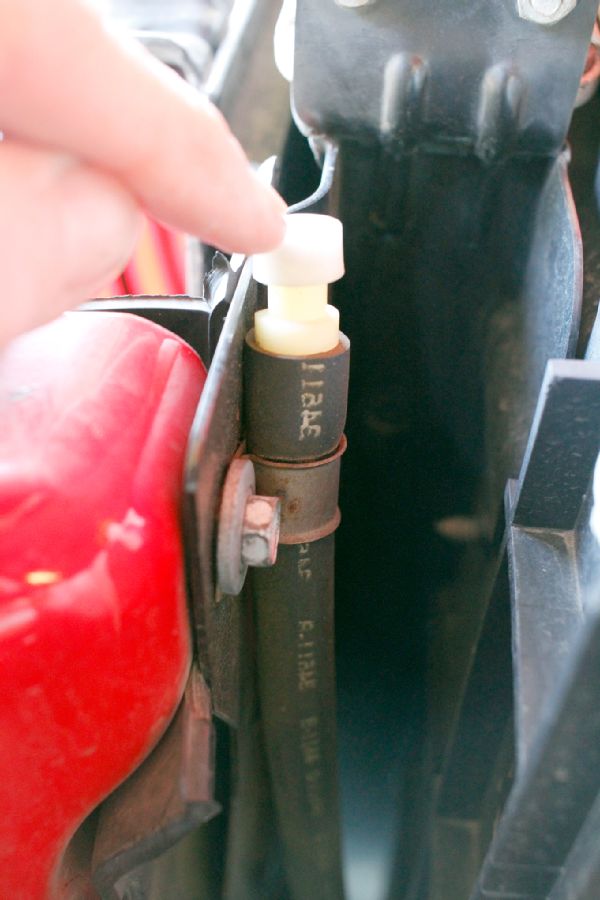
One last easy axle upgrade we always perform on our trail rigs is the relocation of the axle vent hoses upward. Some vehicles, like this Jeep Wrangler come with a breather hose extension that moves the breather up high and terminates near the radiator. If not there from the factory, it's a quick task to accomplish while you're already crawling around your axles.
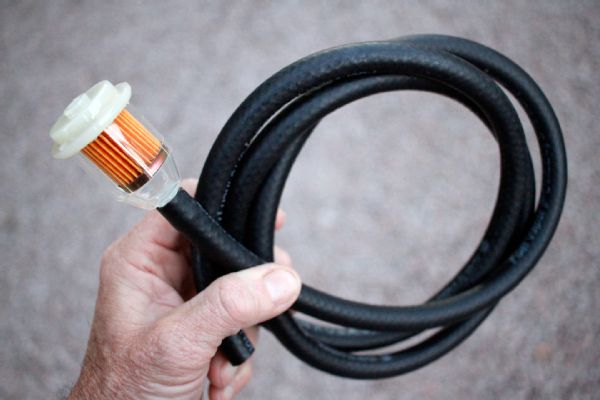
For those axles that don't have an extended breather, you can do your own for about $10 with some rubber hose, a few hose clamps, and a small fuel filter if needed. We snip one end of the filter, then connect it to a hose end routed up high under the body or up along the firewall or fender. Your axles will thank you the next time you make a deep water crossing.