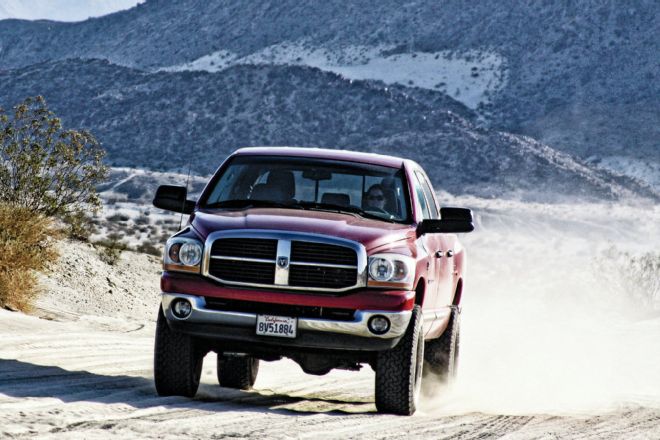
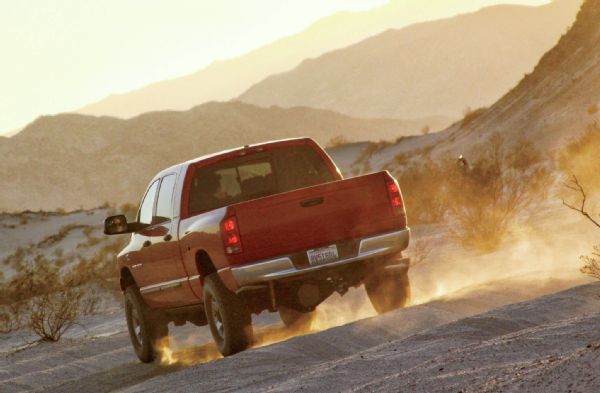
Some of the hardest-working machines under the sun are the heavy-duty trucks of the Dirt Sports + Off-Road Nation. These workhorses live for towing and hauling, race support, and chasing—some may even get to bomb across the desert, much faster than they were ever intended. As these trucks spend more time in the dirt, bouncing and pounding against the rough terrain, the front axle will start to show its weak link: ball joints.
For many Dodge Ram and Ford Super Duty owners, ball joints have become a real problem and safety hazard that must be dealt with sooner or later. Worn ball joints will cause road wander, decreased steering feedback, tire wobble, tread cupping, and feathering—even the infamous “death wobble” has been linked to worn ball joints. In many cases, factory ball joints are simply no match for larger off-road tires, heavy loads, and extreme use. Ball joint–riddled solid axles can be found under ’92-to-present Ford F-250, F-350, F-450, and F-550, and ’94-to-present Dodge Ram 2500 and 3500 4x4 trucks.
Up until recently, the only way to fix worn ball joints was to replace them with OE/OEM replacement parts. Sadly, this temporary fix was just good enough to log a few hundred miles, to chase a race, or maybe a trip or two to the dirt before they started to display wear signs again—ultimately needing to be replaced once more. The heavy-duty axle experts at Dynatrac saw an opportunity for improving Dana 60 and AAM 9.25 axles, so they developed a heavy-duty ball joint upgrade to address the OE’s shortcomings.
Dynatrac Ball Joints are engineered to be stronger than OE, serviceable, and rebuildable. They’re also built with off-roaders in mind—making them a better choice for trucks equipped with larger tires and those that see their share of extreme dirt, towing, and hauling. After noticing tire cupping and excessive ball joint play, we had a set of Dynatrac Ball Joints installed on our diesel truckster. We haven’t looked back since.
PhotosView Slideshow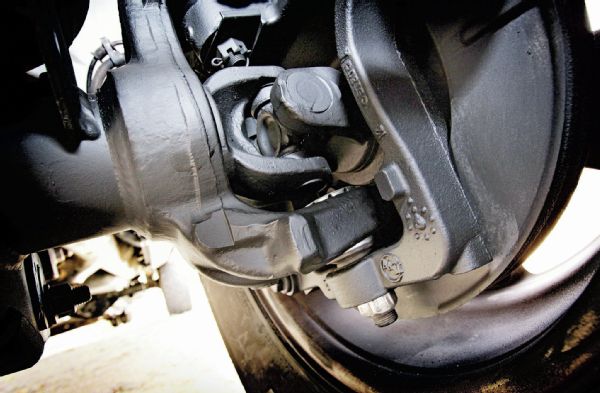
In the early ’90s, Dana Corporation ditched the old kingpin 4x4 front axle design for a ball joint steering knuckle alternative (used in Ford and Dodge trucks). American Axle Manufacturing (AAM) also adopted the ball joint steering knuckle after Chrysler made the switch from the Dana 60 to AAM 9.25 in 2003 for use in Dodge Ram Heavy Duty 4x4 trucks.
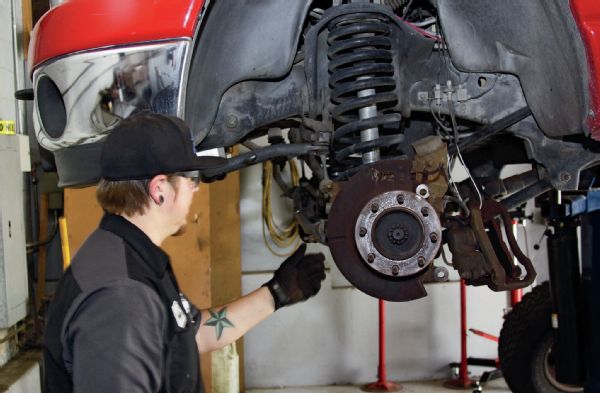
Complete access to the wheel assembly is needed when replacing ball joints on these solid axle trucks. Disassembly of the brakes, axleshafts and steering is also required in order to get to the steering knuckle and ball joints.
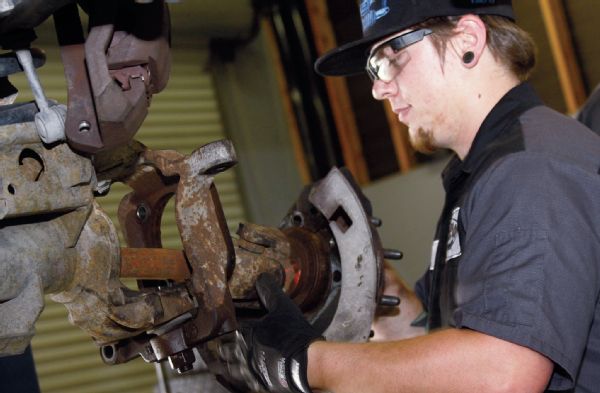
With the axleshaft and hub assembly out of the way, both the top and bottom ball joint nuts can be loosened to remove the steering knuckle. It’s recommended that the lower ball joint nut only be loosened until three to five threads remain, to prevent the knuckle from falling off and busting your big toe. They’re heavy.
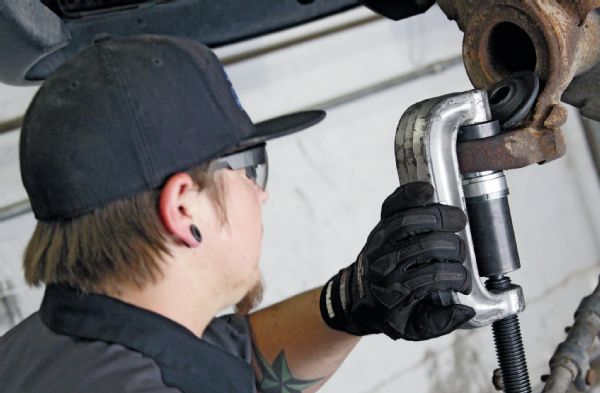
Before the new Dynatrac Ball Joints can be installed, some prep work is needed. Cleaning the end forging bores is extremely important to make sure the ball joints seat correctly. This can be done using a wire wheel, Scotch-Brite, or 100-grit sandpaper. Dynatrac strongly recommends using the Miller Press Kit in conjunction with their ball joint installation kit. Antiseize is applied on all the ball joint bodies to prevent galling or damage when pressing in.
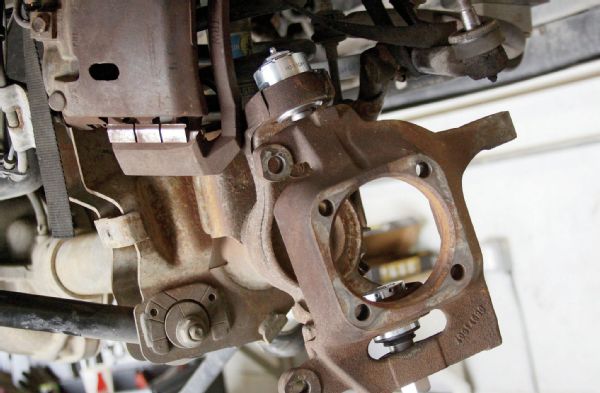
With both upper and bottom Dynatrac Ball Joints in place, the knuckle is ready go back on. The upper ball joint is tightened first since it has a shaft that plunges, pulling the upper ball joint shaft into the knuckle. The lower ball joint is also pulled up in the process. The final step before axle reassembly is torquing down the ball joint castle nuts and split pinning them.
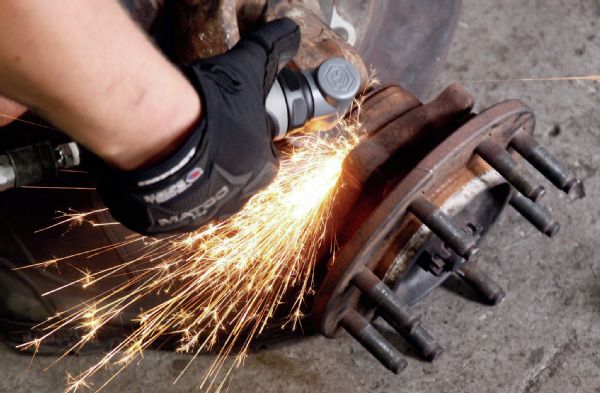
If your solid axle has noticeable surface rust like ours did, now may be a good time to tackle it. A wire brush does wonders at removing surface rust, dirt, and grime. Clean it good, and then finish it up with a nice coat of black paint. Reassembly of axleshafts, brakes, steering, and wheels completes the job.
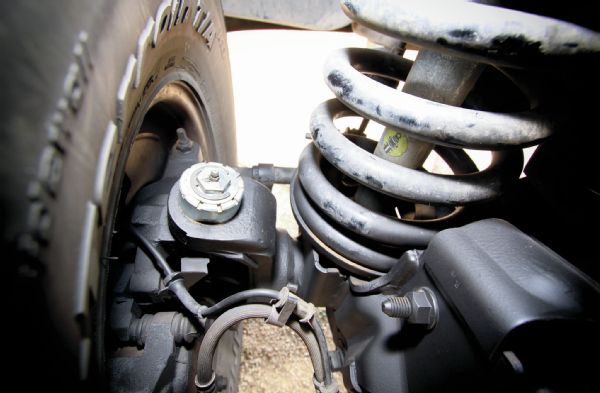
After installing the Dynatrac Ball Joints the steering feels a lot tighter, even after logging over 2,500 miles. The wheels feel planted going around curves and while climbing. When hauling or towing a heavy load, the truck doesn’t wander anymore. It feels true going down the road loaded or unloaded. We also haven’t noticed any more uneven tire wear after rotating tires and installing the Dynatrac Ball Joints.
In our opinion, Dynatrac Ball Joints are well worth the investment—adding function and peace of mind for those traveling down dusty roads, towing, or hauling. They’re definitely well engineered and built with heavy-duty use in mind. Our test set has settled in nicely and continues to give the truck a performance driving feel both on- and off-road, even with 37-inch tires.


