 Ken Brubaker
Senior Editor, Four Wheeler
When the Jeep Grand Cherokee WJ was rolled out in 1999, it looked similar to its predecessor, the Jeep Grand Cherokee ZJ. In fact, it was almost all new. It was also a very adept off-highway machine. Hidden beneath its sexy exterior and luxurious interior was a pair of good 'ol solid axles and a simple, flexy coil-spring suspension. The WJ was such a well-heeled, capable vehicle that it earned our Four Wheeler of the Year award in 1999 and again in 2002.
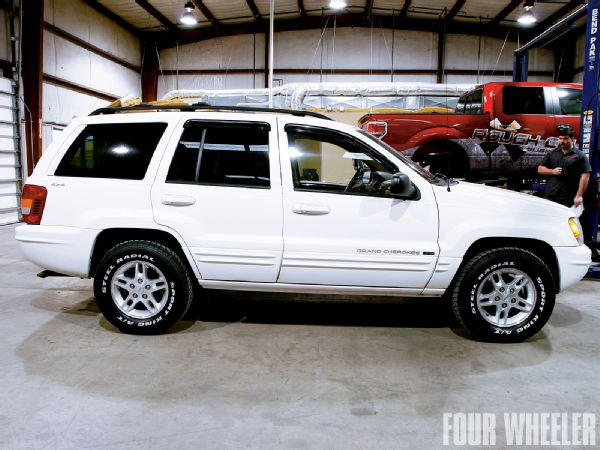
Nowadays WJs are plentiful, inexpensive, and truly great builders. Part of the WJ's beauty is that with just simple, low-buck modifications, they can be transformed into an even more outstanding trail machine. Recently, we did just that.
We traveled to Rough Country Suspension in Dyersburg, Tennessee, where we installed their 4-inch X-Series suspension kit under a bone-stock 2000 Jeep Grand Cherokee WJ. Rough Country offers three different kits for the WJ. They offer a 2-inch-lift entry-level spacer kit with shocks as well as two complete 4-inch lift kits. We installed the top-of-the-line 4-inch kit that includes the Rough Country X-Flex fully rebuildable control arms. This kit replaces the factory coil springs with new springs to lift the vehicle and it includes an adjustable track bar, sway bar quick disconnects, transmission crossmember spacers, rear upper control arm drop bracket, rear sway bar brackets, rear shock relocation kit, and application-valved Performance 2.2 Series shocks. This kit is recommended for up to 265/75 (31-inch) tires.
Follow along as we show you the components of the Rough Country kit and how they install.
Cost
At the time of print, the WJ 4-inch X-Series suspension we installed was being sold on the Rough Country website for $749.95. Other WJ kits include the standard 4-inch kit for $499.95 and the 2-inch spacer kit for $249.95.
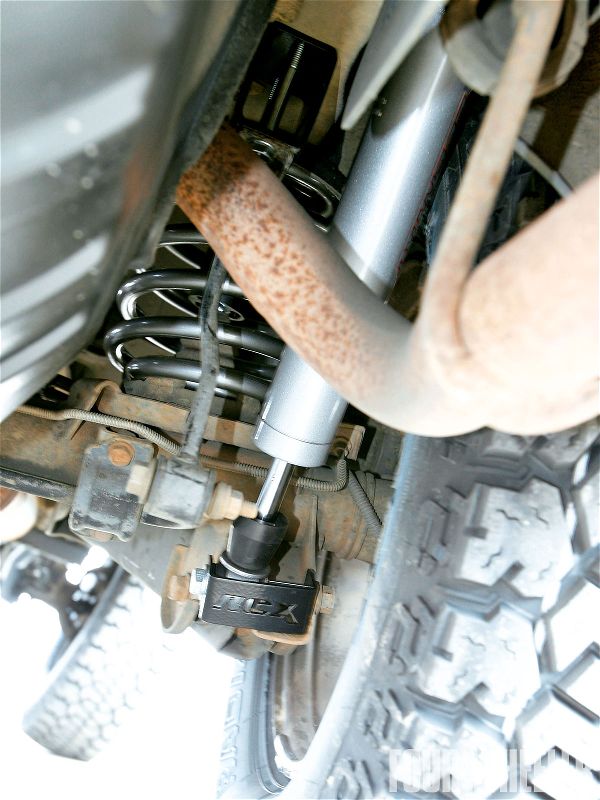
Here you can see how the rear lower shock relocation bracket helps to keep the shock body away from the tire at full compression.
Bottom Line
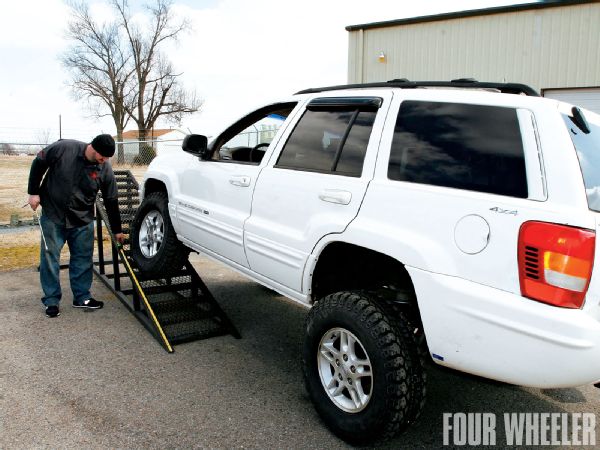
The Rough Country kit installed easily and without any glitches. The owner of this rig chose to run 265/75-16 (32x10.50) Dick Cepek Radial F-C II tires on the factory wheels. Stock, the WJ traveled 491/2 inches up a 20-degree ramp to earn a RTI score of 467. After modifications, with the sway bar connected, that number improved to a decent 53 inches to earn a score of 500. However, the big change came with the sway bar disconnected, when the WJ traveled 74 inches up the ramp to earn a score of 698. It's important to note that the owner chose to install tires that were an inch larger than the recommended maximum diameter, so there was some front tire-to-fender contact that inhibited travel up the ramp.
Off-highway, the WJ impressed us all by climbing over our dirt test track obstacles with no problem. The improvement in ground clearance, approach/departure angles, and flex combined with the traction of the F-C IIs to make for a mountain goat-like rig. We really liked the look of the vehicle with its new stance and aggressive tires on the factory wheels, too.
By The Numbers Measurement Stock Modified Change Ground to rear bumper 18.0 in 22.25 in +23.6% Ground to front bumper 15.0 in 20.0 in +33.3% Angle of approach* 49.5 deg 57 deg +15.2% Angle of departure* 32.5 deg 38.1 deg +17.2% *measured from passenger-side tire to bottom of bumper
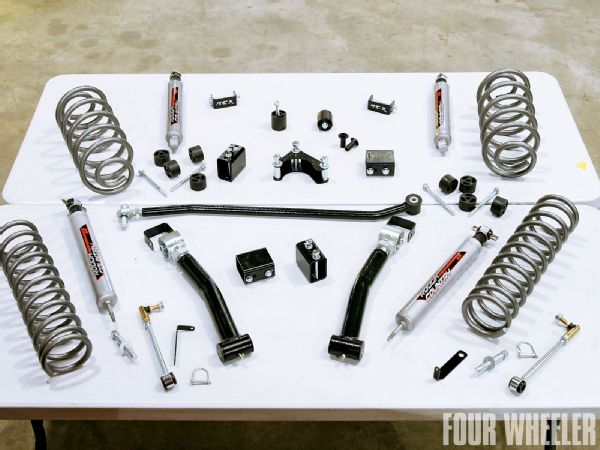 Here are the contents of the Rough Country X-Series 4-inch kit. The difference between this kit and the other WJ 4-inch kit offered by Rough Country is that this kit includes the X-Flex fully rebuildable control arms and an adjustable track bar.
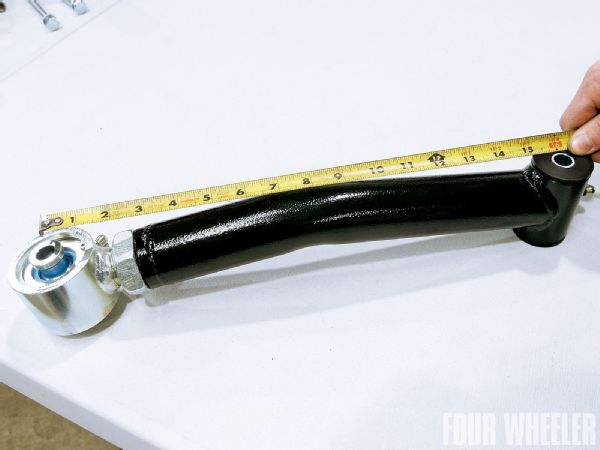 We're picking up the installation at the point where the new front components are installed. To get to this point, the factory sway bar, shocks and control arms were all removed from the vehicle. The new grease fittings are installed into the new X-Flex control arms, and then the control arm bushings and sleeves are lubricated using lithium non-water-soluble grease and installed. The lower control arms are then adjusted to a length of 16 inches from center-to-center. The control arms are made from 2-inch-diameter DOM 1/4 inch-wall tubing.
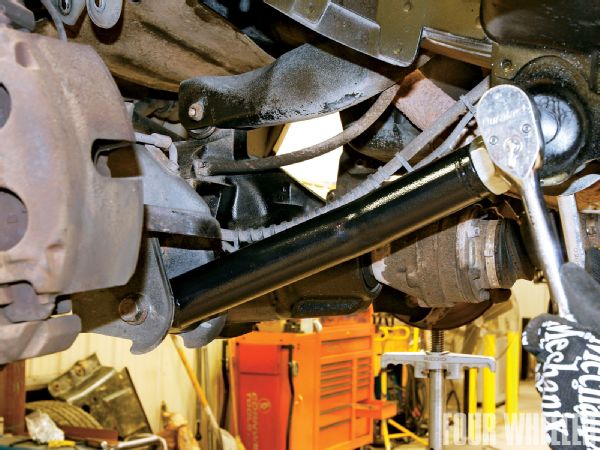 The new X-Flex lower control arms are then installed with the Flex Joint mounted at the frame with the supplied U-bracket.
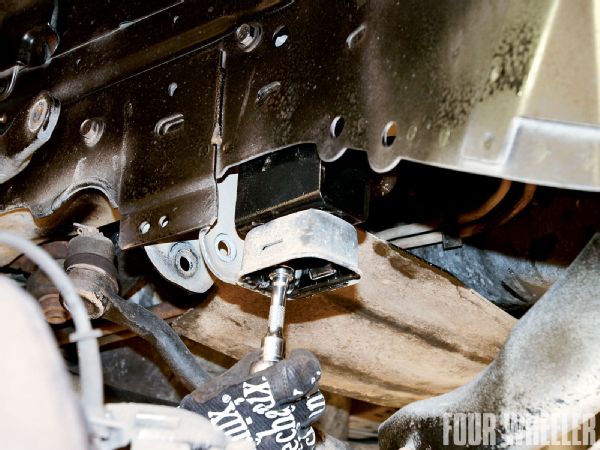 Next up, the track bar is removed along with the factory bumpstops and cups. The bumpstops have to be lowered to compensate for the increase in lift, and spacers are provided for that purpose. Here you can see the driver-side factory bumpstop cup being attached to the new spacer.
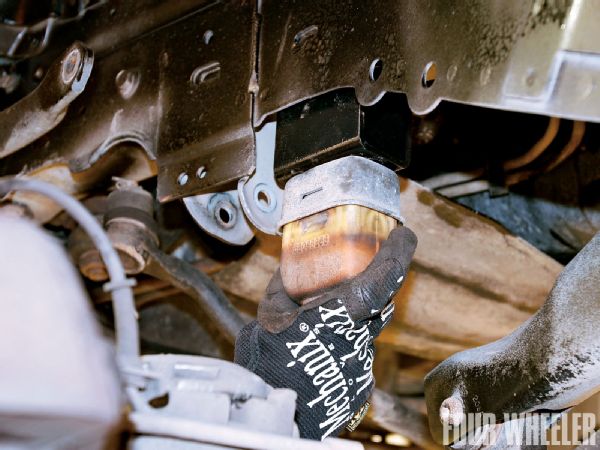 The factory bumpstops are then reinstalled into the factory bumpstop cups.
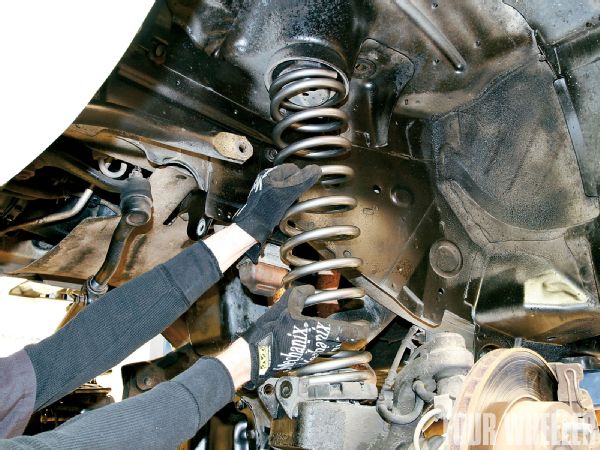 Up next, the new front coil springs are installed. These springs are 150-pound springs, which is about 30 pounds more than stock. The rate is increased to help control body roll as well as to counter the weight of aftermarket gear and tires. On top of each coil, the stock rubber coil isolators are reused.
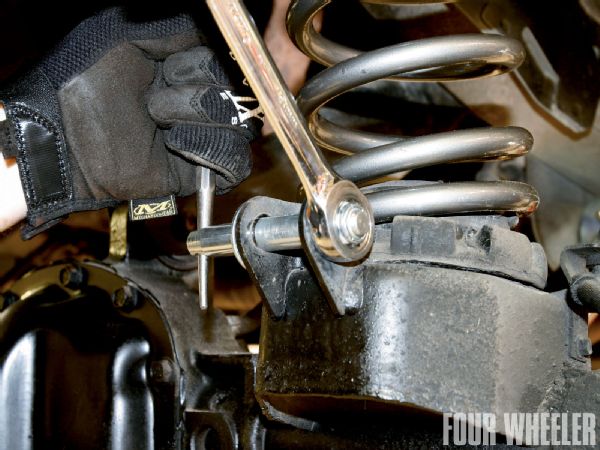 To install the new sway bar quick disconnects, the supplied pins and crush sleeves are installed on each side of the axle. These are the lower mounts for the links.
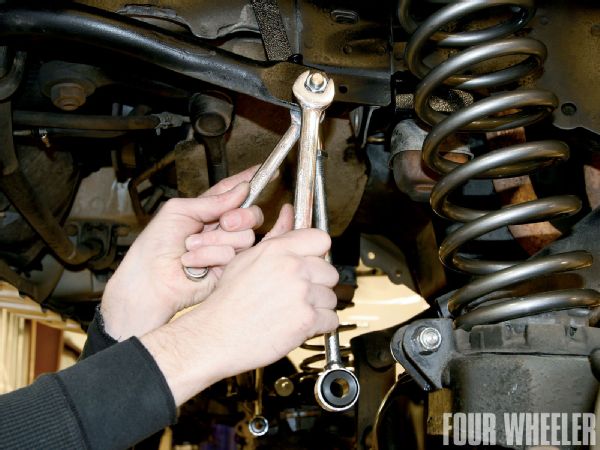 The new links are adjustable and the instructions say to set them at a length of 111/4 inches. With the length set, they are then installed to the sway bar. Supplied brackets hold the links when disconnected and they mount to existing holes on the vehicle using factory hardware. When disconnected, the links are locked in place on the brackets using the lower pins.
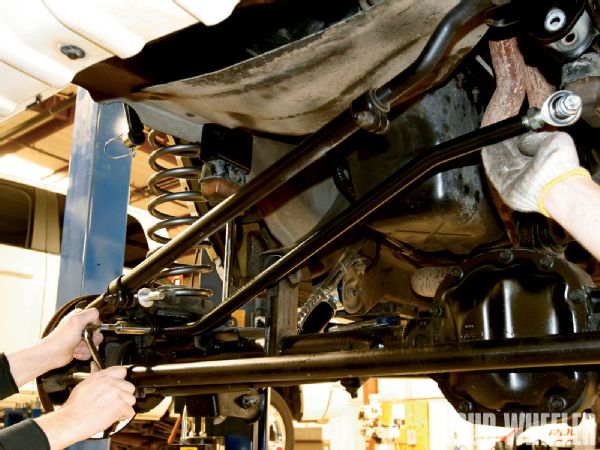 With the supplied bushings, sleeves, and spacers installed on the track bar, the unit is attached to the axle and the frame. The new track bar is made from 1-inch-diameter 0.250-inch-wall DOM tubing and has a replaceable 3/4-inch Heim joint at the frame end. The new shocks are also installed at this time. It's worth noting that the Performance 2.2 shocks included with the kit are valved specifically for this application.
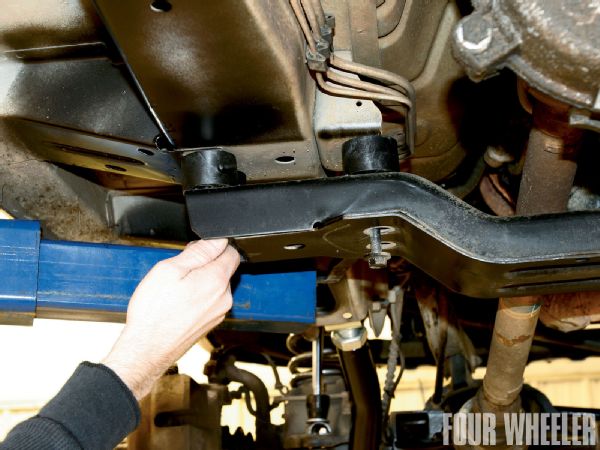 To help keep driveline vibrations at bay, the transmission crossmember is lowered 11/4 inches via included spacers. The crossmember is held in place using a combination of factory and supplied hardware.
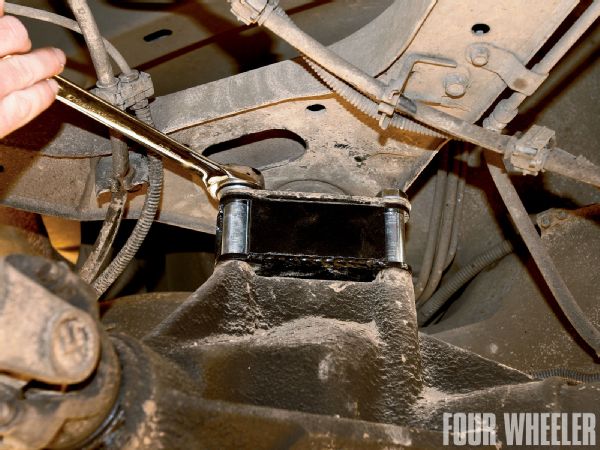 At the rear of the vehicle, the shocks, top sway bar bolt, sway bar links, upper control arm at the differential, and springs are some of the items removed in preparation for the new lift components. The first new part that is installed is the upper control arm spacer bracket. It goes between the upper control arm and the differential.
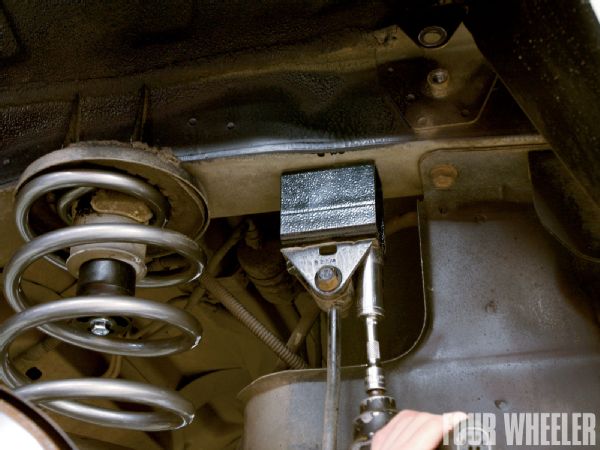
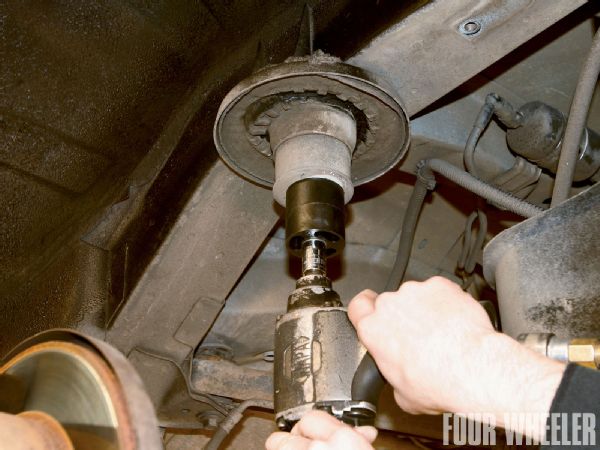 Here you can see the new bumpstop extension being installed in order to compensate for the increased ride height.
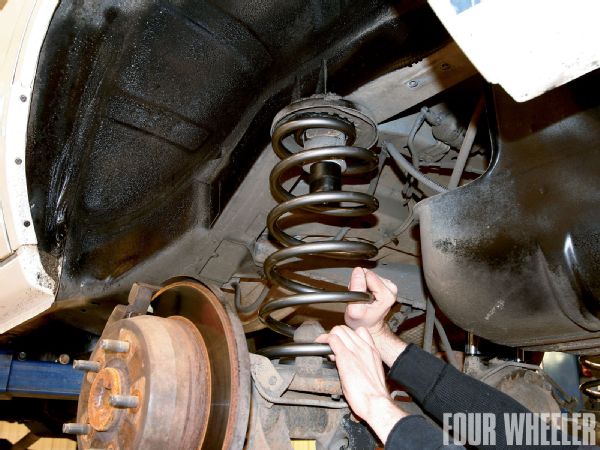 The new coils are then installed. These coils share the same increased spring rate as the front coils.
 Sway bar drop brackets are installed between the factory sway bar mounts and the vehicle using supplied hardware. Then the sway bar is reattached.
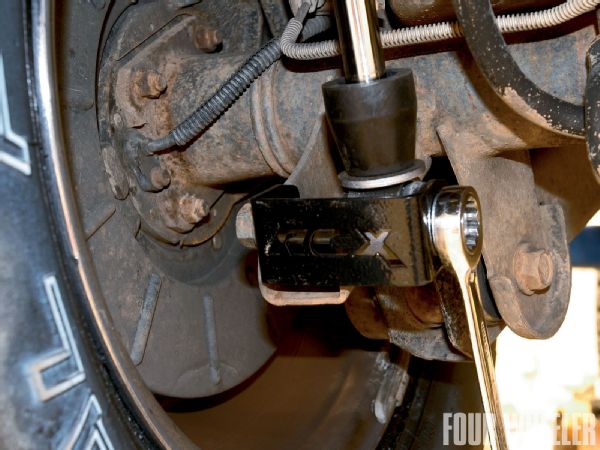 The last step is to install the new lower shock relocation brackets and the shocks. These brackets are needed to run wider tires with stock offset wheels. They move the lower shock mounting point away from the tire. Without the bracket, the shocks will rub the tire under compression given the three-link design of the WJ.
