Tire repair on the trail or on the highway can be, well, can be a pain in the ass. It’s especially so if you don’t have the right equipment. Having the right tools with you at all times is the key. That’s why we carry a Hi-Lift jack, air compressor/tire inflator kit, lug wrench, and a tire repair kit in the vehicle whenever we leave home. Are you thinking, “How many times am I going to puncture a tire off-road?”
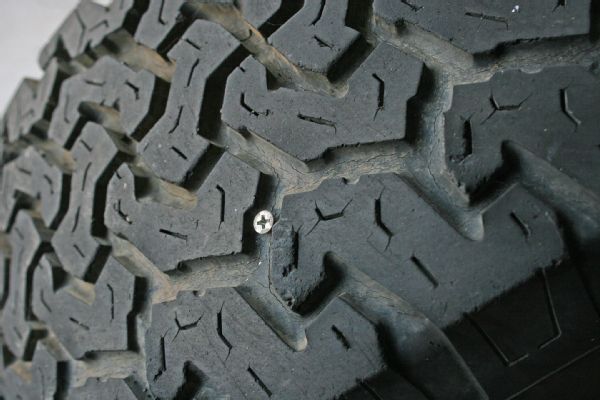
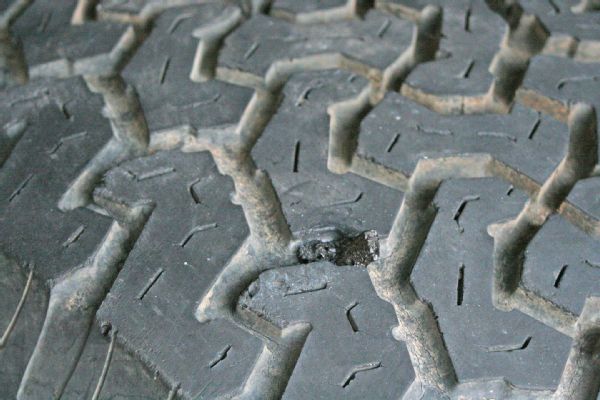
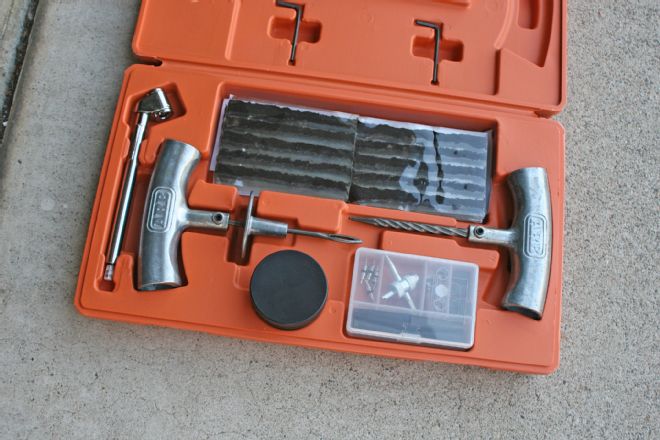
Consider that broken-off and protruding tree roots along the trail, nails left from people’s pallet bonfires, screws dropped during trail repairs, and any number of other sharp and pointy objects can find there way into your tire’s tread and create a problem. Now that this rant is over, let’s just say that we have used many tire puncture repair kits, but the ARB Speedy Seal tire puncture kit is probably our favorite. It’s fully encased in a compact case for easy storage and contains everything you need for the repair, including a host of valve accessories for inflating the tire after repair. Here’s how it works.
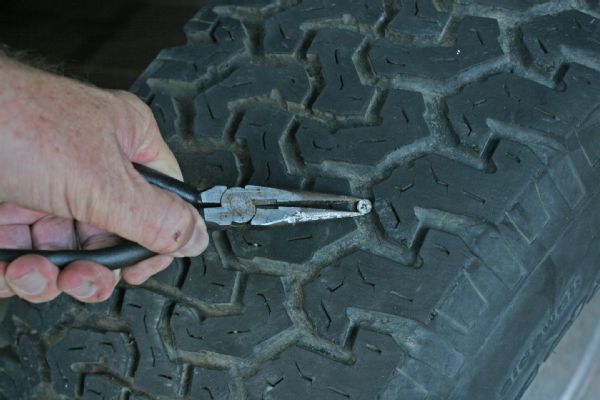
The first thing to after you have removed the affected tire/wheel from the vehicle (repairs can also be done with the tire on the vehicle) is to safely remove the debris (nail, screw, etc.) from the tire. A pair of needle-nose pliers is especially good for this task. We recommend safety glasses during the repair but certainly at this point, as debris can be ejected under pressure when removing it from the tire.
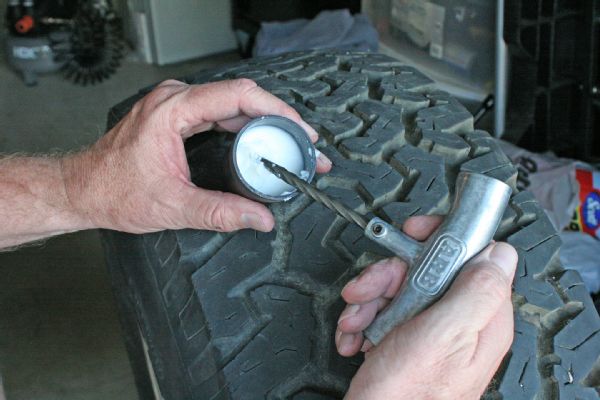
A waxy lubricant is included in the ARB Speedy seal tire puncture repair kit and should be used to lubricate the spiral shaft of the kit’s reamer tool. This lubricant helps clean the puncture and separate belt material to facilitate repair.
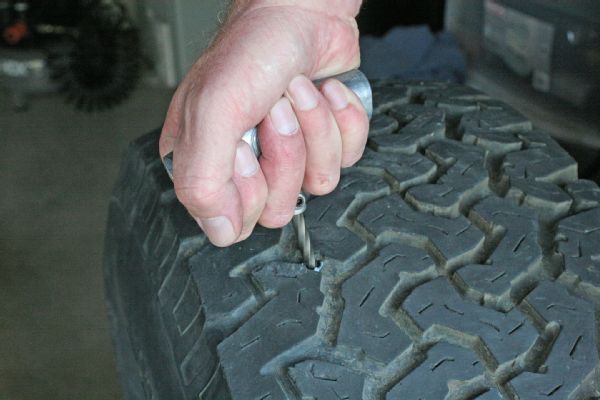
Holding the reamer firmly, insert it into the puncture and push it through the tire’s carcass while rotating the reamer. This will help clean out the puncture and ready it for the repair cord.
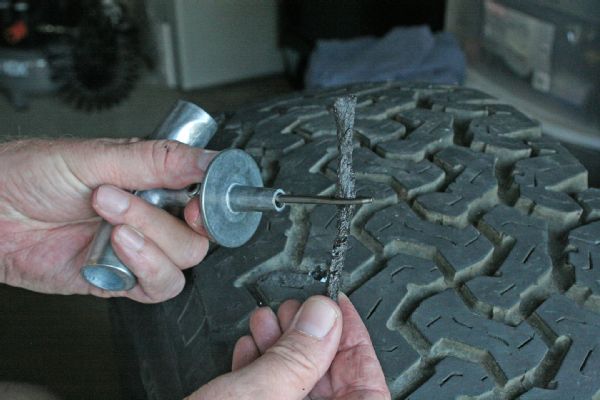
Thread one of the repair cords included in the kit through the eye of the insertion tool. This can be made easier by rolling or flattening one end of the repair cord between your fingers before threading the eye. Be sure the repair cord is threaded so equal halves are on each side of the needle.
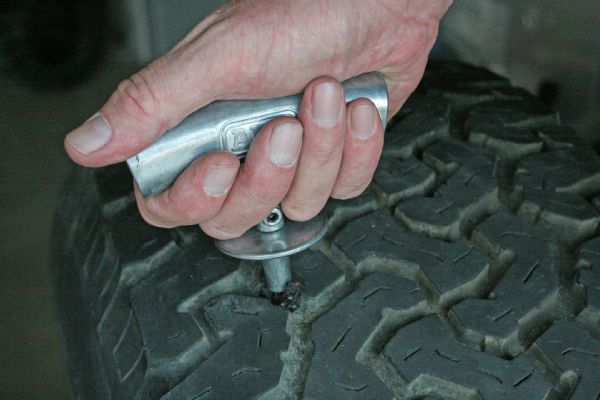
Push the insertion tool and repair cord into the puncture until the metal sliding sleeve on the needle is in full contact with the tire and the T-handle of the insertion tool. Lubricating the needle may help during this step. A small part of the repair cord should be visible when the needle is fully inserted.
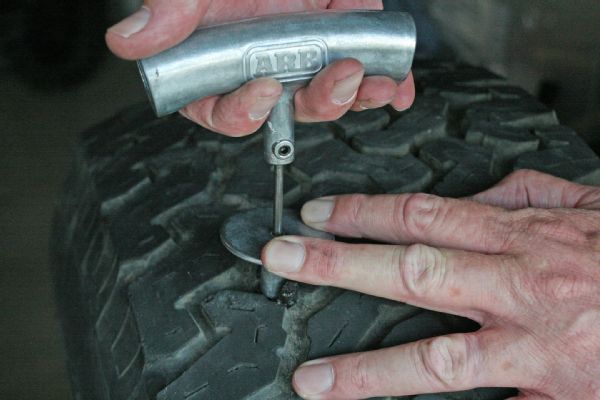
Hold the metal sliding sleeve against the tire to keep the repair cord in the puncture hole while pulling the insertion tool out of the tire. Do not twist the toll during retrieval. Once the insertion tool has been completely withdrawn, the excess repair cord sticking out of the tire can be trimmed off.
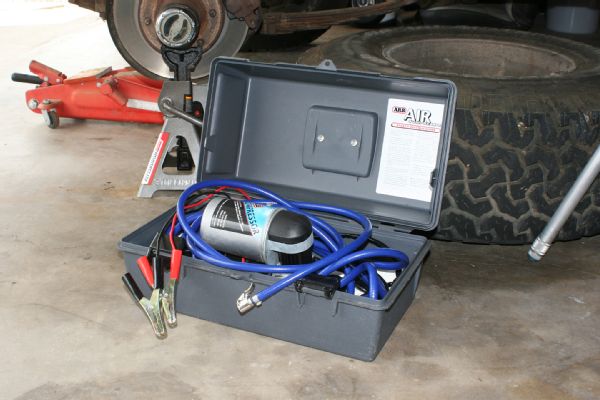
When the puncture was completely repaired, we hooked our 12V portable ARB air compressor/tire inflator to the Jeep’s battery to bring air pressure slowly back up to the tire’s maximum cold inflation level to be sure the repair was successful. We’ve had this unit in our various rigs for about 20 years, but it’s still available (PN CKMP12).
