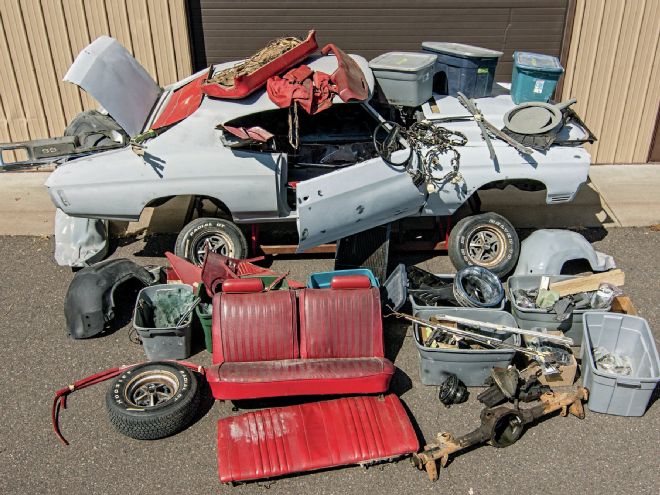
If you remember the pair of stories we did last year about basket-case muscle cars ("How to Buy a Basket Case," Feb. '14 and "How to Restore a Basket Case," Mar. '14), then you'll remember that the '70 Chevelle in question was the very definition of the term. Since the completion of those stories, we've been following the progress of the car at Muscle Car Restorations in Chippewa Falls, Wisconsin. The staff there was brave enough to take on this pile of parts so we could show you—at least in part—how to handle the restoration of many of the subassemblies such as the interior, glass, wiring, trim, and so on. (The restoration of the frame, body, and paint was covered in Car Craft magazine's Dec. '14 issue.)
Certain areas of restoration work can intimidate do-it-yourselfers. While the interior may not be at the top of that list, it certainly does scare more of us than we'd like to admit. Sure, just about anyone can get new seat covers and headliners in place, but getting them to look factory-correct is another matter. Muscle Car Restorations does all of its own interior work in house, so it controls that very thing. The shop exclusively uses products from Legendary Auto Interiors, as the staff has found that everything Legendary supplies simply works best for them.
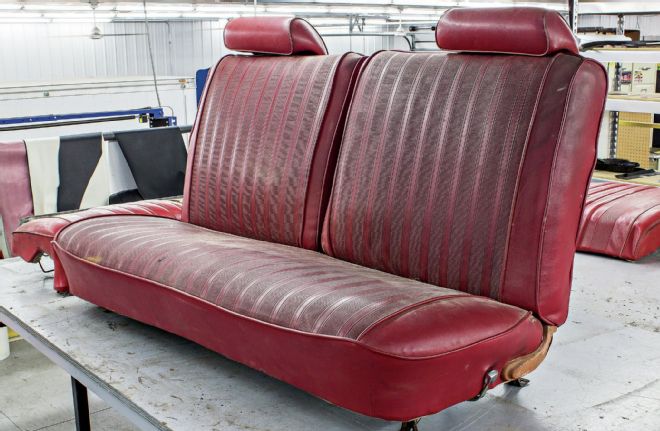
1 After nearly 45 years of use, it's remarkable that there aren't any tears, burns, or other severe damage to the Chevelle's seats. Still, the discoloration is obvious, as is the broken-down cotton batting underneath the covers. These are just not salvageable. Plus, the owner wanted to change colors. Before the seats are taken apart, take lots of detailed photos, particularly of the hog ring locations and any other attachment points, so there is a record and a reference for how it was originally put together. Building an "assembly is the reverse of disassembly" pattern will be extremely valuable.
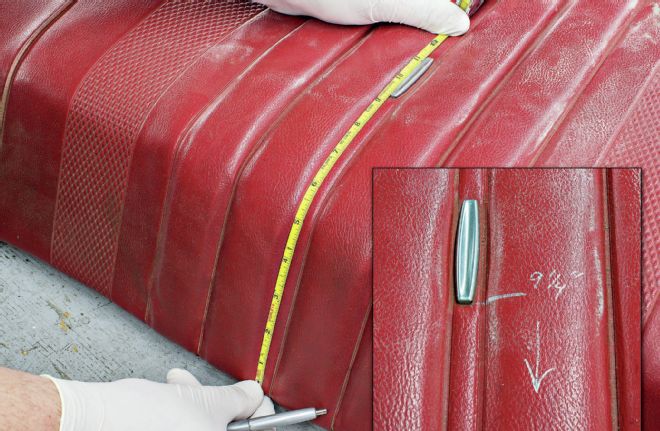
2 The pair of trim inserts on the upper backseat is stainless. If they are not damaged, they can be repolished and reused. Measure from the seat top to determine their location for the new covers.
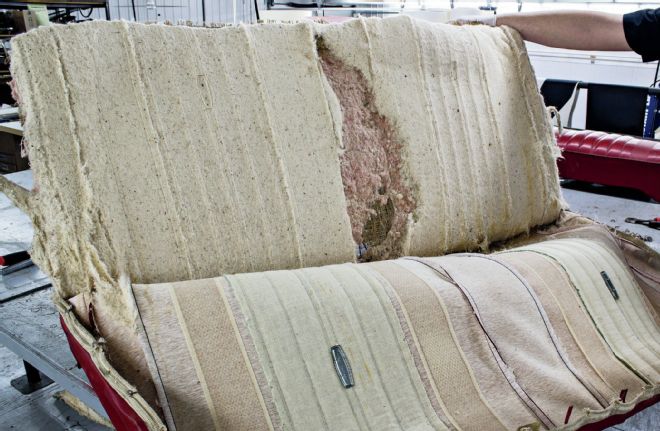
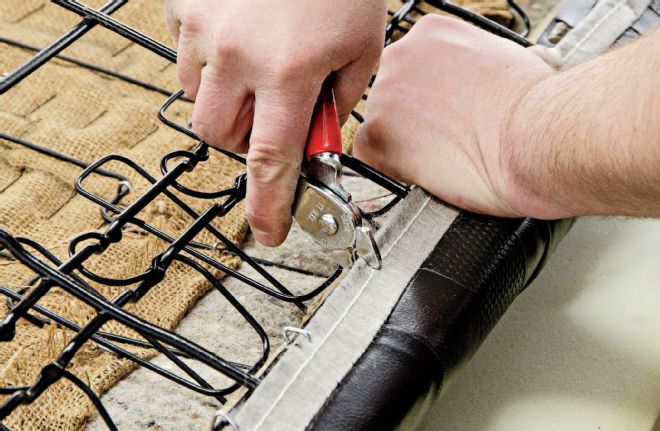
3 The seat covers are held in place by metal wire hog rings. Just twist them off clockwise with some side cutters to peel off the covers. The potential damage you'll find is reason enough to replace your vinyl. Muscle Car Restorations also found a significant amount of mouse droppings at the bottom of the upper back seat.
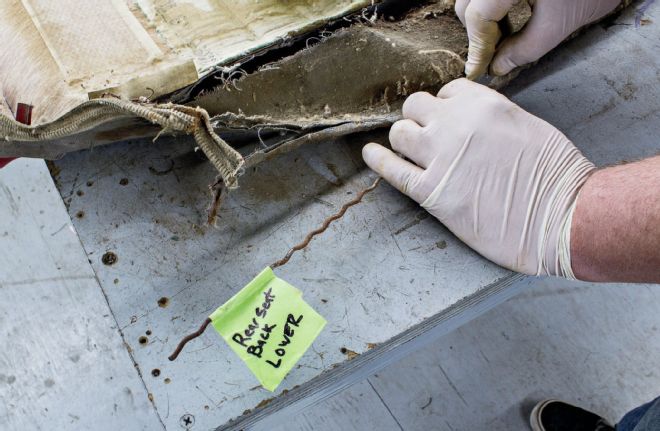
4 Hog rings would easily tear through vinyl, so a tough fabric called listing is attached to the vinyl, and either a heavy cord or a stiff metal wire known as a listing rod is sewn into the fabric. Slide the rods out of their pockets, mark their location, and clean and reuse.
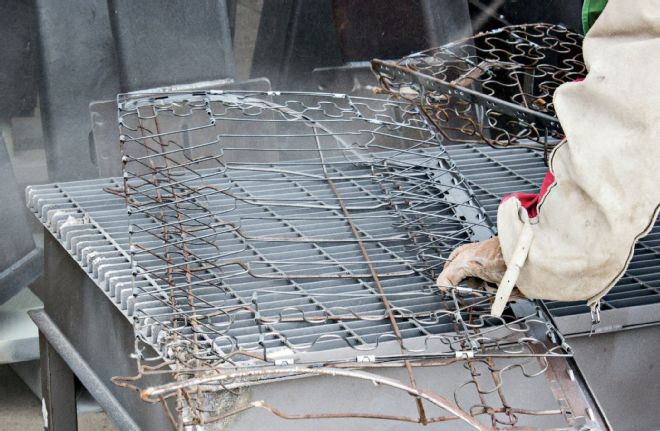
5 The seat springs are generally reusable. Repair any broken or loose springs, and then have them sandblasted before you paint them.
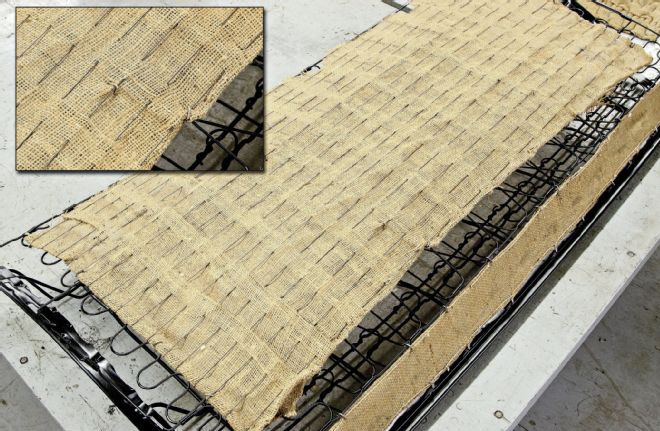
6 You can reuse the old burlap with the wires if it's not rotted or too smelly. If you need to replace it, get some bulk burlap and rethread the wires as you see here. Use just enough hog rings to hold it in place.
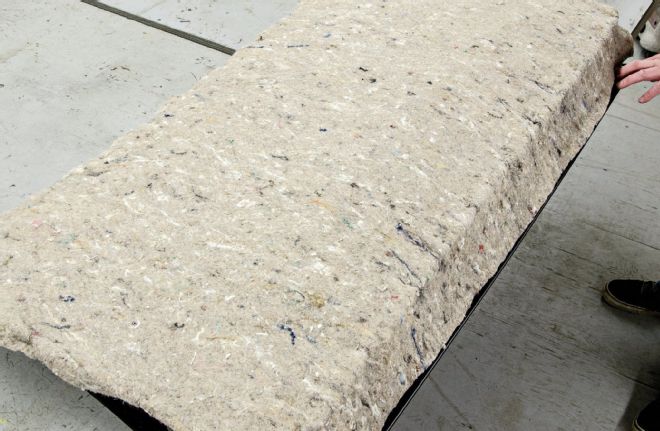
7 Forget about reusing the original jute that was on top of the burlap. Instead, get some ¼-inch jute (same as the backing on some carpets) from an upholstery shop. Use just enough hog rings around the outside edge to hold it in place as you continue.
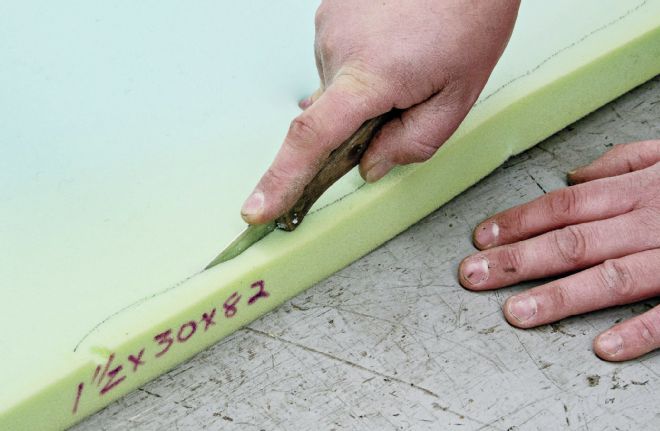
8 The upper part of the backseat will get 1½-inch foam. The easiest way to cut it is with a sharp steak knife.
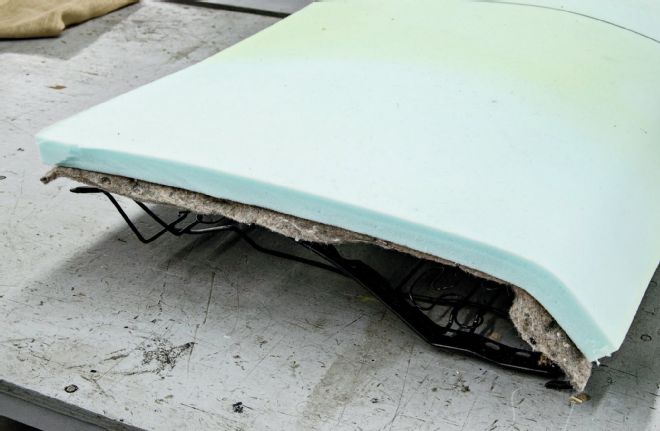
9 While the original style cotton batting is still available, Muscle Car Restorations has found that foam is much easier to work with, doesn't get lumpy, is generally firmer, and looks much nicer when done. This is the correct fit for your new foam on the upper back seat.
10 Following the measurement you took from the old covers, mark the location for the seatback trim, poke the holes with an awl, and attach your repolished or new parts before you start to install your new covers.
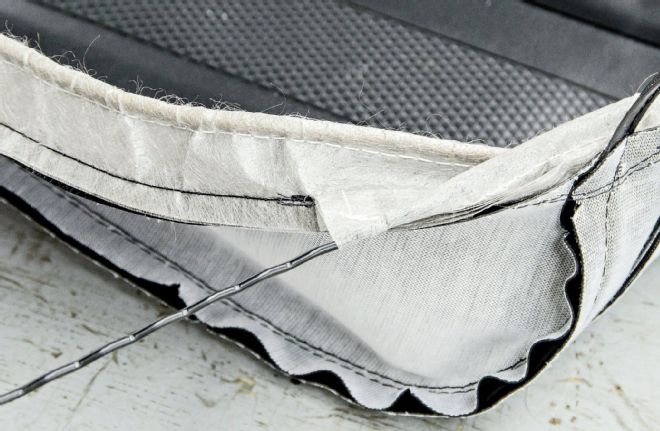
11 Clean the old listing rods with a Scotch-Brite pad before you slide them into the sleeve sewn into the listing fabric.
While you might be tempted to reinstall the original seats if they still look reasonable, think of them like an old couch sitting on the side of the road with a "free" sign on it. You have no idea where it's been, what's been spilled on it, or what's living inside of it. This is especially true of basket cases, since the interior may have been out of the car for some time and stored under who-knows-what kind of conditions.
It's great if all the seats are there and intact so there is a pattern for the rebuild, but in pretty much every case, plan to take them down to the springs and start over. Think about it: What will these seats look like in the car once everything else is restored?
Think of those original seats like an old couch sitting on the side of the road with a ‘free' sign on it
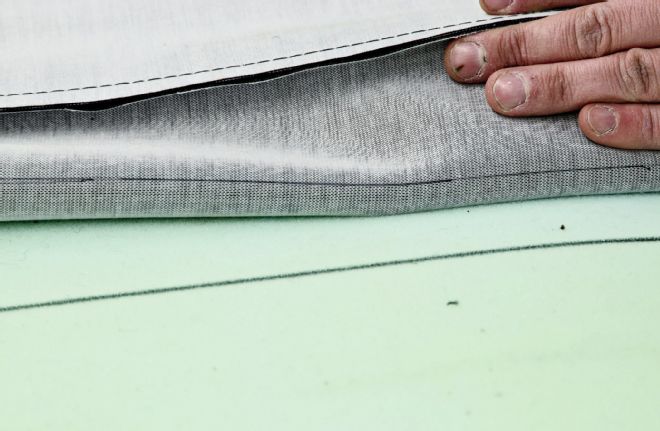
12 Before you begin to install your new vinyl, draw a centerline on both the foam and the new cover. It provides a quick check to be sure the seat covers are properly centered.
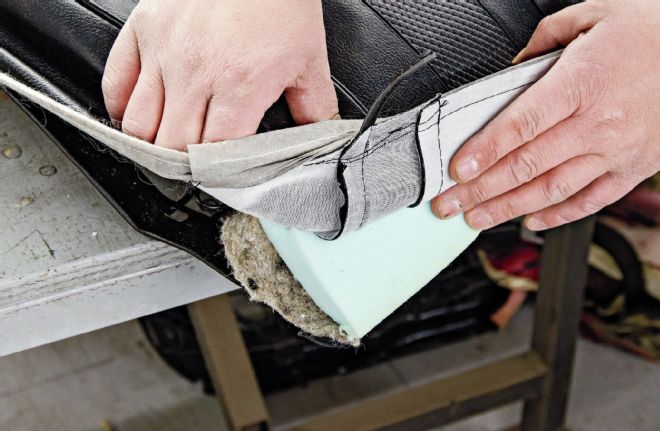
13 Set the new seat covers out in the sun for a while before you install them. That will soften the vinyl and make it much easier for you to roll the covers over the corners of your seats.

14 With both the jute and the covers, place a hog ring every 4 to 6 inches. Also, place something soft under your new covers while you are installing the hog rings so you don't scratch your new vinyl on your bench.
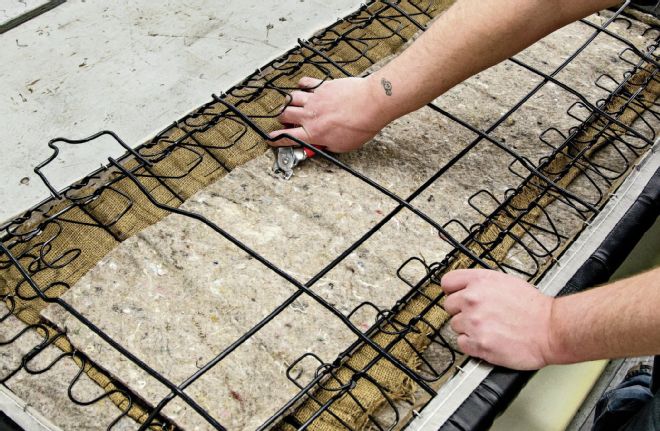
15 Underneath each of the seat sections, the factory installed a second layer of jute for extra sound absorption.
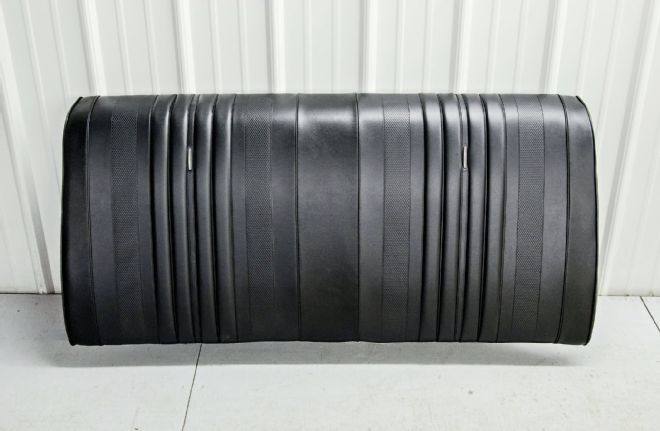
16 Once you have the new cover in place, check that the corners are on the corners of the seat, that it's properly centered, and the lines are all straight. It will be a very tight fit at first, and a little more time out in the sun will help remove any minor lumps or puckers. A steamer with a long rod can be used to apply moist heat to problem areas from the backside. Of course, you'll need to remove some hog rings to get the steam under the cover.
Plan to take them down to the springs and start over
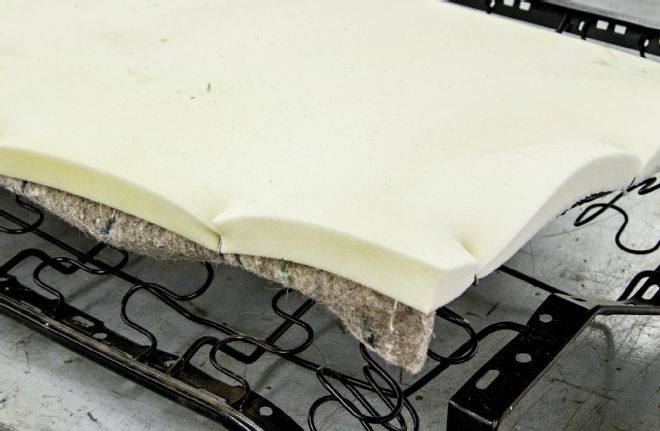
17 For the bottom of the back seat, use two 1-inch pieces of foam. Cut the first one so it just covers the top of the springs. It's OK to use a few hog rings to hold it in place.
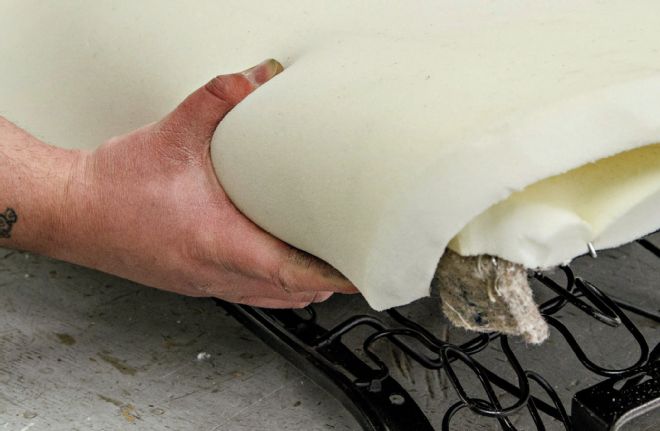
18 The second piece of foam will roll over the front of the seat. This will make it much easier to install the covers than with 2-inch foam and will give you better corners.
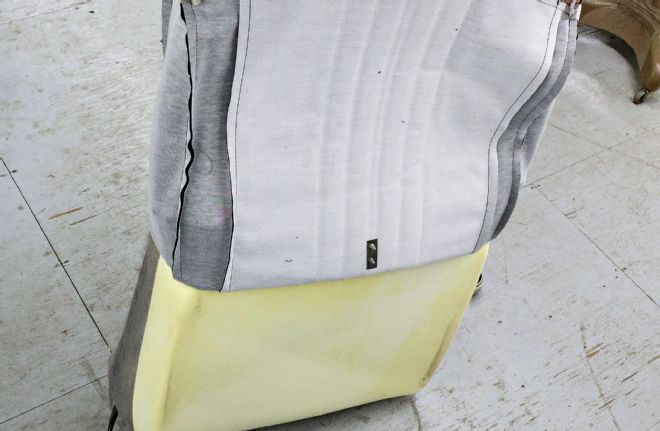
19 The cover for the front seat bench installs much like the back seat, but the upper front seat is a split-folding upright similar to a bucket seat, so the new covers slip on from the top. Don't try to pull them on right side out. Instead, turn them inside out and roll them on from the top.
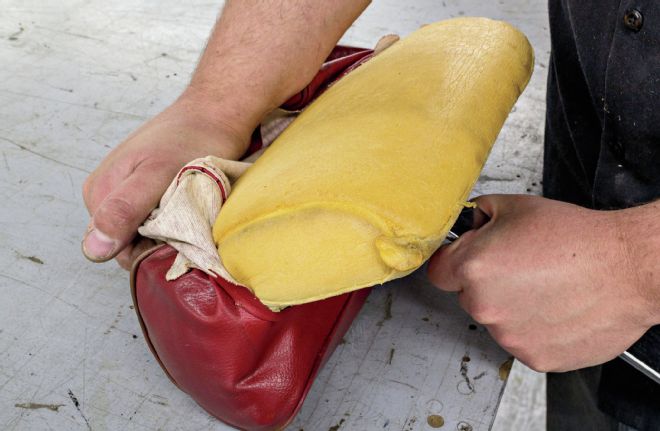
20 Recovering the headrests is pretty straightforward. The foam is fairly firm and so, unless it's damaged, is usually reusable. Just roll the old vinyl off of the foam.
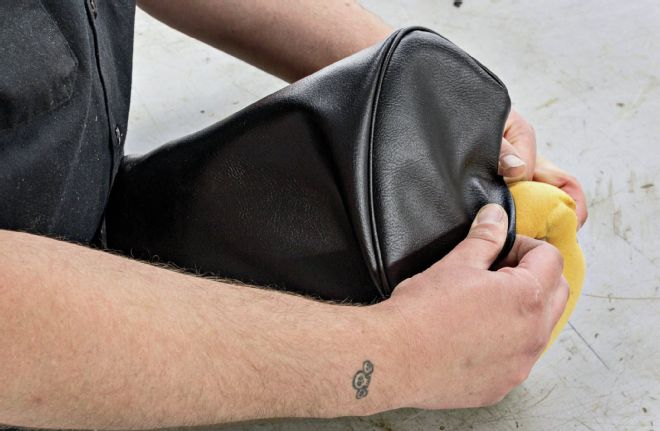
21 A little time in the sun will really help here, too. Start from the front of the headrest and work your way toward the rear as you pull the cover over the foam.
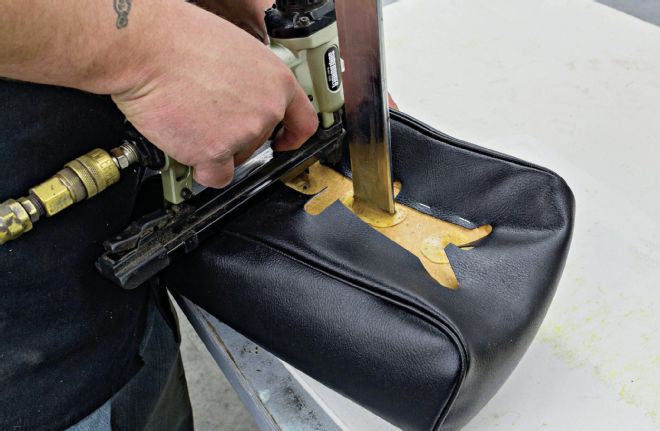
22 Once in place, simply staple to the underside and you're done.