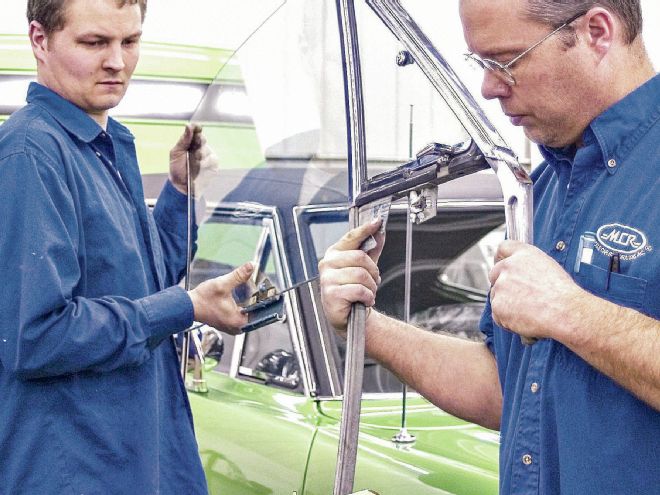
Funny thing about working on classic muscle cars, it seems the more work you do the more things you notice that could use attention. You paint the car and decide that while you are at it you should probably restore or replace the trim. You rebuild and detail the engine but now you just can't bring yourself to put it back into the unrestored engine bay. You replace the windshield and now the rest of the glass that you used to think looked pretty good appears a little dull.
Well, this is why we have been following owner John Balow's personal 1968 Plymouth Barracuda as it makes its way through Muscle Car Restoration's progressive restoration process, one that allows customers to tackle one bite-sized project at a time and not be overwhelmed with trying to do it all at once. This time we are going to show you how to reinstall and adjust side windows.
Whether you intend to replace your door glass, remove it to polish it, or are just tired of having to wiggle a quarter window to get it to go up and down, we're going to show you how to make everything look and work like new again!
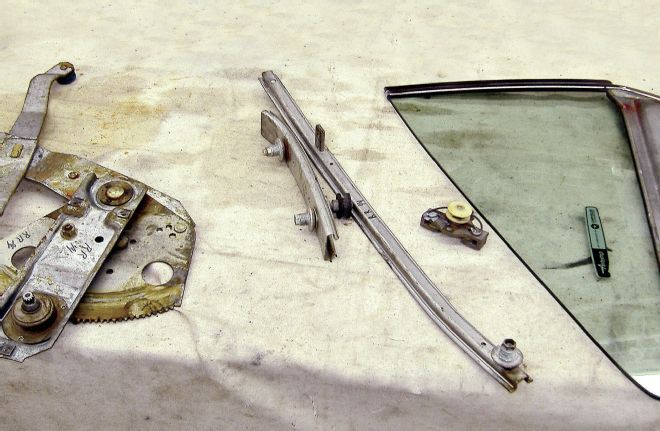
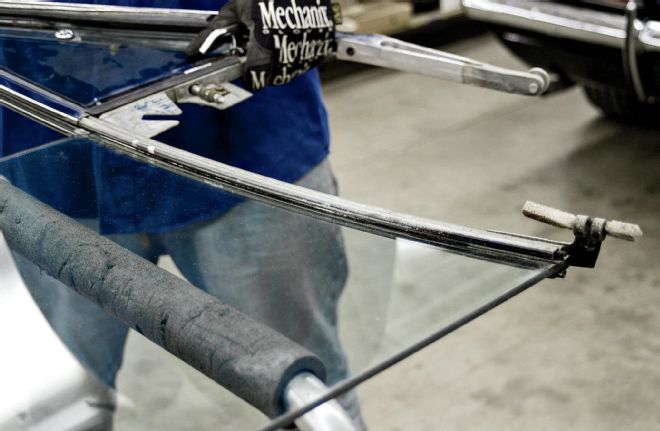
This is all of the quarter window parts. You'll have a regulator, the rear and front run channels, three rollers (one is bolted to the other side of the frame), and the quarter glass.
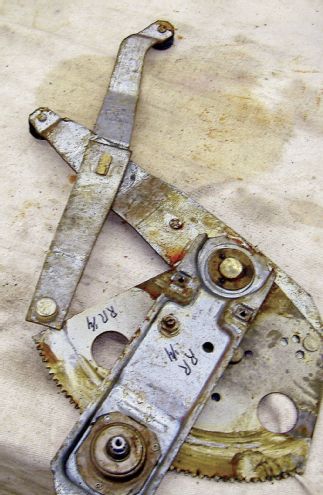
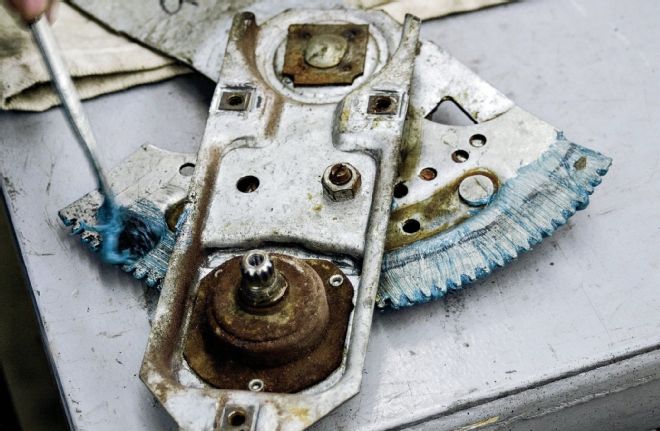
Thoroughly clean and inspect your regulator. If yours has gotten sloppy, find a good used one as they really are not repairable.
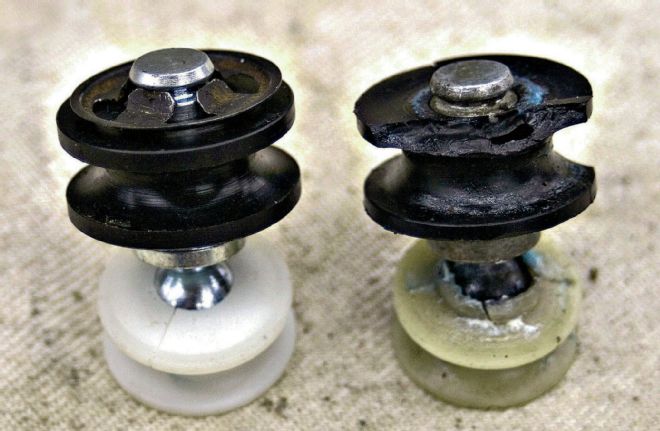
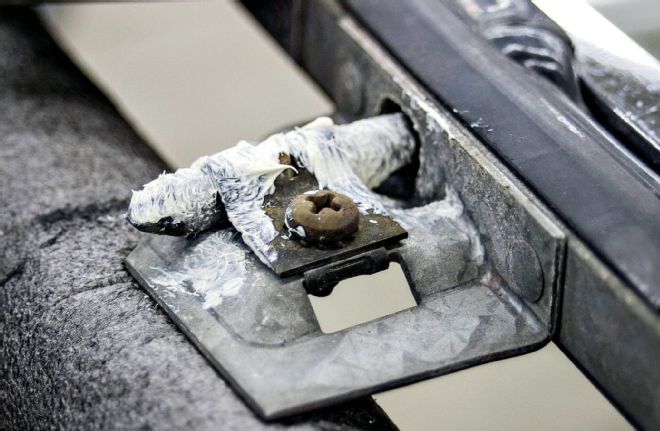
Broken guide rollers are not uncommon. New ones are available from YearOne. This one rides in the rear run channel and slot number one.
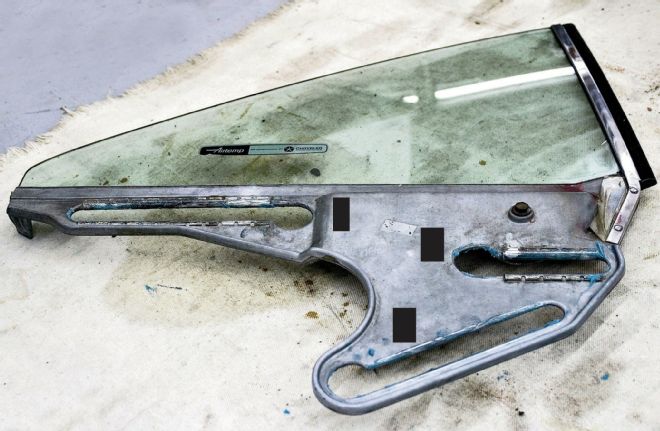
Do not attempt to remove the glass from its holder. If your glass is bad, you'll be replacing the whole assembly. Pay attention to the numbered slots. You'll be referring back to these as we begin reassembly. (Note: Most of the assembly photos are of the opposite side.)
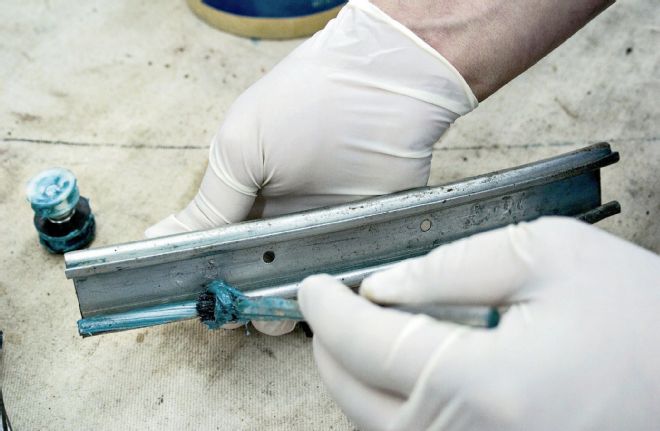
Use high-temperature wheel bearing grease or white lithium on the roller guides, the channel edges, and the regulator pivot points.
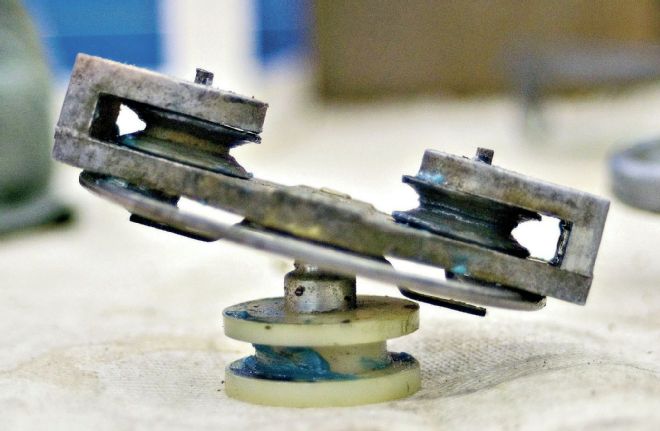
There are two of these roller guides, one floats free in slot number three while the other is bolted to the window holder.
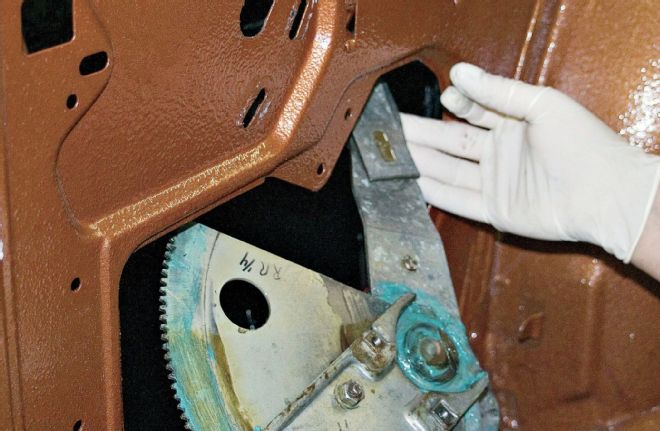
When you are ready to reinstall the quarter window, start by installing the regulator first but don't tighten up the bolts because you will be removing them again in a minute. Next, insert the glass and let it rest on the bottom of the quarter. Put some tape over the sheet metal edges to avoid scratching the window as you lower it in place and watch that you don't scratch the window on the regulator.
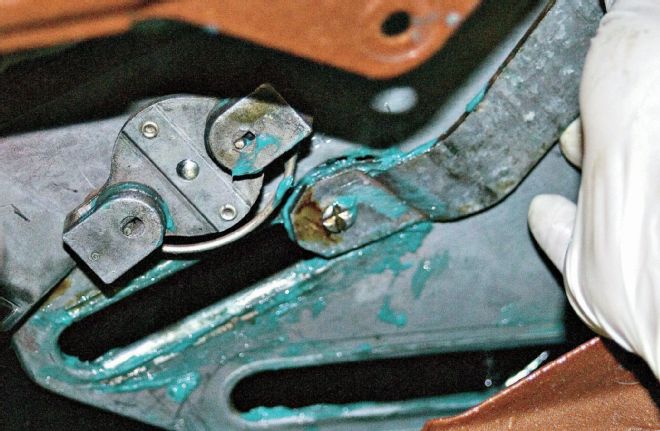
Insert the single roller into slot number one and slide it to the rear. Now unbolt the regulator and move it so you can insert the regulator roller into the same slot. With that done, insert the lower regulator roller into slot number two. Note the fixed guide roller just above this slot. You'll be slipping the forward run channel into it during the next step. Lastly, slide the third regulator roller into the run channel that's welded to the body and rebolt the regulator in place.
Regulators: How It All Works
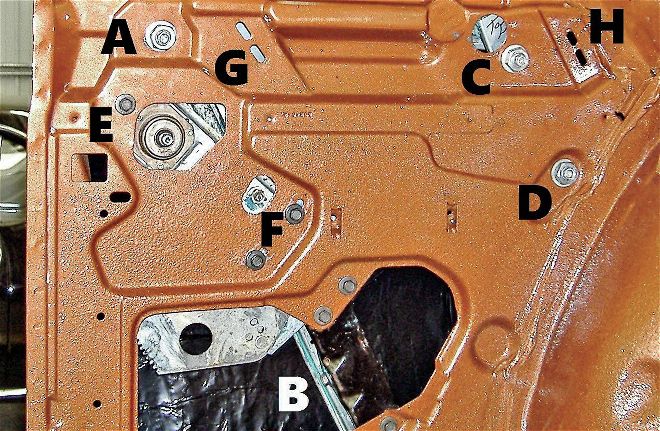
Here are the different adjustment points for a '68 Barracuda quarter window. Most other cars will be similar. Points A and B allow you to move the front run channel side to side, which will adjust the leading edge of the window left or right if you move them in the same direction or tip the top of the window in or out if you move them opposite one another. Point B will have a greater tipping effect. C and D work basically the same for the rear channel. The regulator pivots at point E, so moving the bolts at F will rock the window front to back. Because the pivot point is near the front, this effectively allows you to raise or lower the rear corner of the glass. G and H (not installed yet) are the window-up stops that prevent over-raising the window.
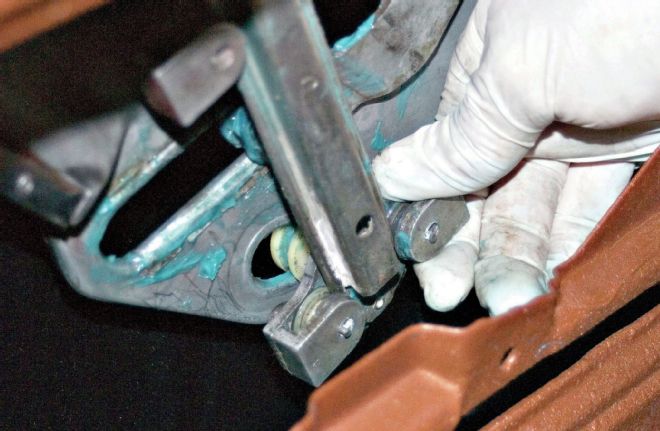
The front window channel is next. Slide the roller guide into slot number three and then lower the window. Now take the channel and slide it through the fixed roller guide and into the one you just placed in slot number three. There is a tab in the channel between the rollers—it will later bolt to a slot on a bracket that will allow the bottom of the window to be moved side to side.
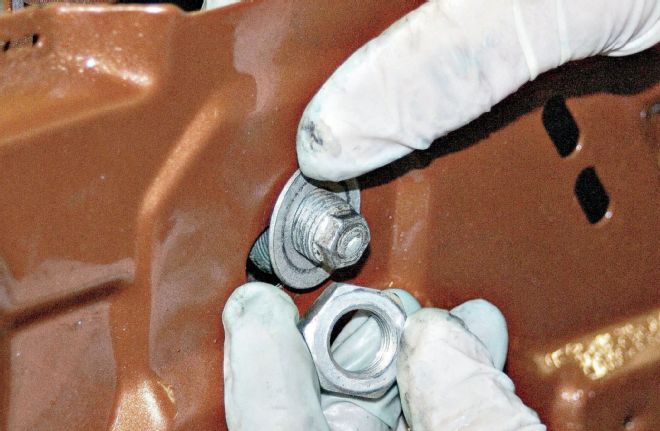
The stud at the top of the track goes into this slotted hole. You'll use the small nut and stud to move the channel in or out to adjust the front of the window.
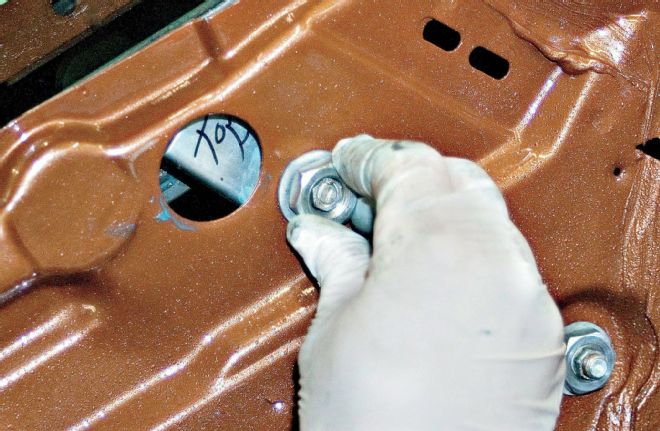
The rear window channel is next. You'll need to roll the window up until you can see the single roller in this hole. Slide the channel over the roller and line up the two adjusting studs; spin on their nuts and tighten in place. These studs are for the side-to-side adjustment of the rear of the window.
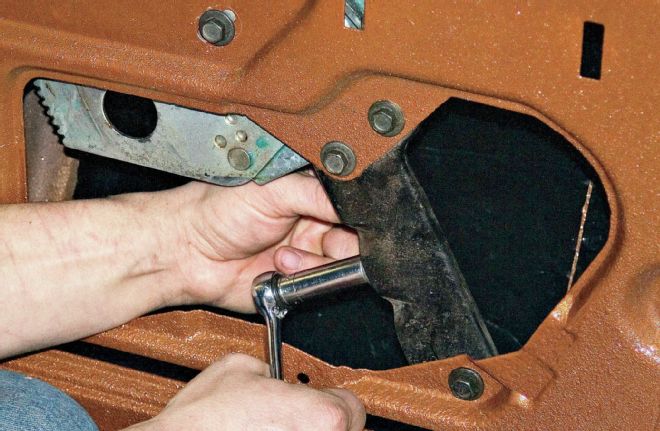
With the window still in the up position, bolt in this brace and attach the tab mentioned earlier at the bottom of the front run channel. The slotted hole in the brace allows side-to-side adjustment of the bottom of this channel.
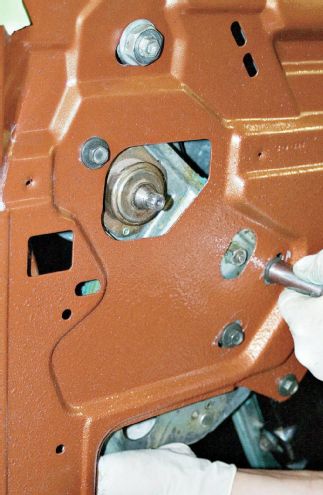
The two lower regulator bolts are in slotted holes that will allow you to rotate the glass front to back.
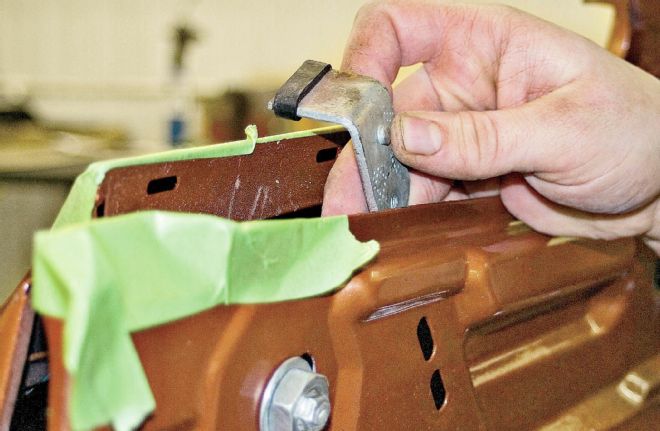
There is a window-up stop at each end but these can only be roughed in until the door glass and all of the weatherstripping is in place.
The side and vent windows install as a unit. Be sure the vent widow channel is clean; lube it with some white lithium, then slide the door window into the vent window channel.
Put some grease on the vent window pivot as well.
Just like with the quarter window, clean and grease the window channel and the regulator. Bolt the regulator loosely in place.
Window Alignment
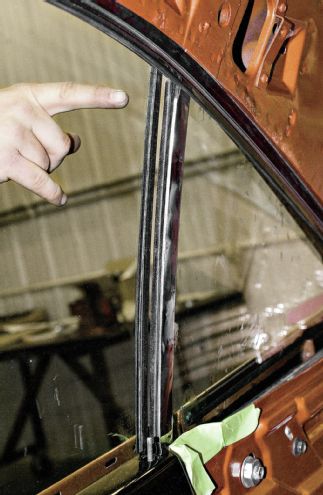
As you can see, our quarter window is too far inboard. The top of the glass also needs to be tipped out a little. Both can be adjusted by working with the front window channel until the door glass seals tightly against the leading edge of the quarter window. As you are doing this, keep an eye on the top of the glass to be sure that a good seal is maintained against the top weatherstrip. Don't be afraid to move the door glass inboard a little if necessary. You also need to check the vertical alignment between the windows. Rotate the quarter window if this is off. Expect to do some fiddling to get everything just right and don't forget to roll each window up and down a couple of times to check for smooth operation. It's also a real good idea to run a hose around the windows to check for leaks before you replace the door panels.
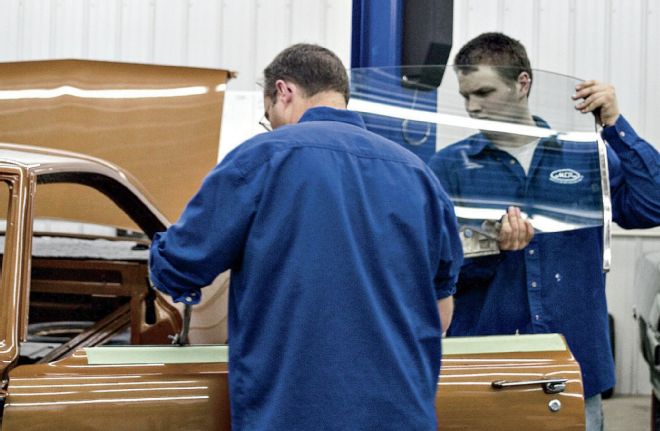
An extra pair of hands would be very helpful for this step. Starting at the back of the door and with the assembly rotated 90 degrees, insert the bottom of the vent window channel into the window opening, rotate the windows back to parallel, then slide them forward and insert the windows into the door.
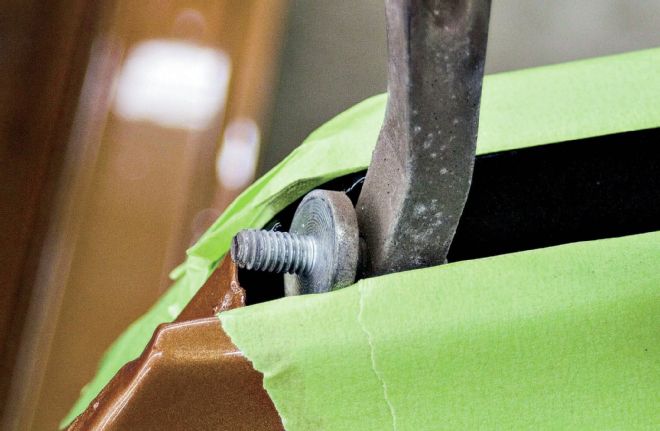
You'll use this stud at the end of the vent window frame to tilt the whole assembly to the front or back to align the vent window with the A-pillar.
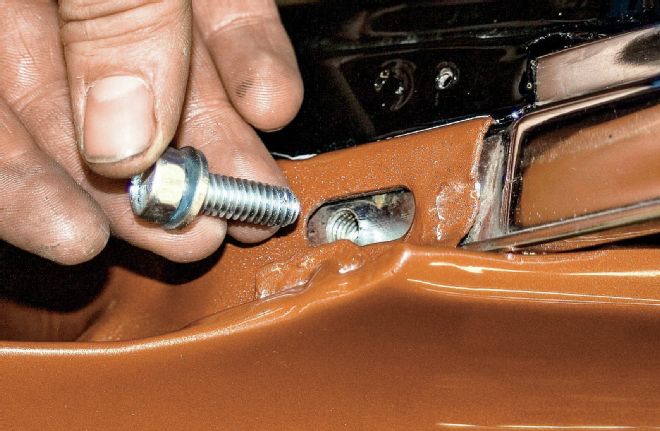
At the very front corner of the vent window, this slot allows vertical placement of the window frame. Leave the bolt a little loose for now and lower the window into the door watching out for the regulator on the way down.
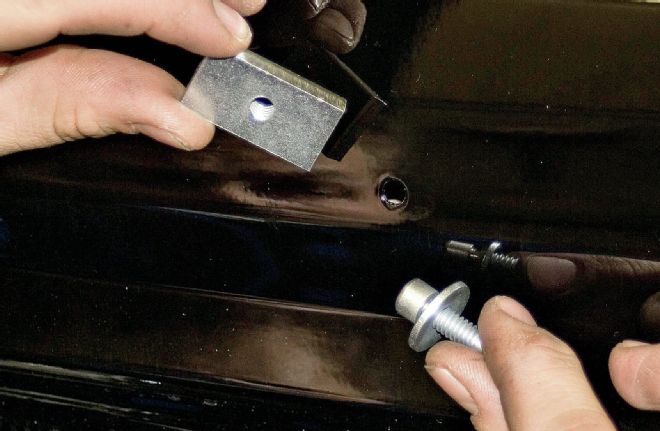
This slotted tab supports the back half of the vent window frame. You'll loosen the bolt through this access hole in the inner door frame so you can adjust the rotation, and rise and fall of the vent window.
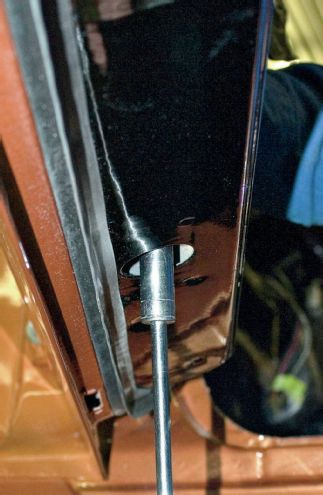
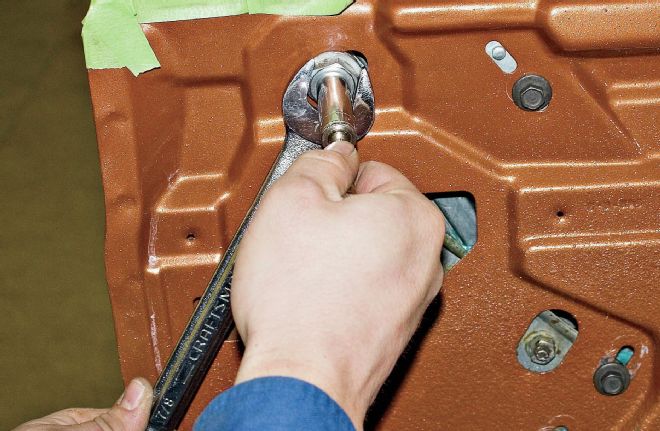
Side-to-side and fore-and-aft placement of the bottom of the front window channel is set by accessing this stud through a hole in the bottom of the door. You'll use this mostly to tip the top of the glass in or out.
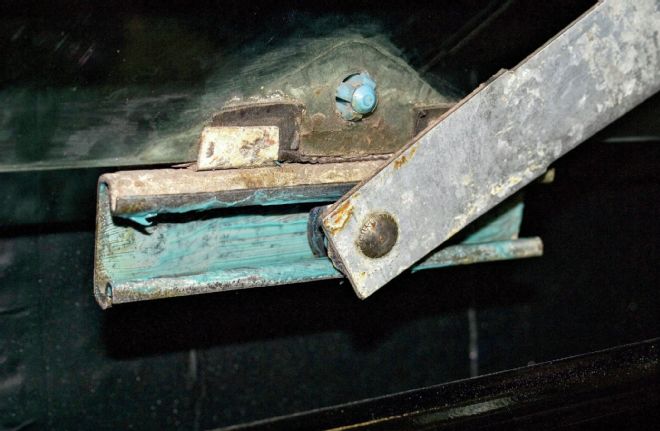
You'll need to unbolt the regulator to slide the roller onto the window channel. Roll the window all the way up when you are done.
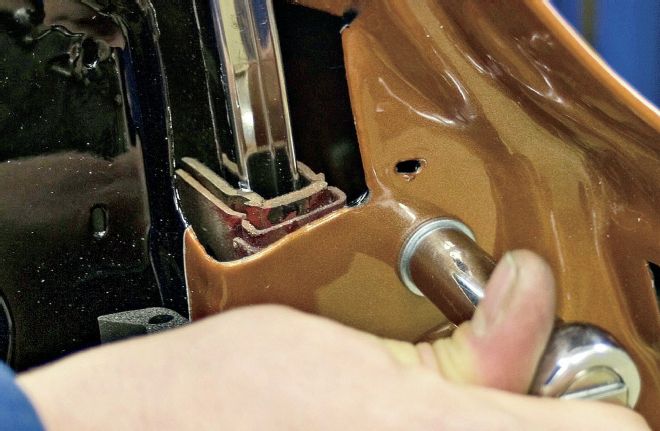
With the window up, install the rear channel. The two bolts on either end of this channel allow you to move the glass side to side and tip the top in or out. Before you begin adjusting your windows it is critical that the door first be properly aligned and that any new weatherstripping is in place.
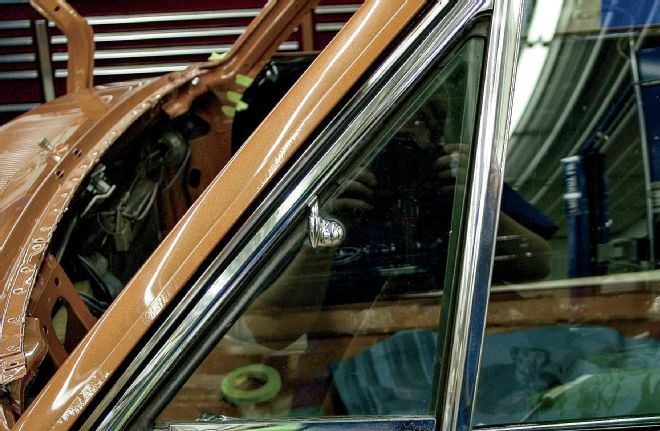
Start your adjustments by setting both the angle and the height of the vent window to the A-pillar. The door window should now match up pretty close to the top weatherstrip but it's possible that you may need to slightly rotate the entire assembly. Next, adjust the rear channel so the top edge of the glass is even, front to back, with the weatherstrip. Set how tight the window fits against the weatherstripping by tipping the top of the window in or out. You can check this by closing the door on a new dollar bill. You've got it right when the bill will pull out but not easily.