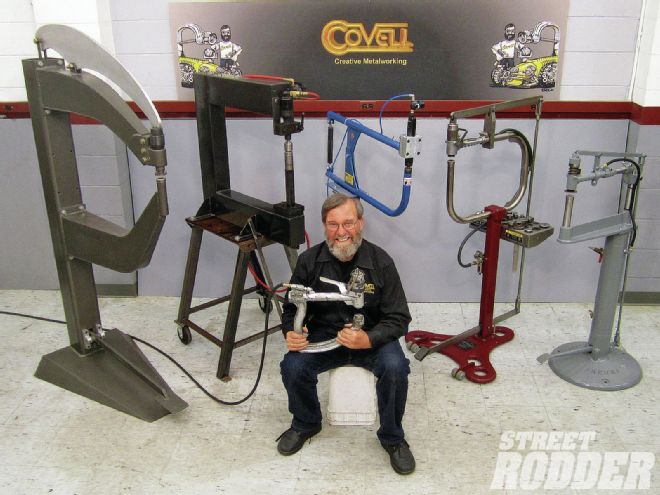
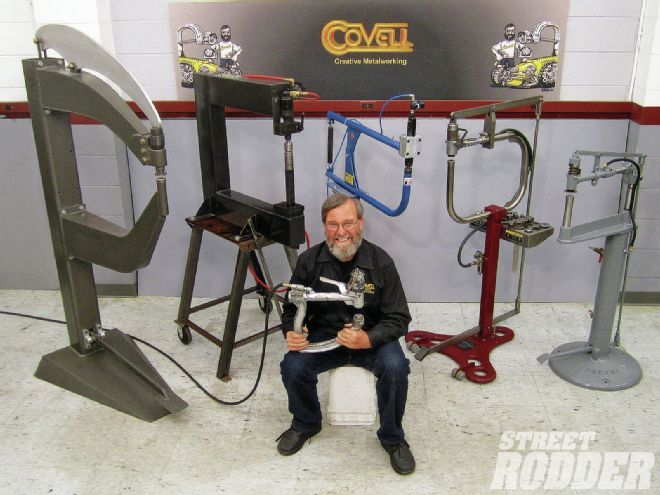
Pneumatic planishing hammers are a real workhorse for both professional and amateur metalworkers. In this article, we’ll look at new hammers available at different price points, plus some vintage planishing hammers. We’ll discuss the relative merits of each machine, and show some of the varied tasks these machines excel at.
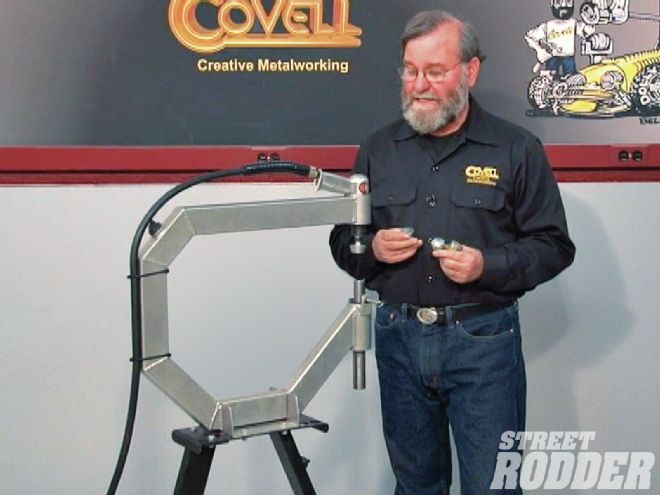 Here’s a Harbor Freight machine. It’s good for smoothing small panels, and enables you to do power planishing on a shoestring budget.
Let’s start by defining the term planishing, which means to smooth by light hammering. Metalworkers have been planishing sheetmetal parts ever since hammers were invented. The basic idea is that hammering with relatively light blows will tend to smooth the metal, and as long as you use the proper technique, the metal won’t become over-stretched.
Body hammers are fairly light, and if you just allow a hammer to fall from several inches above the metal, the light hit doesn’t cause any change in the metal. You need to swing the hammer with enough force so that inertia causes the hammer to do some useful work. The moving parts of most pneumatic planishing hammers weigh just a few ounces, so it requires a lot of inertia for the lightweight die to move the metal. This is accomplished by oscillating that small weight rapidly.
Now, let’s compare planishing hammers with some of the more powerful metalshaping machines, such as an electric power hammer. A power hammer will most likely have a moving upper die and holder that can weigh upwards of 10 or 20 pounds, and it’s operated by an eccentric crank that lifts this die and then literally throws it down against the lower die. Most power hammers have some sort of elastic material (usually leaf springs and fabric webbing) between the crank and the moving die, which allows the mechanism to store and release energy, something like “cracking a whip.” This causes the dies to strike together with enormous force, and this will make the metal move in a hurry. Planishing is a much more delicate operation, better suited for smoothing rather than for big-time shaping.
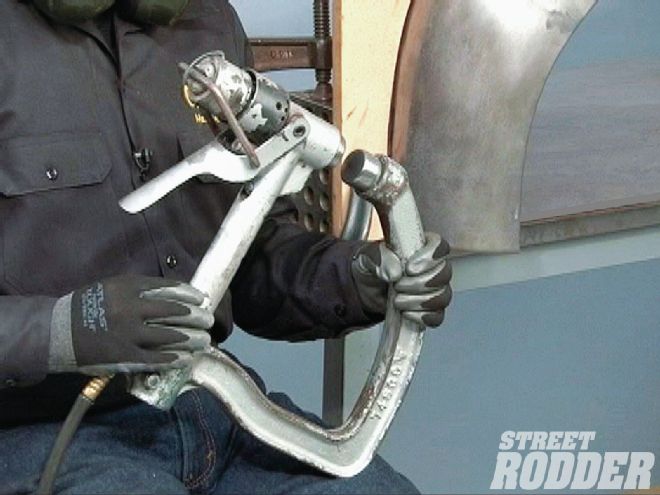 Handheld hammers can sometimes be used to take dents out of a panel without removing it from a car. This is a vintage Chicago Pneumatic (CP) machine.
There are many other machines that are used to move metal; a partial list includes Helve Hammers, English Wheels, and Universal or fixed-stroke reciprocating machines.
The traditional way to planish a piece of metal is to work against a dolly block that has a shape close to what you want for the finished panel. You place a rough-formed piece of metal on top of the dolly, and hammer the metal so that with each blow, a small portion of the metal gets squeezed tightly between the hammer and dolly. Even if the metal is initially lumpy or wavy, the metal will smooth out with enough hammering, assuming the hammer and dolly have smooth surfaces, and as long as enough force is applied to exceed the elastic limit of the metal.
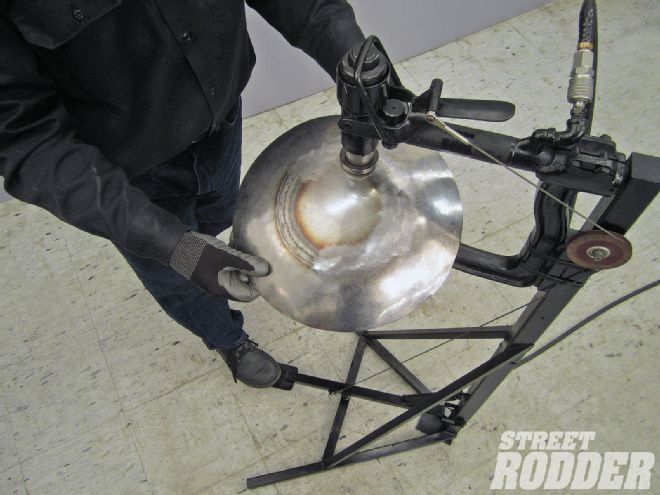 This vintage CP handheld machine is mounted on a shop-built pedestal. It’s operated by a foot pedal that operates the control valve with a cable. This makes a great machine.
If you’ve done much hand planishing, you know that it’s a slow process at best, and even a proficient metalworker is sometimes challenged to get everything aligned just perfectly, so the hammer hits the metal at exactly the point where the dolly is touching on the back side. If you miss this contact patch by even 1/4 inch, the process doesn’t work well at all.
A key benefit of using a pneumatic planishing hammer is that the “hammer and dolly” (actually the upper and lower dies of the machine) are always precisely aligned, presuming the machine was set up properly to begin with. Further, many planishing hammers work at about 2,500 hits per minute (a few go up to around 10,000) so they are much faster than hand hammering, and the quality of smoothness obtained on the finished part is usually much better than what you’d get with hand hammering. Working as fast as I can while maintaining control, I can only manage about four blows per second, (240 hits a minute) so a planishing hammer can be at least 10 times faster than hand hammering.
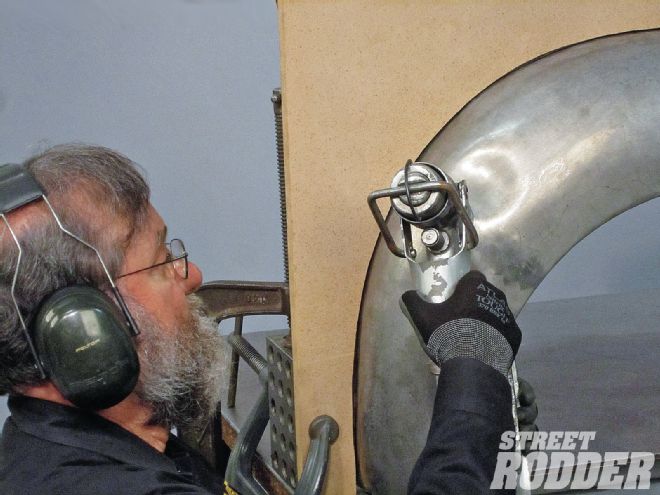 This tool can work a panel in place, sometimes saving hours on a repair job.
The construction of a planishing hammer is fairly simple. The power unit (typically an air motor or some sort) is the “heart” of the machine. This can be as simple as an air chisel on some entry-level machines, or it could be a needle scaler, which will typically have more power. It could also be a riveting gun, or an air motor designed specifically for this application. Using a purpose-built air motor or a rivet gun brings a lot more controllability to the process, allowing you to “feather the throttle” a great deal, adding a valuable degree of control over the process. Air chisels and needle scalers usually have limited speed adjustment.
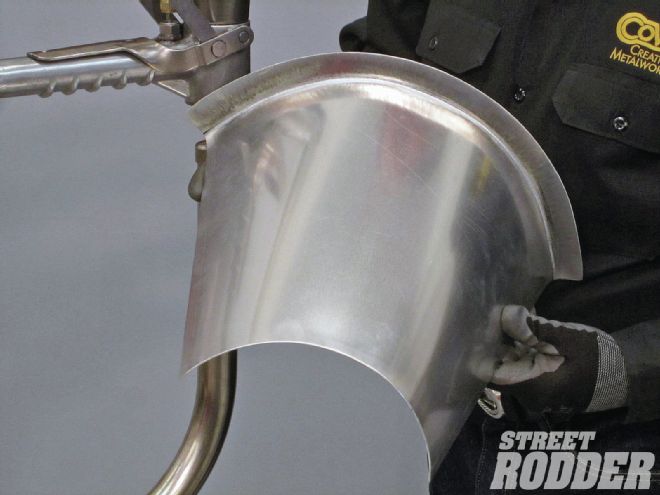 Another task that planishing hammers do well is turning flanges. That’s how this flange was formed on the front of a transmission cover.
While somewhat unusual, some very effective planishing hammers have been built that are completely mechanical, and don’t require compressed air to operate. Check out the photo of the Mechammer in this article.
The power head is fastened to a (usually) C-shaped frame, with a receiver placed directly below it to hold the bottom die. As you’ll see, there can be a number of different lower dies used, depending on what you’re trying to accomplish with the machine. Many machines have a foot pedal that starts and stops the hammering action, although some machines use a hand-operated valve.
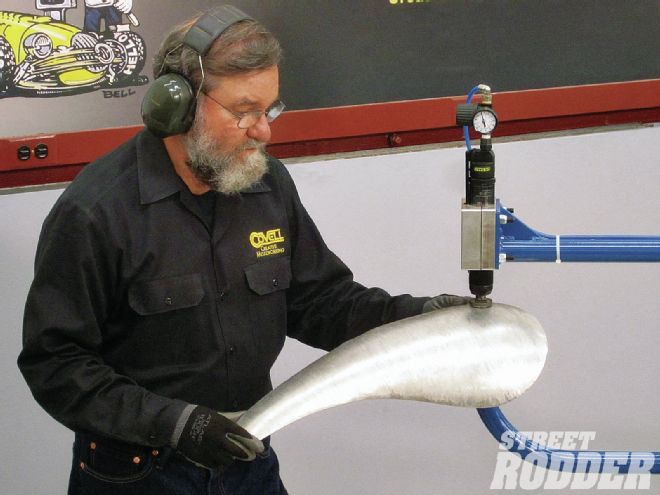 This motorcycle gas tank side was roughed-out with a mallet and bag, then smoothed with the planishing hammer in about two minutes.
It’s important to be able to change the gap between the top and bottom dies. One reason is to simplify die changes, and to accommodate the use of dies with different heights. Another is to allow panels with flanges, beads, or other obstructions to be easily fed into place between the dies. The tightness of the dies (the gap between them as you’re hammering) has some effect on the way the machine works, too, and some machines are set up so the same foot pedal that starts and stops the hammering action also adjusts the gap between the dies. While not essential, this is a desirable feature.
Some machines are pedestal-mounted, so you can position them wherever you want, while other machines are bench-mounted, and a few machines can be handheld, as you’ll see.
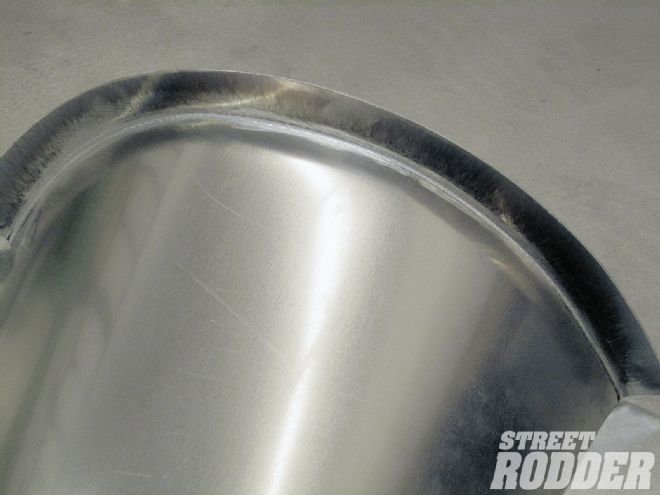 There is a special linear stretch die that’s ideal for curving flanges. After turning the flange, this panel “opened up” a bit, so I regained the proper contour with the linear stretch die.
Let’s take a look at several different styles of planishing hammers, keeping an eye out for the unique features of each type. At the end, we’ll show examples of a few machines that are often confused with planishing hammers, but are fundamentally different.