
You may not think you'd have much use for a tube bender when building a car if you're not contemplating fitting a rollcage, but they have plenty of other uses. They come into play while fabricating chassis crossmembers or under cowl braces, whether for adding strength to the cowl or for mounting brake boosters, A/C units, or even pedals. But think smaller, too. How about nerf bars, bumpers, tube grilles, even? Or perhaps for framing out a body, whether 'glass or steel. See, you can bend square tubing as well as round tube, which opens up numerous possibilities. In fact, as is so often the case, once you have a tool, in this case a tube bender, you'll wonder just how you managed without it!
Let's look first at bending square tubing. This is easily achievable with a very basic bender, such as a floor-mounted item readily available from discount tool warehouses. The trick to bending square tube is to be able to "push" the side of the tube on the inside of the bend inward as the bend is formed. Think of the bends on school chair legs, and the like.
We noticed this at Aldana Race Cars and Components in Orange, California, where the crew was using this method to great effect on the inner framework of a glass '27 T they had in the shop when we visited. By bending the tubing, it could follow the contours of the body and doorskins, providing a lightweight yet sturdy framework in thin wall 1-inch square tubing. OK, so it isn't as attractive as round tube, but it does what it's intended to do with minimal fabrication once hidden behind upholstery.

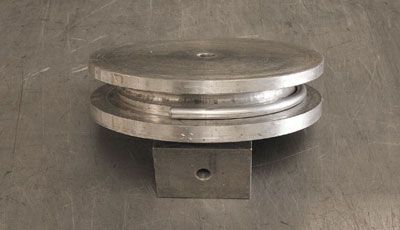
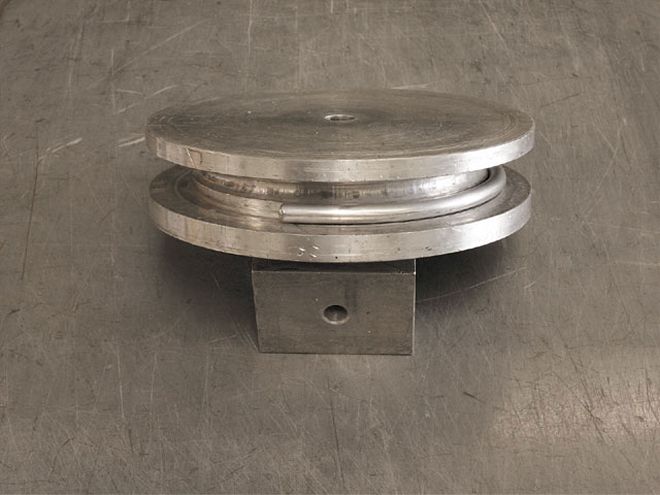
Moving on to bending round tubing, Nate at Aldana tackled a single bend in 1-1/4-inch-diameter, 1/8-inch wall round tube, destined to become a rear radius rod. For this, he used an MB die in a Cranlee hydraulic bender. However, a neat trick we'll share with you is a way to save money by not having to buy dies to fit every diameter of tubing. The die used is for 1-1/21/2-inch tube, but Aldana has fabricated a number of "cheater" dies, which consist of 1/8-inch wall, 1-1/2-inch-diameter tubing first bent in the 1-1/2-inch die, then cut in half so it fits inside the die. This reduces the tube diameter that can be bent to the same as the inside diameter of the cheater die, in this case 1 1/4 inches. Of course, a corresponding 1-1/4 1/4-inch "shoe" or follower has to be fabricated or bought, too. This is the straight former that "follows" the tubing as it is bent.
Next, Nate fabricated the main section of a tubular rear bumper for a '32 coupe. This was formed from 1-1/21/2-inch-diameter seamed tubing, so no need for the cheater die. Aldana likes to place the seam on the inside of the bend to avoid it splitting during the bending process.
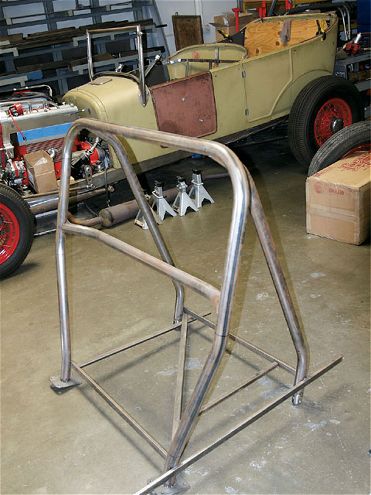
We also paid a visit to Kiwi Steve's Hot Rod Shop in Brea, California, for a lesson in bending rollcage tubing and how to notch the ends where two tubes join. Steve is an SCTA tech inspector and is currently putting together a '27 T Bonneville car. He starts any bending job by determining a consistent known point where a bend will begin to form on a piece of tube, much like the way Aldana marks the tubing. In the case of a rollcage, rollbar, or cowl brace, he'll make a mock-up from cardboard to determine the physical limitations inside the vehicle. Then, he'll use this to draw a fullsize template, usually on the floor by the bender, as that's a nice large flat area to work on! We won't get into the specific diameters and gauges of tubing required for rollcages or rollbars, as they vary depending on the motorsport involved, but would advise you to consult your rule book for such specifications before cutting and bending any tubing.