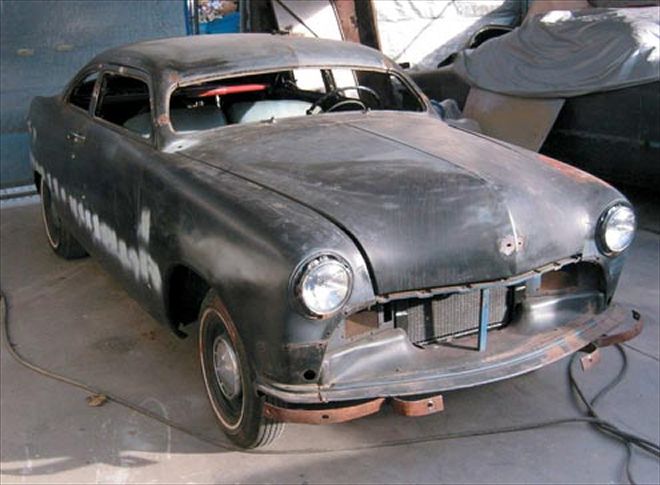

Back in the May issue we cut the roof off a perfectly good Shoebox Ford to illustrate how to transform a sedate, little coupe into a mean-lookin' kustom kemp. We only got as far as lowering the actual lid, and in last month's edition metal master Scott Guildner demonstrated how to fit the freshly chopped doors and fabricate all the little trim pieces necessary to make the windows look right. Now, we're finally going to finish things off.
What you see laid out before you is, without question, the most difficult part of the chopping process. Hacking off chunks of roof with a Sawzall and cutting window frames is easy; the true trick to chopping a top is in how the back window is finished. While there is slightly more fabrication required in this final step than the rest of the project has required, don't be afraid...simply take things one step at a time and work with a cautious hand. According to Guildner many backyard bodymen have a tendency to rush through this last step, which can result in a badly botched roofline that looks either far too slanted or lumpier than grandma's gravy. You may notice that we make use of several cardboard patterns in this stage of the chop, and we do so for good reason. Now that the roof is in place and the final finishing panels need to be fabricated, paper products are a lot cheaper than metal and easier to work with, to boot. Try different shapes and sizes, and if something doesn't work, simply throw it in the round file and start over. Once your desired panel has been successfully fabricated out of processed tree guts, transfer the pattern to steel and start welding! Remember to tack-weld only, as final fit and finish can take a while and laying down long sections of weld can warp and wave panels that aren't fully tacked to the car. Now follow along as we complete the chop process on what is quickly becoming a tasty traditional treat, and look for a future article that will illustrate how to cut down stock glass for your freshly chopped ride.