It's said you can't have too much of a good thing and that's certainly true when it comes to brakes. After all, have you ever heard anyone complain about the brakes on their street rod being too good?
One of the most common modifications to street rods is the installation of a Mustang II–style independent front suspension with disc brakes. Many of these IFS kits use GM metric calipers and rotors in the 9.5- to 10.5-inch-diameter range. And while they are often much better than the brakes they replaced, there are options available that will provide increased stopping power at an affordable price, such as Classic Performance Products' (CPP) latest offering.
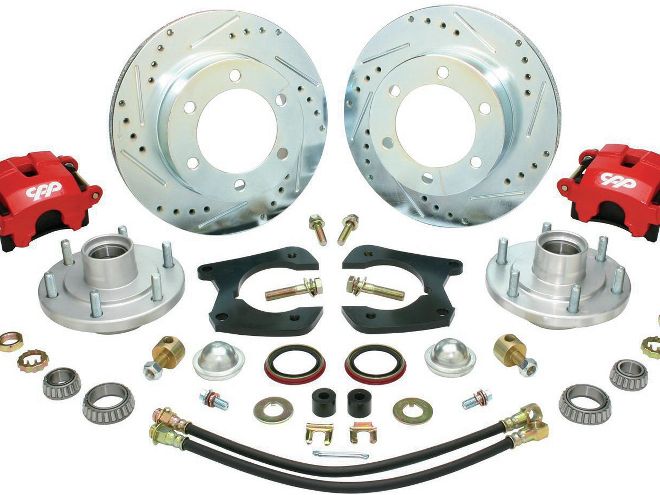
Designed to work with stock or drop Mustang II spindles these new brake kits are available in 5x4.5 and 5x4.75 bolt patterns for cars as well as 5x5 and 6x5.5 (Chevy truck) and 5x5.5 (for early Fords cars and trucks). The new CPP brake kits include 11.7-inch ventilated rotors (upgraded slotted cross-drilled rotors are also available), forged CNC-machined anodized hubs, and new big-bore metric calipers. CCP's calipers are an all-new design and are lighter and stronger than those commonly used. The larger-diameter piston coupled with the larger-diameter rotors, provide a 20 percent increase in stopping power.
CPP's metric caliper and rotor kit is a simple upgrade for any vehicle equipped with a Mustang II front suspension system. We followed along with camera in hand as Dru Beeler at Hot Rods by Dean upgraded the brakes on the STREET RODDER shop truck. In no time at all we had better looking, more effective brakes—that really is more of a good thing.
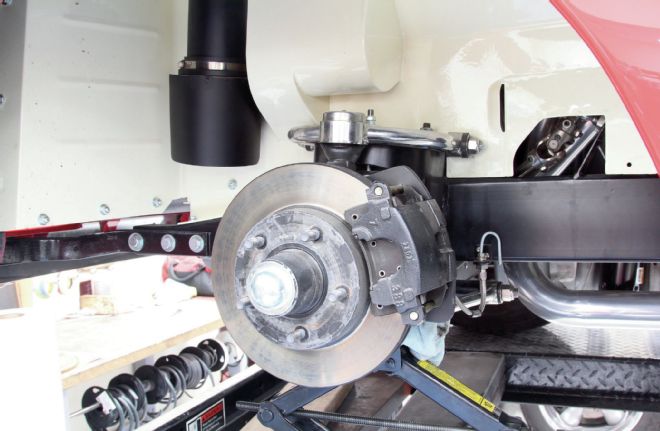
1. Like many street rods, the subject of our swap was equipped with small, 10-inch-diameter rotors and single-piston calipers.
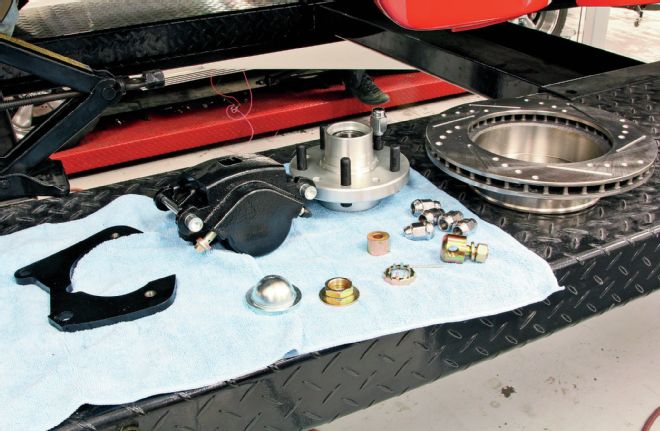
2. CCP's kit included new forged aluminum calipers, aluminum hubs, drilled and slotted rotors, along with new bearings and all necessary hardware.
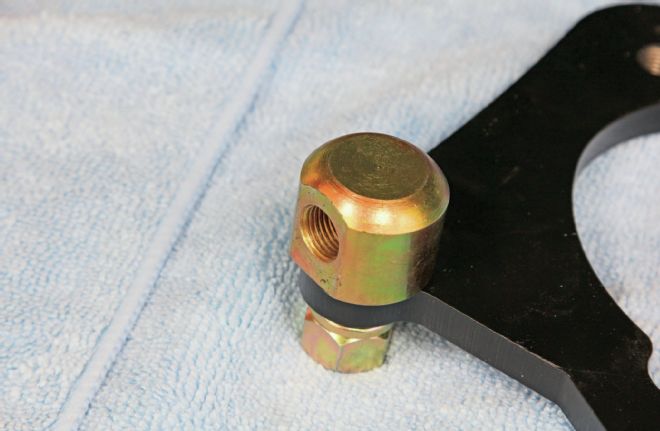
3. This is one of the unique upper anchors used to attach the caliper brackets to the spindles.
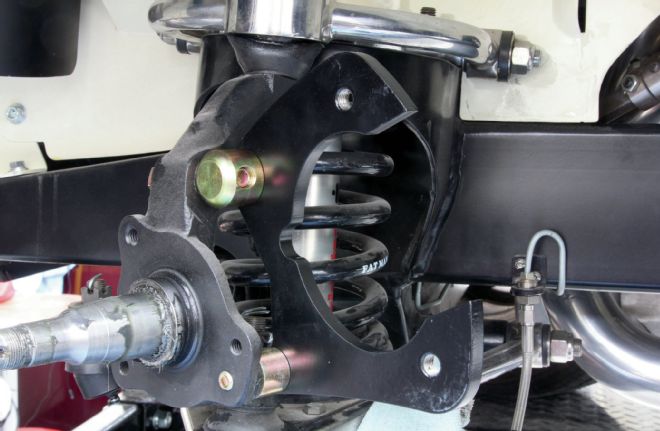
4. The upper anchors are clean looking, strong, and position the calipers properly in relationship to the rotors.
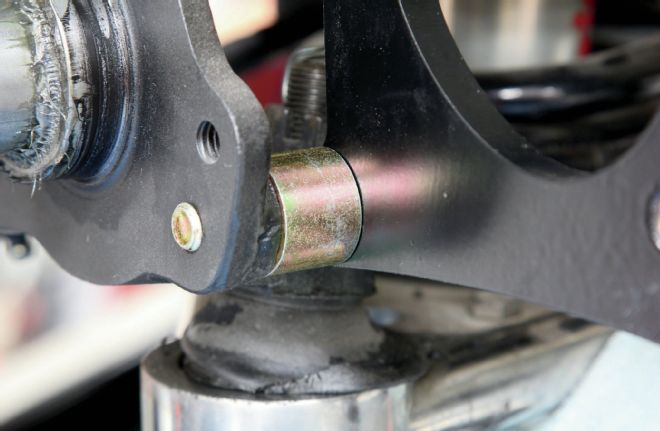
5. Included in the hardware kit are 7/16-14x2-inch bolts and spacers to attach the caliper mount to the lower brake boss on the spindle.

6. During the initial installation all the fasteners are installed finger tight—once started they are all tightened to specs.
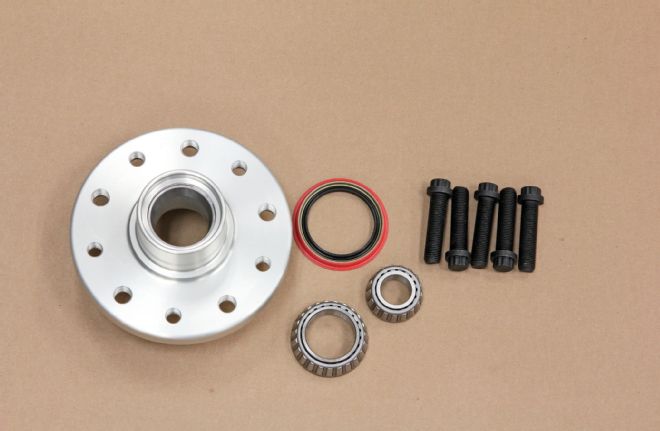
7. Along with the aluminum hubs, new bearings, seals, and studs are included in the kit. This is a six-lug truck hub drilled for 7/16 and 1/2-inch studs.
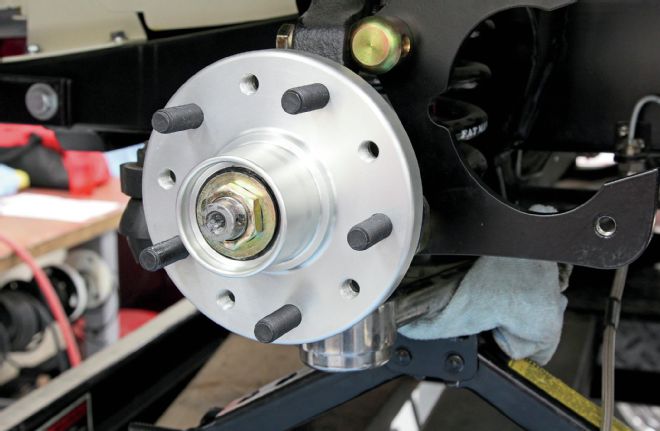
8. This is a five-lug hub as used in our installation, again it is drilled for 7/16 or 1/2-inch studs. The bigger studs are recommended for large-diameter wheels and high-performance applications.
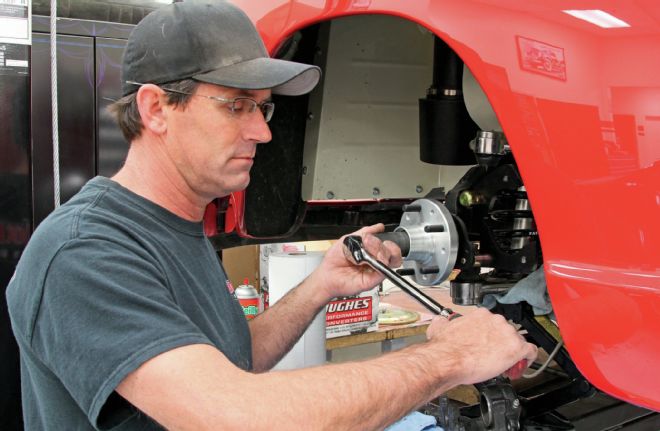
9. Dru Beeler from Hot Rods by Dean followed CCP's procedure for adjusting wheel bearings: Tighten the nut only slightly (no more than 12 lb-ft), spin the hub in a forward direction to ensure the bearings are fully seated. Check that the spindle nut is still tight. If it is not, repeat the first step.
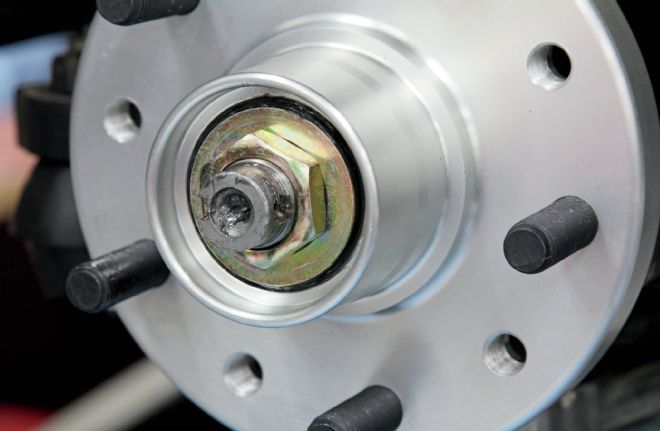
10. Next, loosen the spindle nut slightly.
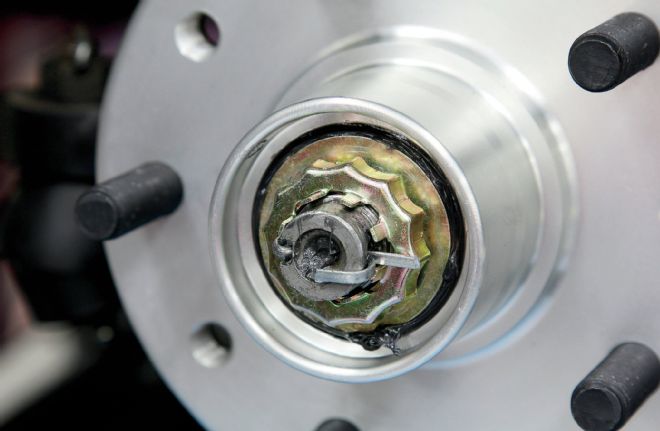
11. Finally, hand-tighten the spindle nut, install the nut cage, and install the cotter pin.
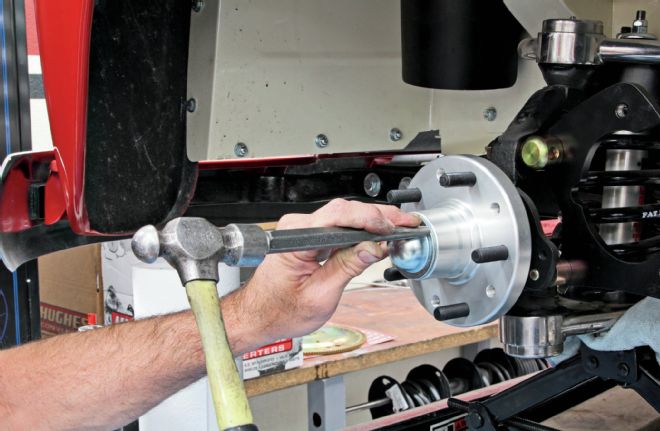
12. With the bearings adjusted the grease caps can be tapped in place.
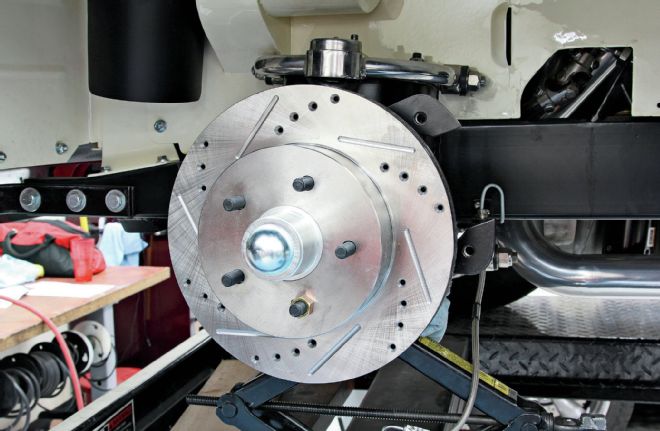
13. Installing the rotors is simply a matter of sliding them over the studs—the wheels hold them in place.
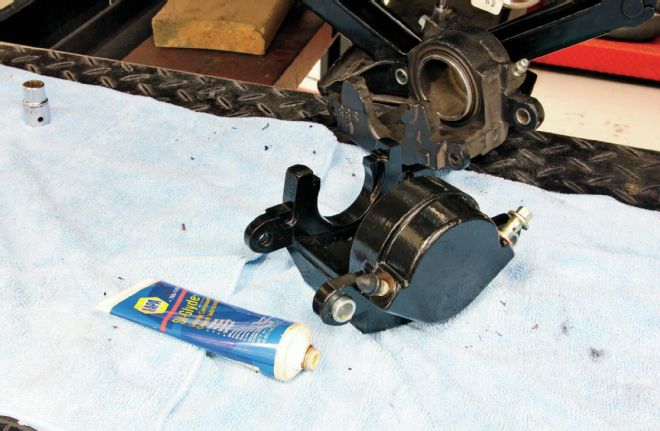
14. The new calipers are installed with the bleeder screws toward the top.
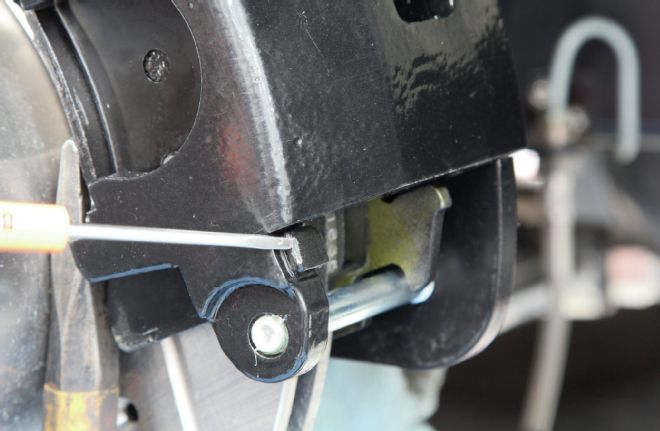
15. A small dab of the proper lubricant should be applied to sliding surfaces of the calipers (the small screwdriver points to one of them).
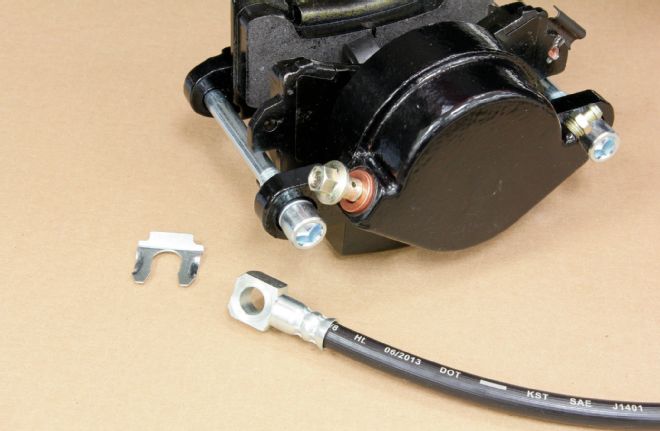
16. New brake hoses are also included. Copper washers are used on both sides of the caliper connection to prevent fluid leaks.
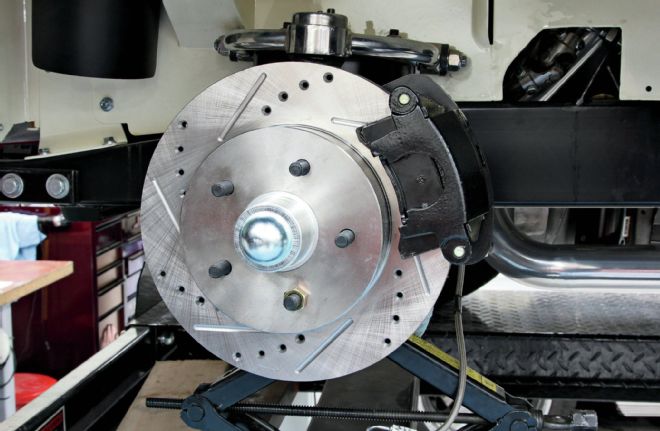
17. With the installation completed the bigger brakes will not only be more effective than the originals, but better looking, too.