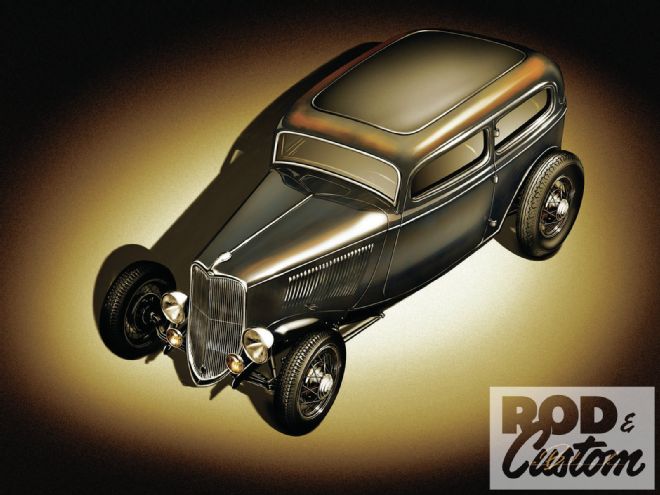
It’s been well over a decade—14 years to be exact—since I’ve built, let alone owned, a real hot rod. And by hot rod, I’m talking NSRA-parameter, pre-’49 hot rod (customs I’ve had more than my share of in that timespan). Self-proclaimed post-’48 affinity aside, I love early traditional cars just as much as anything else—including Fords—so, one of my goals after coming aboard at R&C was to end that dry streak. It’s only taken, what, three years to get around to it?!
About a year or so ago, an old pal by the name of Darrell Mayabb forwarded a “lead” on a car that another pal, Bob Owens, had for sale in Texas (Owens Salvage in Flower Mound). That car just so happened to be what I’d been dreaming about for my next little project: a ’33 Ford Tudor sedan. Solid, complete, and priced right, the only slight drawback was the aforementioned locale; fortunately, yet another old pal, Mark Warrick (owner of Soncy Road Body Shop in Amarillo), stepped up, took the unneeded parts off my hands, and had the rest hauled out to California for me.
While the Tudor body and related parts were in transit from Flower Mound to SoCal, I had time to come up with a game plan for the pending build. First off, remedy the lack of chassis by building a completely new one from scratch—and by building, I mean having not just an old pal, but one of my closest pals, Jimmy White at Circle City Hot Rods (you know, the guy/shop who’s always there to lend R&C a hand!), build it for me.
Starting with a set of American Stamping’s ’33-34 ’rails from Speedway Motors (one of the main suppliers of parts for the project), the plan was to create as traditional a platform as possible, using a myriad of vintage-styled aftermarket components. That translated into wishbones front and rear (Johnson’s Hot Rod Shop cast-aluminum rears; Speedway’s steel fronts), Chassis Engineering forged I-beam, and a Winters Performance steel banjo rearend—all set to roll on a quartet of Wheel Vintiques repro Ford wires wrapped in Excelsior Stahl-Sport radial bias-plies (each not-so discretely mounting atop drum brakes). Motorvation-wise, you already know what’s going between those ’rails: 8BA Ford Flathead, courtesy of H&H, backed by a Tremec TKO500 via Wilcap’s cast adapter kit.
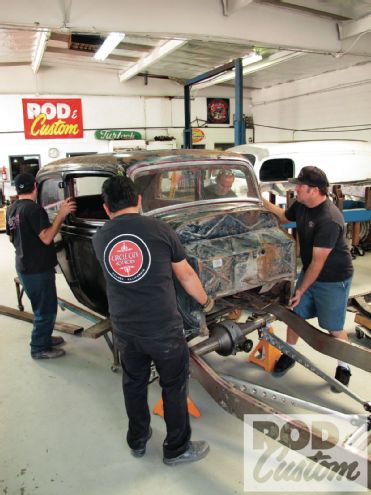
Once the chassis is finished—as in turnkey—and we get a few of the body’s hiccups un-hiccuped (namely pulling the driver-side B-pillar back out, but also remedying some rust), it’s off to the Kennedy Bros. in Pomona, California, for a little vertical attitude adjustment. We’re not talking “Bonneville chop” here, though I am somewhat a fan of hammered ’33-34s … just a couple inches off the top to better proportion things. The plan is to drive in, cut/fit/weld, and drive home. That’s the “plan”, but as we all know, things don’t always go as, well, planned. However it works out, Jason Kennedy and I will lower the sedan’s lid, regardless how the car comes … and goes.
Beyond that, where the Tudor goes all depends on where it’s pointed, as I plan on driving it, not finishing it! No paint, Spartan interior, minimal detailing—once she’s up and running, she’ll stay that way … emphasis on “running”. Stay tuned.
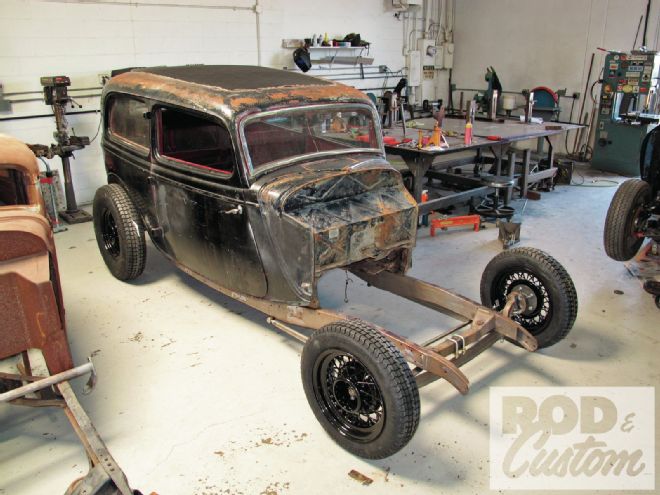
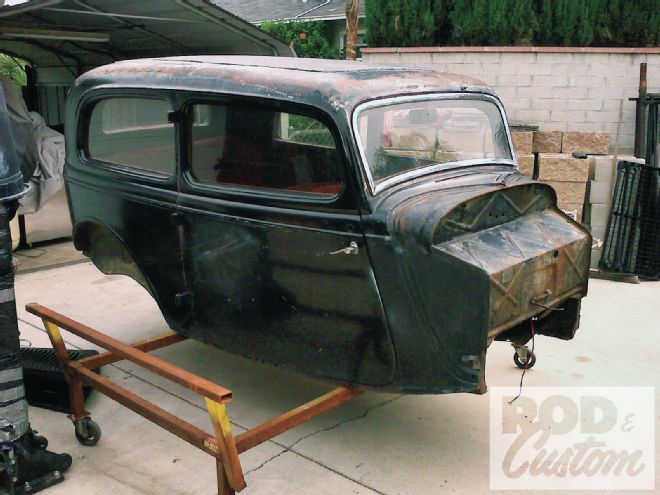
1 The ’33 Tudor, as she patiently awaited (perched atop Kev Elliott’s body dolly) her new chassis in the dirty, dusty confines of my backyard. Thankfully, the wait is now over.
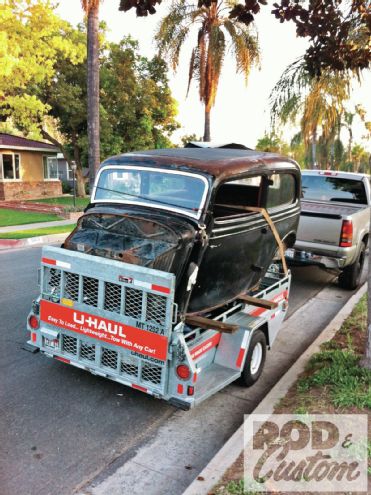
2 Not the most prudent method of transportation, but at the time, ’twas the only viable means of getting the body to and fro! I don’t suggest anyone in their right mind do the same, that is unless you’re as brave (and stubborn) as I!
3 Meanwhile, back at Circle City Hot Rods (CCHR), the new frame had already begun its formation. Using factory specs courtesy of Wescott’s, Jimmy White only needed to “fine-tune” the ASC ’rails into his ’33-34 passenger car frame jig.
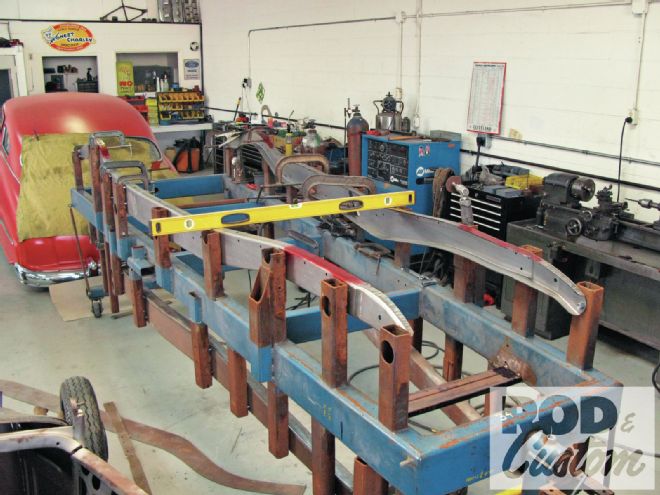
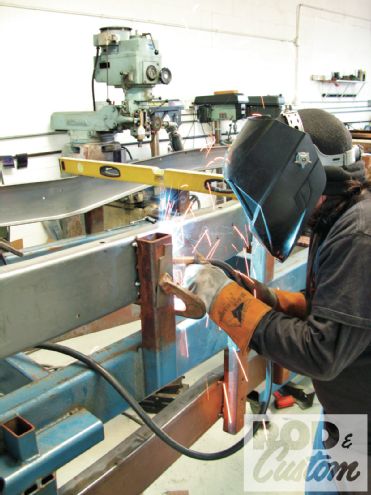
4-5 Once leveled, squared, and so on, the ’rails were securely tacked in place.
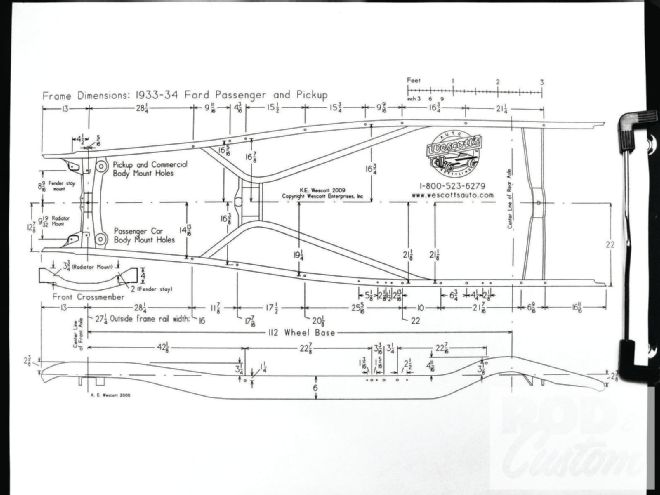
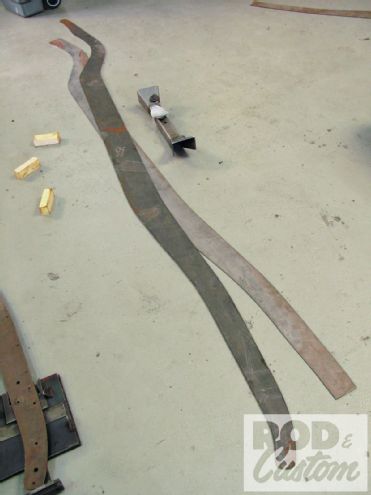
6-7 Speedway Motors also supplied a set of boxing plates and front crossmember kit along with the American Stamping framerails.
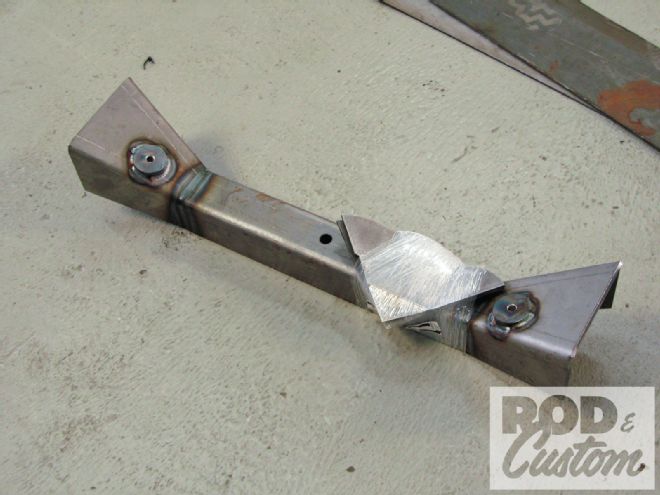
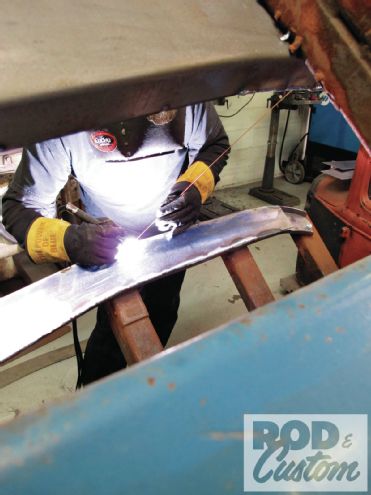
8-9 The plates were rather time-consuming installation-wise, to say the least. But being the perfectionist he is, White insisted on not only TIG-welding as much as possible, but completely finishing off (smoothing) all the tedious welds in the end as well. Who am I to argue with that?!
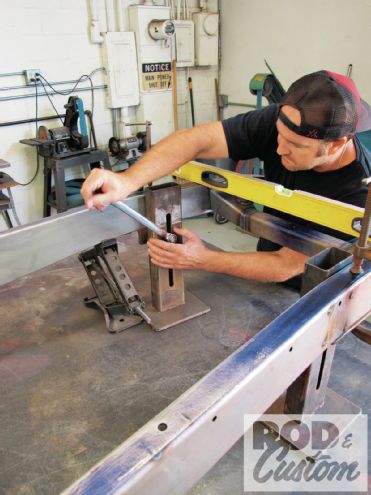
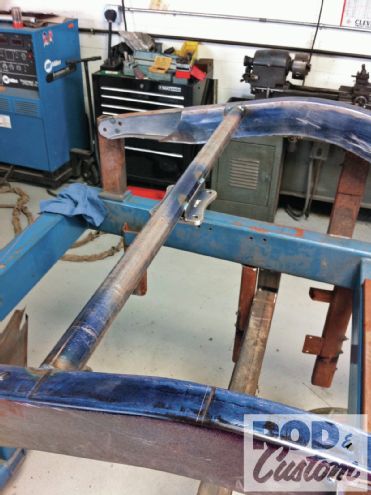
10-11 As mentioned, the “stock-ish” front crossmember is a Speedway item; the rear, however, is a SO-CAL Speed Shop ’40 Ford-type tubular crossmember.
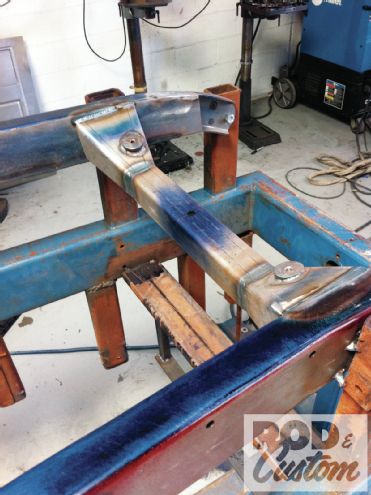
12 Once all the plating and ’membering was completed, the perimeter frame was transferred to the official frame table for final mockup and subsequent suspension setup, the latter of which we’ll address next month.

13 Despite having both front and rear crossmembers intact, the in-progress frame still required further squaring/leveling on the frame table.
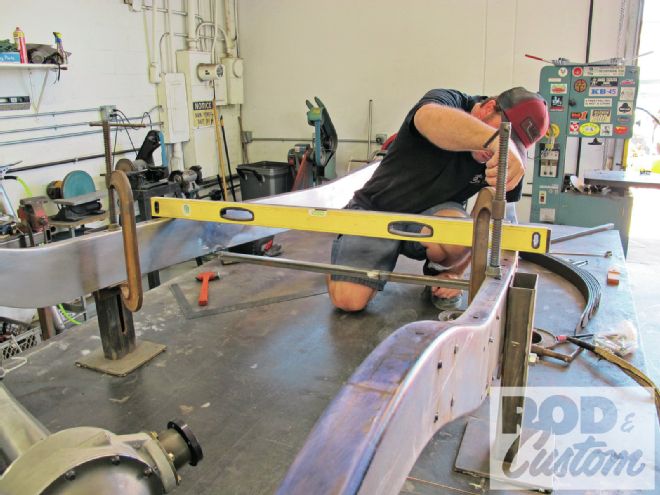
14 From front to rear—and especially in-between—any tweaks or inconsistencies were addressed (readjusted) accordingly. One thing CCHR insists on: truly straight chassis, no compromises.
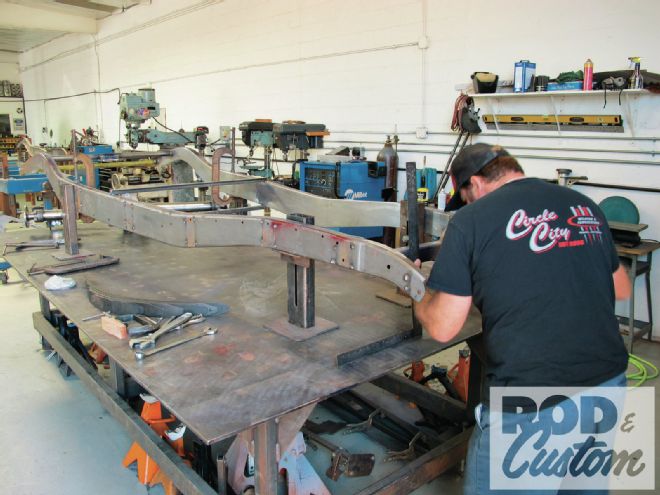
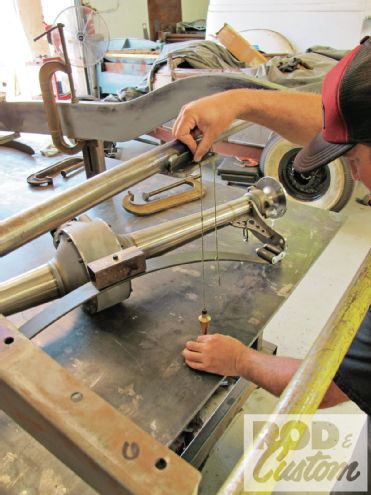
15 We’ll leave off, appropriately, with the Winters Performance steel banjo (i.e. non-quick-change) rearend, which as you can see here, White has already outfitted with spring hangers. Come next month, the chassis will be all trued up and ready for its new suspension.
