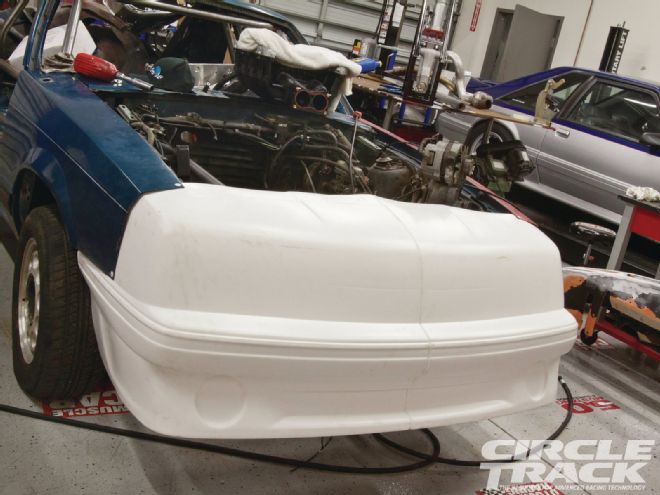
If you're reading this story right now and there are pictures to accompany it, you're witnessing nothing short of a publishing miracle. First and foremost, the fact that this story made it into the magazine means we slipped it into Editor Fisher's office just seconds before the magazine was about to ship and it had time to get laid out and printed. Consequently, the printing of this story means I probably still have a job here at Circle Track (Editor's Note..."for now") which is great for me and pretty sweet for you if you're a fan of the City Boy project. Lastly, the printing of this story means Pete and I have reached a pinnacle moment in this build, as the City Boy actually looks like a Mustang again, which makes us a step closer to the track and a long way away from the tattered shell that we have been working on in the past.
So, how did we do it? Well, it all started with a quick look through this very magazine, with Pete and Rob working out which of the fine companies you see in here could supply the perfect body panel system for our old Mustang chassis. It didn't take long to find Performance Bodies, which is a company that started almost 30 years ago and has stuck by the idea of building quality, lightweight, and easy to install bodies and parts that ship quickly (like, the same day quickly!) and fit like a glove.
The two brains behind this operation ordered a ton of parts from Performance Bodies, but this issue we're focusing on installing the Mustang GT nose and tail section onto our project. At less than 300 bucks for the front and rear sections, including the quality headlight, taillight, grille, and Mustang logo emblem, it's a hard deal to beat and is certainly cheaper and lighter than buying stock stuff. Add to that that each bumper (nose and tail) is split in two pieces for ease of install and low cost of replacement and the Performance Bodies bumpers offer a bang for the buck and advantage that is tough to match.
Although it took us almost a full month to install the nose and tail section onto the City Boy, it's actually a very simple process if you have a full day to dedicate to the process. Pete and I are working on this as much as we can, but like everyone's life, sometimes life just seems to get in the way. Either way, assuming that these pages aren't blank and you're actually reading this story, follow along and check out how Pete and I (just Pete, really) installed the fantastic-looking front and rear bumpers on the City Boy using little more than a couple of cutting tools and a whole handful of rivets. Next time, we'll show you the rest of the bodywork and get moving on thinking up paint schemes. Actually, why don't you send in some of your paint ideas right now ([email protected]) and we'll include them in our ideas for the next phase of the project!