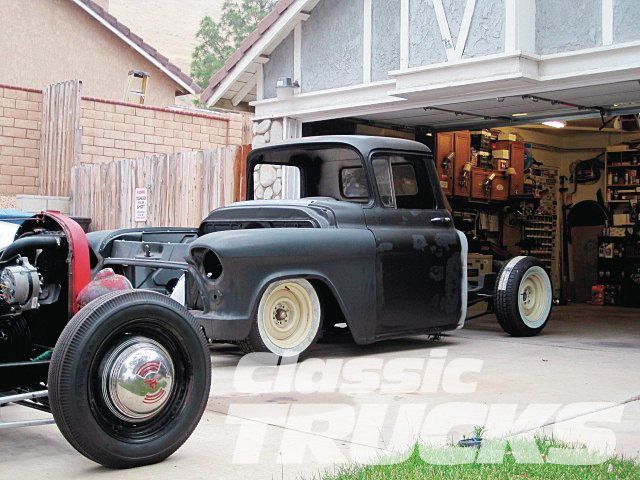
Three or four weeks ago (in the Sept 2011 issue) I began the installation of a RideTech RidePRO e3 control system and a quartet of Shockwave Select Series shocks in my slowly evolving ’57 Chevy small-window project. In that first installment I covered the initial steps of the process as I would for any installation story. The existing coilovers were removed and the new Shockwaves bolted in their place, the compressor was mounted to the frame, and the solenoid block and air storage tank assembled and mounted. These chores were accomplished in a weekend with little in the way of interruptions and I’d had every intention of getting back out into the garage the following weekend for the final steps. Well, as is often the case in the real world, the best of intentions didn’t pan out. What I hadn’t realized was that I had back-to-back out of state events to attend over the course of the following two weeks, and to add insult to injury, I’d also promised my wife I’d tackle a couple of long overdue honey-do’s during that time frame as well. So, a two-week delay turned into three and change before I finally got back out into the garage to pick up where I’d left off (sound familiar anyone?). Once I did get my butt back out there I began by looking over what I’d accomplished weeks before. This actually worked out to my advantage as the time away from the project allowed me a fresh look at what I’d done previously—and I did make a couple of small wiring routing changes because of that fact.

In this installment I’ll be picking up where I left off previously installation-wise and I believe I’ll return with a Part 3 in the near future where I’ll get more into the specifics of the Shockwave Select Series shocks and the RidePRO e3 control system themselves and just why I believe they’re the way to go when building a cool classic pickup that’s meant to be driven and enjoyed. But until then follow along as I try and button up the install by tackling the wiring and plumbing the shocks.