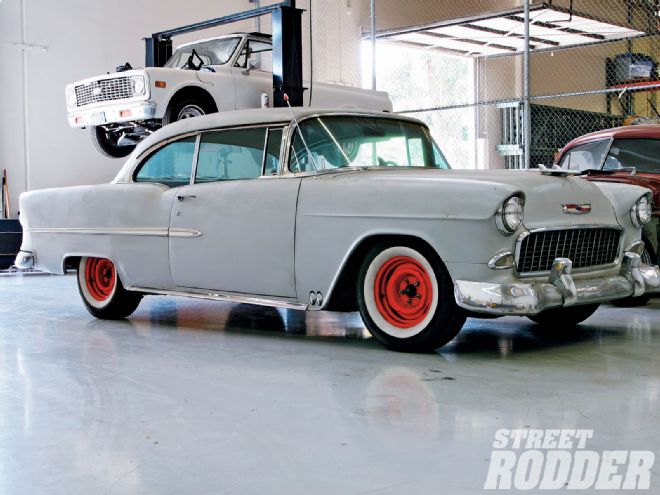
My '55 Chevy is one of those vehicles that up to a year or so ago just didn't have the right home when it came to car magazines. In my mind, it's one of the finest designs that Detroit ever came up with. Unfortunately, I wasn't the only one to think this and as such, Tri-Fives ('55-57 Chevys) have enjoyed quite a success in the pre-muscle car world. That's all good and fine, but those of us looking to build a Tri-Five in a decidedly more retro style haven't had a good outlet. Most of the Tri-Fives out there were being built on a more Super Chevy platform (regarding big 'n' littles, Pro Street, and so on). Now, not to take anything away from those guys, but my taste is more akin to the Barris, Winfield, and Watson style than the aforementioned.
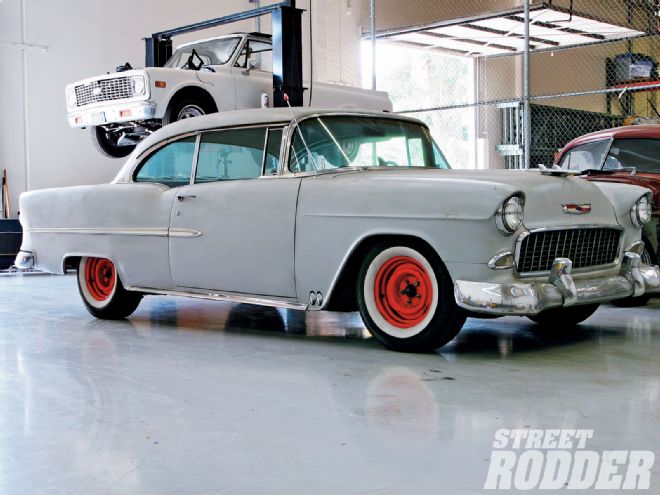 Here's the '55 before any of the upgrades had begun. Two-inch blocks out back and cut coils up front bring it a little closer to Mother Earth.
Fast forward a few years and not only have the major "clubs" in the industry bumped up their year breaks to include the Tri-Five crowd, but the gasser and '60s Bellflower Boulevard style seems to have enjoyed a resurgence as well. Add to that the inclusion of late models to the STREET RODDER gamut and we've come full circle.
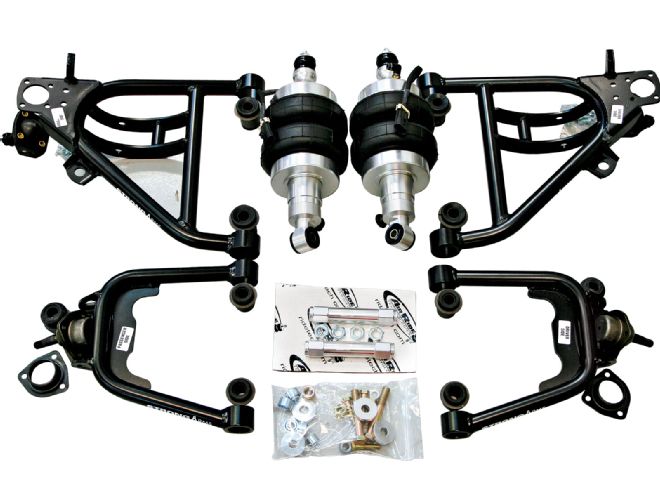 We'll be using RideTech's StrongArms upper and lower control arms setup to run with their single-adjustable I-S ShockWaves. Bolt-in ball joints and billet tie rod adjusters provide for bulletproof use and all the hardware you'll need to complete the installation is also provided.
It was with great enthusiasm therefore that I was able to finally find a "home" for my '55 Chevy in the magazine that I grew up reading and have since plied my hand at cultivating. And when I found out that next year's Road Tour car would be just that, a '55 Chevy, to say that I was a fan would be to put it lightly.
And so, with a bit of manipulating, I was able to talk Editor Brennan into allowing me to move forward with a few upgrades that I've been dying to do to the old girl since I originally bought her back in 1998.
But like most of you may be, I'm reluctant to simply tear into a running, driving car just to make a few upgrades that may cost me several months of fun. That said, recently the old Chevy developed a pretty nice clunk in the frontend and further investigation revealed a few ball joints that needed service. Add to that, the original owner had cut the front coils to lower it a bit, and although I went through the front end when I originally bought it, 100,000-plus miles had put in its toll; it was time for an overhaul.
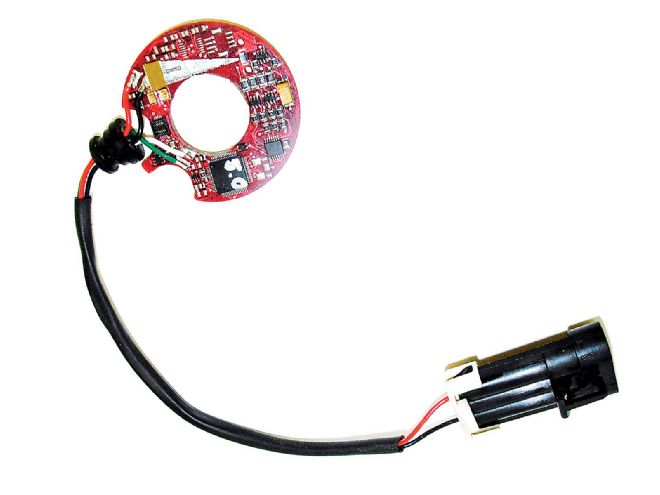 One of the latest features RideTech has added to the ShockWave line is the internal ride height sensor, or I-S. This provides a bolt-on solution for a complete leveling system without the need for external sensors. Bouncing an infrared beam off the shock inside the unit, the sensor then transmits this data through the pigtail on the top of the ShockWave I-S off to the AirPod computer to control and adjust the ride height as needed. Also note the air fitting at the top of the shock and the knob at the bottom that adjusts the shock valving to dial in the ride quality.
Being a hot rodder at heart, I couldn't simply rebuild the frontend and move on. No, I wanted to make a few upgrades while I was at it. Enter RideTech and their ever-expanding line of air suspension components.
Anyone who's ever uttered the word "airbag" must be familiar with RideTech (or as they were previously known, Air Ride Technologies) and their contributions to ride height modifications. In the past, they've been synonymous with that "in the weeds" look while still maintaining a normal ride quality by raising the suspension to an appropriate height, using air springs similar to what has become the standard in many industrial uses. As of late, however, they've turned their attention to not only making adjustable stance their business, they've modified their designs to truly make them perform. And so it only makes sense that they'd take their business one step further and develop suspension components that complement their ability to dial in that said stance.
We're going to be covering the full gamut of what they can accomplish for us full-size car guys, but this month, we're only going to get into the half of it. Utilizing their new StrongArm system mated with a pair of ShockWave air shocks and their beefy MuscleBar setup, not only are we going to get rid of that embarrassing clunk in our front end, we're going to end up with a front suspension system that can get us that "in the weeds" look while greatly improving the handling characteristics by using over-sized tubular control arms and components that were meant to be beaten on. And what hot rodder couldn't be attracted to that?!
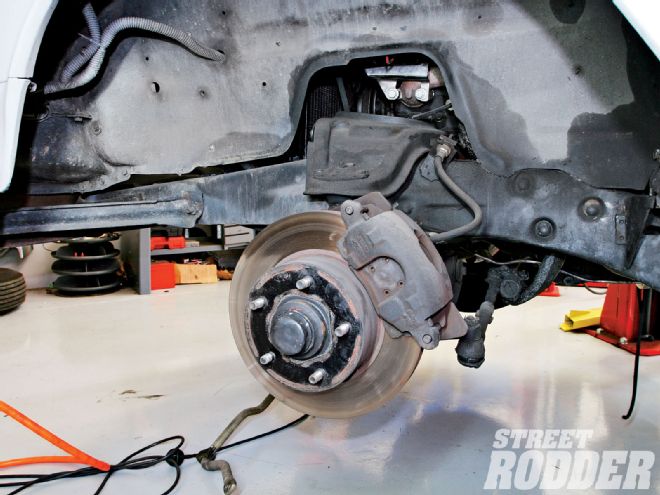 The stock suspension components were rebuilt about 10 years ago and upgraded with full-size GM disc brakes but a few worn-out ball joints and a wear issue in the brake pads told me it was time to go through it again. What better time to upgrade?
On a side note, when we tore the original suspension components apart, we noticed that the original disc brake upgrade I made some years back was suffering from premature pad wear on one side of the caliper. Upon further inspection, it appeared that the calipers were incorrectly mounted, causing an alignment problem between the caliper and rotor. Had this gone unnoticed, it's unknown what could have become, the least of which would be premature wear of one of the brake pads and unsatisfactory performance of the brakes; an issue I didn't take lightly. I decided to make a call to Classic Performance Products to remedy this as well while we were on the topic of front suspension components. They provided us with a brake kit that was installed in a matter of minutes and was definitely worth the work!
We'll wrap up the whole install next month, but for now, take a look at what it took to get our '55 down low and lookin' period while still keeping up with those high-dollar corner carvers!