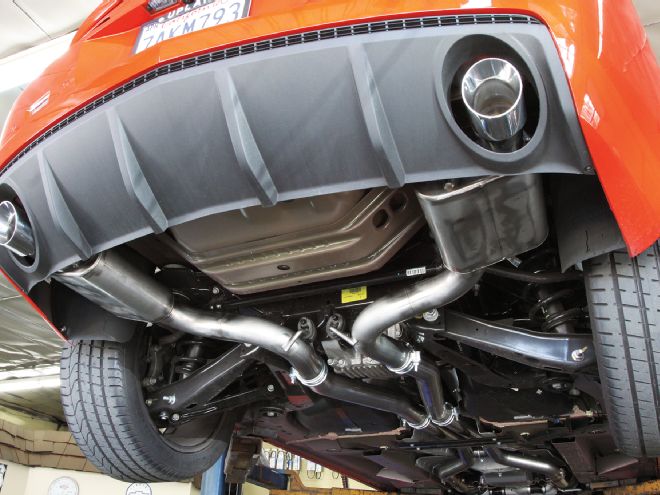
There’s an old adage about a dog whose bark is worse than his bite, but what if it were the other way around? Such was the case with the stock fifth-gen Camaro we’ve heard. At idle they are just a bit louder than any other car and just don’t have that “muscle car rumble” that we all love so much. Mustangs making hundreds less horsepower sounded like Pro Stockers next to our barely audible Camaro.
Even when we mashed the throttle the sweet LS3 (or L99) music trying to emanate from the stock mufflers was stifled and over-restrained. We didn’t want quiet, we wanted the damn car to sound like a muscle car should. The solution was to call up the folks over at JBA and see what solutions they had on the shelf. Turns out they had a wide selection of exhaust components to make Camaros sound the way God intended, raucous and proud.
Of course we didn’t necessarily want our ears to bleed from the noise so we were happy to find out that JBA had tuned the system to let just the right amount of engine rumblings through to the tailpipes. They constructed the system so it would be easy to install and not tick off California’s smog police. To test out the former claim we grabbed one of their prototype systems and headed over to Don Lee Auto in Rancho Cucamonga, California.
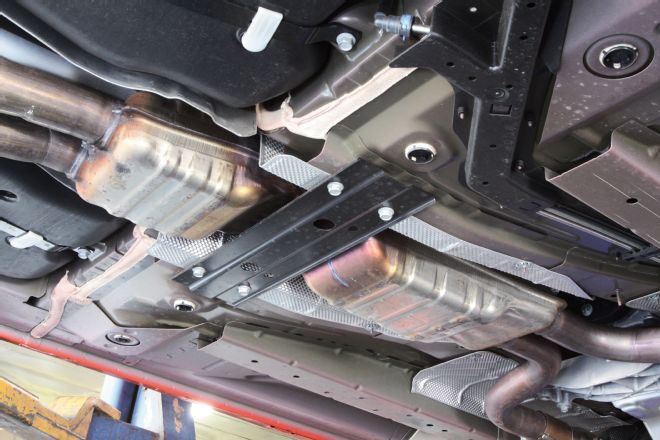
01. Here’s the stock stuff that came bolted to the Camaro. Note the huge resonators just in front of and behind the tunnel crossbrace.
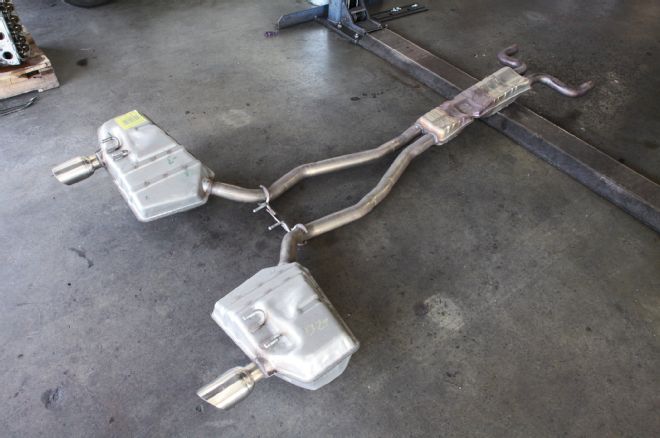
02. Here’s the complete GM exhaust system just for reference. For this exercise we would just be dealing with the section from the cats rearward. For track cars, JBA does offer high-flow cats and long-tube headers.
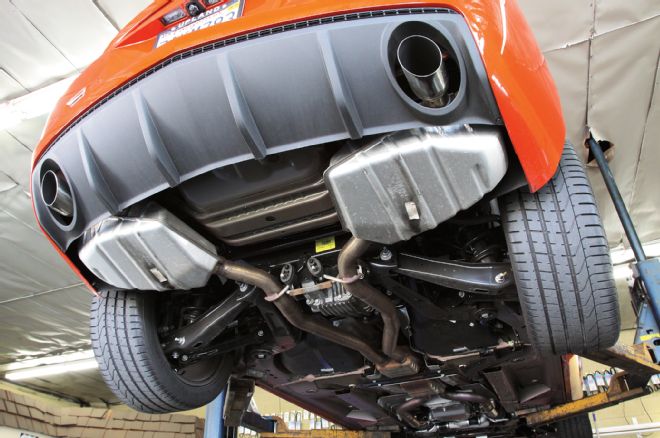
03. The Camaro’s mufflers are to exhaust systems what J-Lo’s figure is to backsides. Besides weighing a ton they make the SS way too quiet.
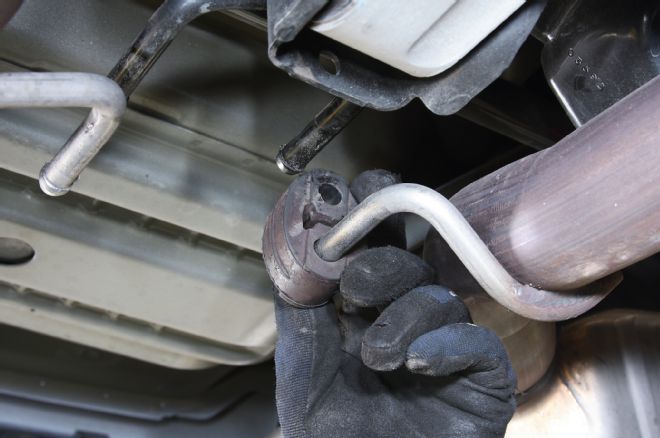
04. The nice thing about the factory exhaust is that it’s all bolted together rather than welded. This made disassembly a snap. First up, we unbolted the mid-section from the section containing the catalytic converters. There are four exhaust hangers at the rear of the factory system. The forward two simply slid off their hooks.
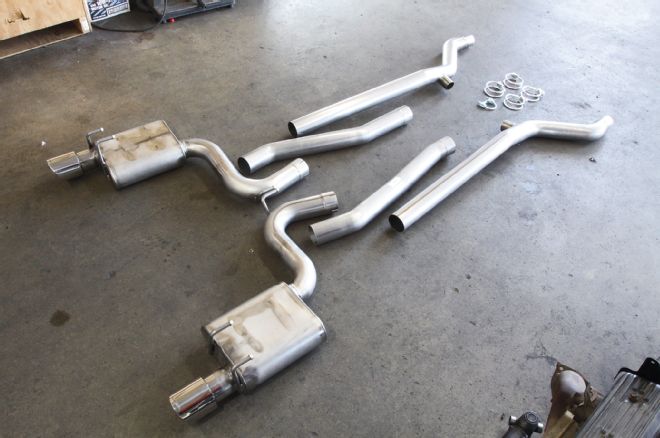
05. Here’s the new cat-back system from JBA. Made from high-quality mandrel bent stainless, this kit (PN 40-3114) is designed to mate up to the factory 2.5-inch cat assembly. For those on a budget, an axle-back system (PN 40-3112) is also offered.
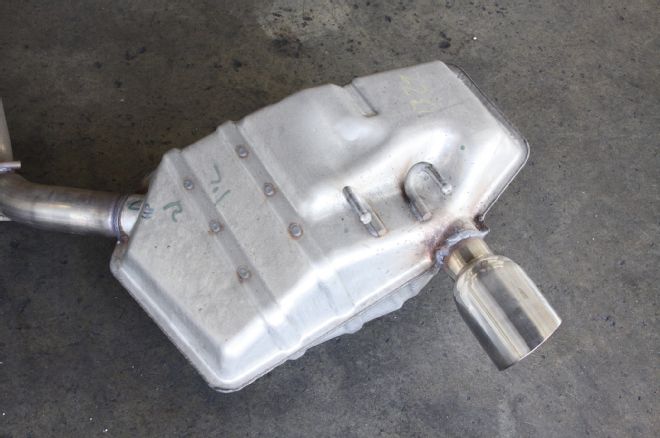
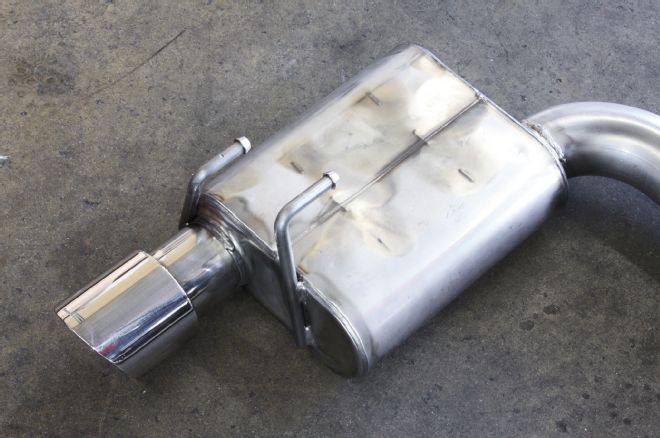
06-07. The massive stock muffler makes the new stainless JBA muffler look almost tiny. In addition to knocking a few pounds off the Camaro the new exhaust system should help give the SS a more aggressive muscle car sound. Also note how JBA reversed the direction of the exhaust hangers for easier installation.
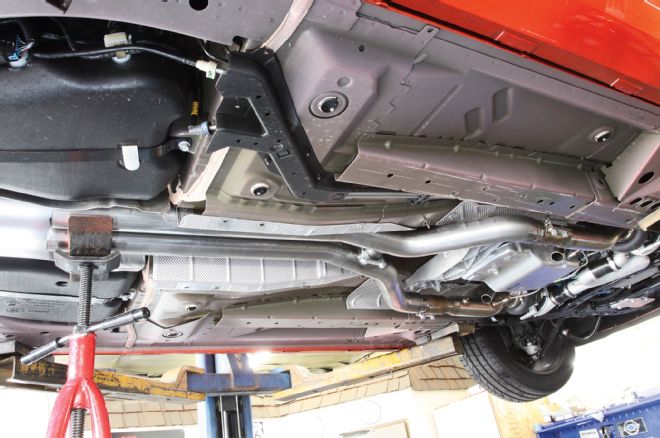
08. First up was sliding the new mid-pipes into place. Like the factory system, the stainless JBA setup uses an H-pipe arrangement. The installation was pretty much a two-person operation, or at least one person and a few pole jacks.
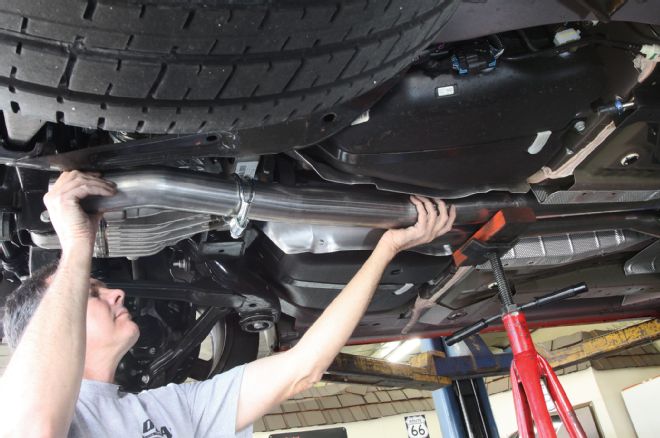
09. We then slid the next section on the mid-pipe. Keep in mind that there’s a left and a right side so don’t mix them up or you’ll be wondering why nothing fits right. Helpful hint; the passenger side is marked PASS.
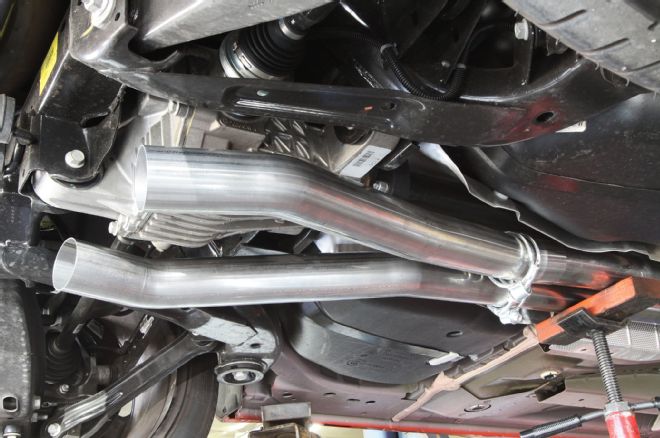
10. And here are both mid-pipes installed. We put the clamps on, but kept them loose so we could adjust the system once all the bits were in place.
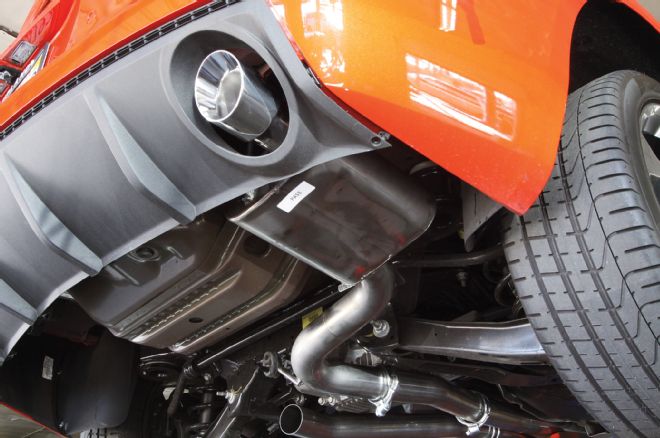
11. Lastly, it was time to put the muffler assemblies into place. If you’re worried, you can tape up the polished stainless exhaust tips to prevent scratching. We just opted to be extra careful.
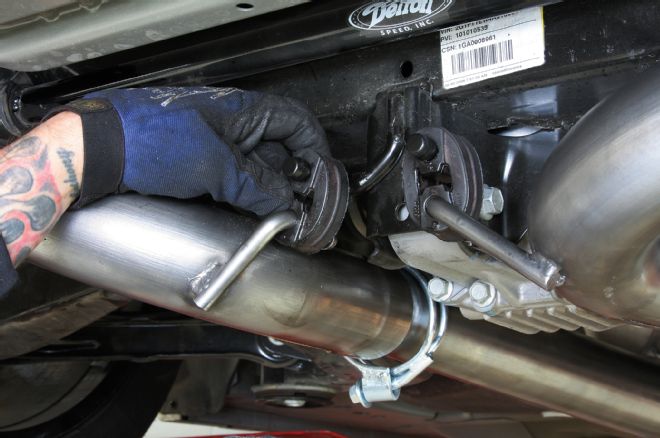
12. Because JBA flipped the hangers 180 degrees, installation was way easier than disassembly. We hit the hangers with a shot of lubricant to help them slide into place.
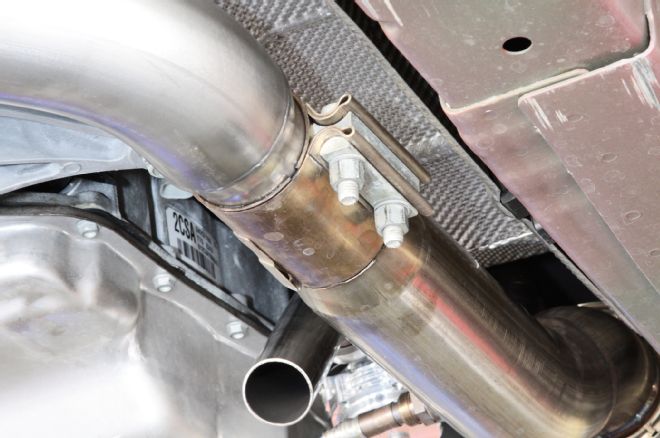
13. Starting up front we began tightening up all the clamps. By rotating the sections a bit we were able to get the system to fit just right and be level without making contact with the Camaro’s floor. If you’re wondering what that downpipe is, well it’s for one of two turbos on this Camaro and we know the twins will really enjoy the larger, free-flowing exhaust.
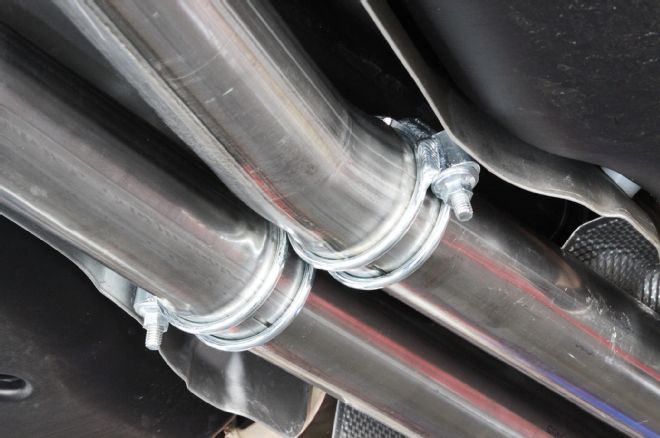
14. The general procedure was to adjust a section and then snug it down using the clamps provided by JBA. This took a few tries, but eventually we were able to tighten up all the clamps.
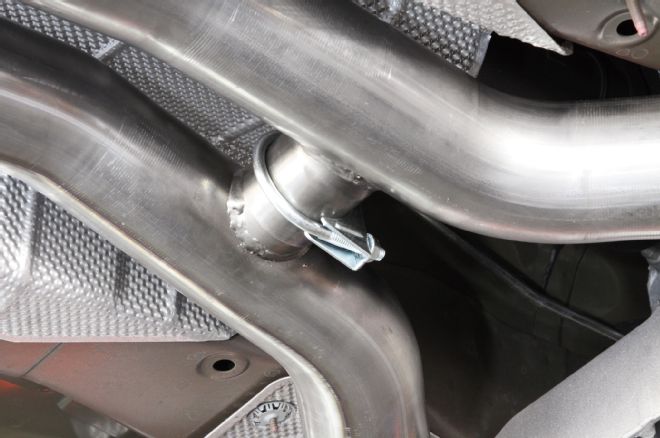
15. The last clamp to get tightened up was the one supplied for the H-pipe.
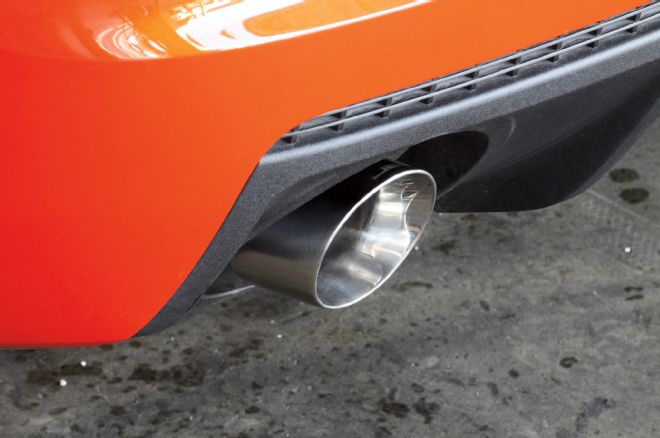
16. With everything tightened down we did one final check to make sure the exhaust tips were at the same angle and level and centered in the lower valance holes.
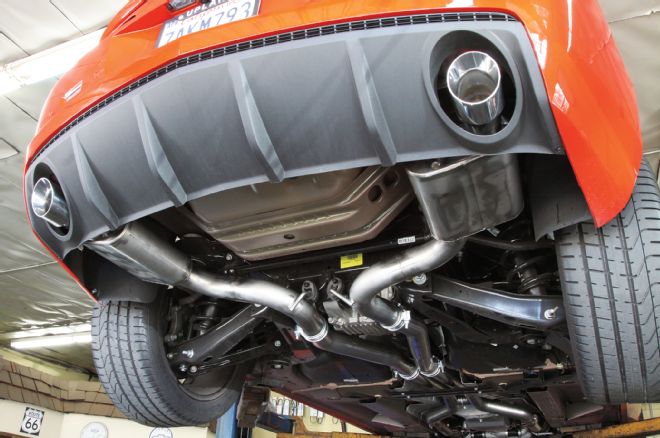
17. Here you can see the new stainless JBA system in place. We think the new, smaller stainless mufflers look way better than the ugly stockers, but it was when we fired up the Camaro that we got the big payoff. Now the SS sounds like it should. Installation took about two hours and we didn’t need any parts, with the exception of some WD-40, other than what was included in the JBA kit.