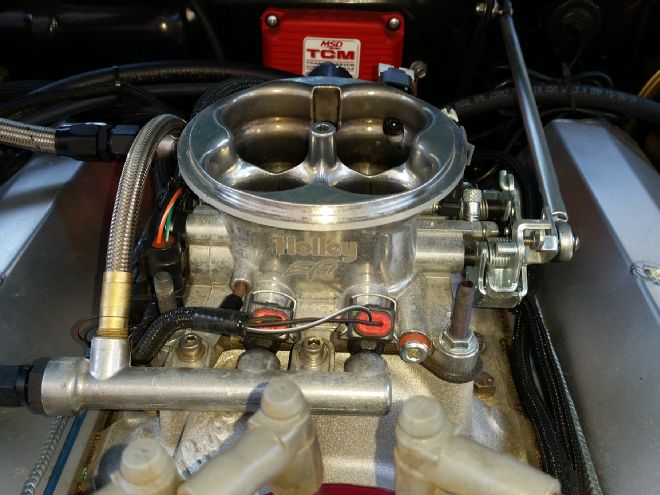
The previous story demonstrated how to install a FAST EZ-EFI 2.0 electronic fuel injection (EFI) system on a 351 Cleveland, replacing the existing four-barrel carburetor (“EZ Does It,” page 46). The point of the article was that modern technology has made it brutally simple to replace a carburetor with computer-controlled, closed-loop fuel injection, which results in better mileage, drivability, and cold-start manners. Basically, all the downsides of a carburetor are things of the past with a switch to EFI. To show a slightly different system here, we chose to highlight Holley’s most user-friendly system: the Terminator EFI Throttle Body Injection System.
Countless EFI systems, kits, and components currently on the market allow custom builders to create whatever they want from a fuel-injection system, from easy bolt-on systems (FAST, Holley, and MSD, among others) to high-end, direct-port systems meant for racing use with more computing power than there was on the last Space Shuttle. Mustang Monthly readers generally care more about cruising, showing, and maybe racing their classic Mustangs, than about eking out the last hundredth of a second on the drag strip. We chose the relatively easy to install Terminator kit to use on Project Road Warrior, Courtney Barber, and Team Mustang Girls’ 1965 Mustang cross-country project car.
Holley offers several types of EFI systems. The most basic are the Avenger, Sniper, and HP EFI kits. On the serious end of the spectrum lie the Dominator EFI, which has nearly unlimited capabilities and is meant for hardcore racing or street guys who want all the bells the whistles and don’t mind dealing with a more complicated system. We chose the Terminator EFI throttle body setup for its ease of installation and use—you don’t need a laptop to tune it, and the computer has a self-learn function (like the FAST system outlined earlier) that compensates for different conditions and tunes itself while you drive the car.
The installation details are similar to the FAST system, especially in terms of the fuel system, sensors, and throttle-body mounting. Instead of re-hashing all that here, we’ll delve into the Holley system itself and the issues we faced on our 1965 hardtop. The system comes with a 30-page instruction manual that even details how to make fuel lines and assemble hose ends, so it’s about as idiot-proof as you can get. Still, plan to devote an entire weekend to install the whole shebang (including the fuel system), assuming you have all the parts you need and don’t have to run to the parts store—like that’s even possible!
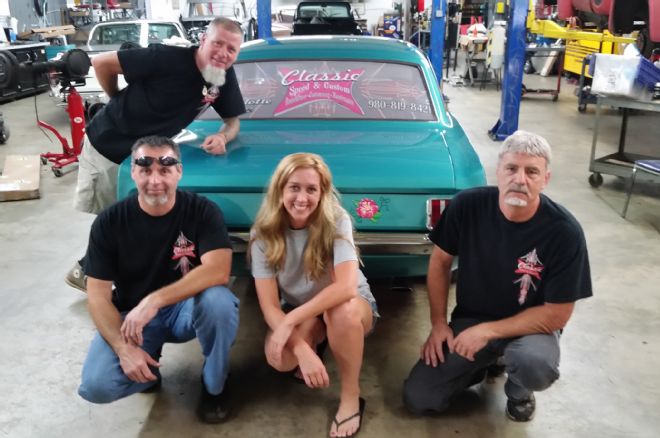 Our heroes at Classic Speed & Custom (from left to right) are Donnie Anderson, Mark Treichler, our girl Courtney Barber, and James Clements.
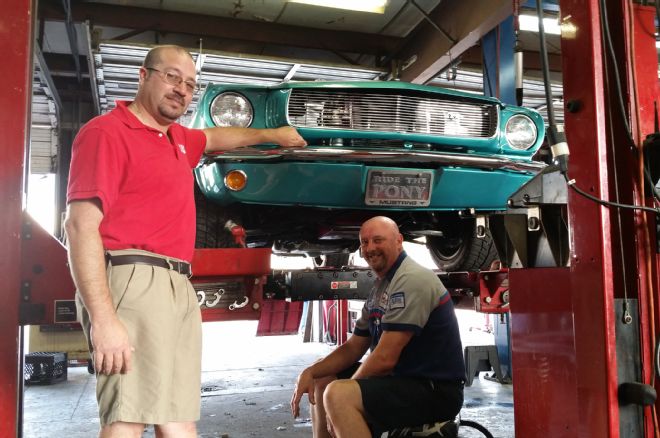 Also a big help to us were Luis Irizarry and Clarence Adams at Hay Tire in Charleston, South Carolina.
Our Saviors: Classic Speed & Custom
As often happens with project cars, occasionally things don’t work out with a shop when you’re in a rush to finish the car. This was the case with Project Road Warrior. In an effort to finish the car in time and meet our deadlines, the folks at National Parts Depot recommended we talk to Classic Speed & Custom (CSC) in nearby Charlotte, North Carolina, to finish the project. Thankfully, partners Mark Treichler and James Clements were game and went above and beyond the call of duty to put Courtney and her hardtop on the road. After the initial call, “Courtney’s story may have seemed a little out of the ordinary for most shops, but that’s what Classic Speed & Custom is known for—fixing other shops’ mistakes,” Treichler said.
We first thought we only needed to finish little odds and ends, and minor wiring, but it turned into a much larger and longer deal. According to Treichler, “We ended up removing everything under the hood and starting all over. After about 30 hours of rewiring, we were ready to see if anything worked. Unfortunately, it did! We had spark and fuel, which is where the fun began. With the Holley EFI system and the MSD transmission controller, we had the daunting task of dialing it in to make for a pleasant driving experience. This can be very time consuming—and it was. Most of the parts on the car had been started, but not finished. We had to finish the transmission cooler, the Old Air Products A/C system, install the front grille assembly, bleed the brake system, fuel lines, exhaust system. We finally had to order pizza and beer. Overall, we went through the whole car and put more than 300 hours into finishing Project Road Warrior.”
To summarize, if you’re in the Southeast and need a competent shop to build or work on your Mustang or any hot-rod give Classic Speed & Custom a call.
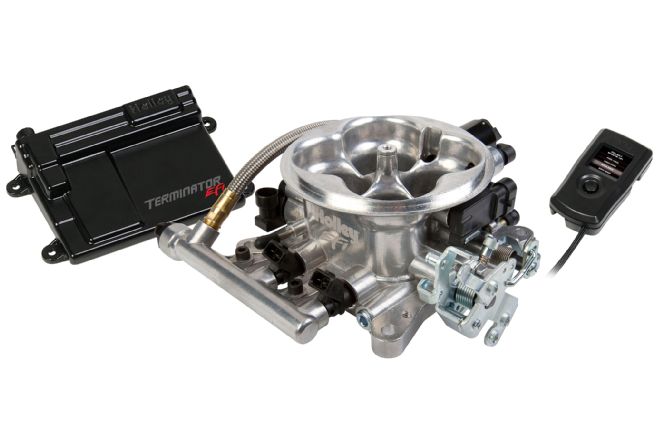
The Terminator throttle body has four throats just like a Holley four-barrel carburetor and flows 950cfm, which is good for 600 horsepower according to Holley. The 4150-style flange means it bolts right in place of a typical Holley carb. On the left is the Terminator EFI computer, and on the right is the small, hand-held controller for basic tuning and setup. We ordered the polished throttle body, but you can also get it powdercoated in Hard Core Gray. The air entry was computer designed for Holley’s NASCAR Sprint Cup series throttle bodies. Most of the sensors needed are also built into the throttle body and pre-wired, removing that hassle during installation.
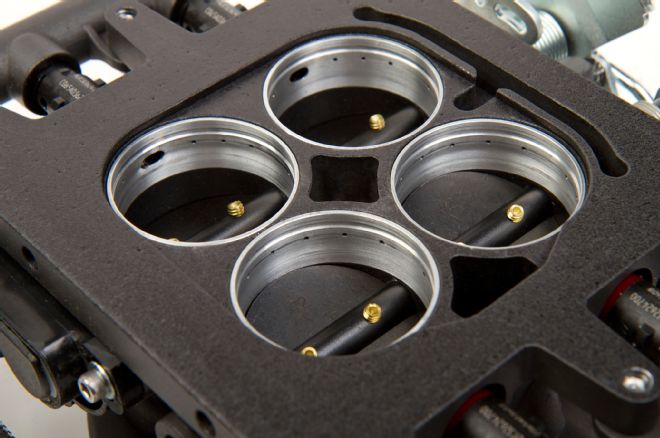
The throttle body has four 80lb/hr fuel injectors already installed, two each on what would be the “primary” and “secondary” sides of a carburetor. Also visible here in the throttle bores (note the tiny holes around the bore) are the patent-pending annular discharge fuel rings. According to Holley, these are for maximum flow and atomization, and because the injectors fire right into these passages, there are no delays as with a carburetor booster venturi.
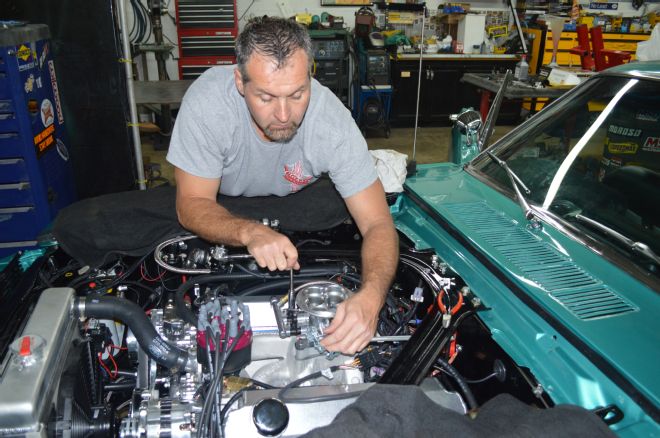
Can you remove and install a carburetor? Then you can install the Holley throttle body. We used an inexpensive 1-inch spacer between the throttle body and Edelbrock intake, which proved to be an issue (see later in story).
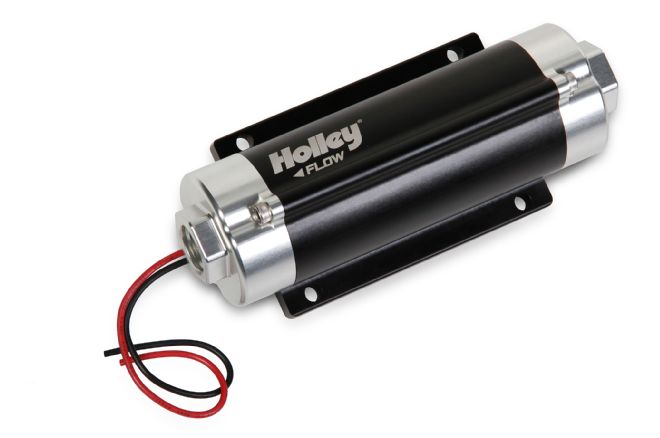
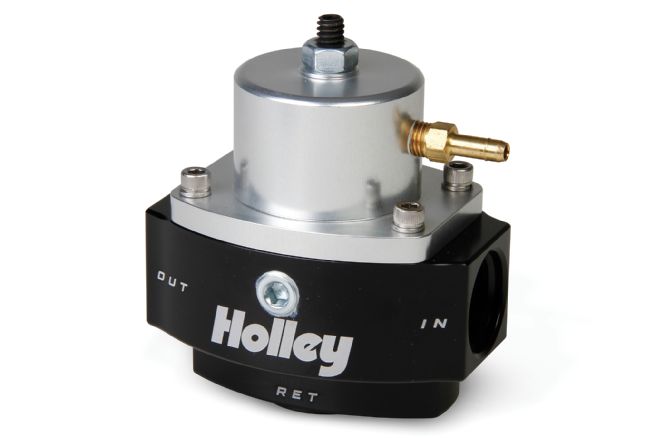
Electronic fuel injection works with much higher fuel pressure than a carburetor (40-ish psi compared to the carb’s 5 to 6 psi), so you must use an entirely new fuel system. Holley has complete fuel-system kits, some even packaged with the EFI system. The company offers a lot of options for both, depending on your application. We chose the Dominator inline pump and regulator.
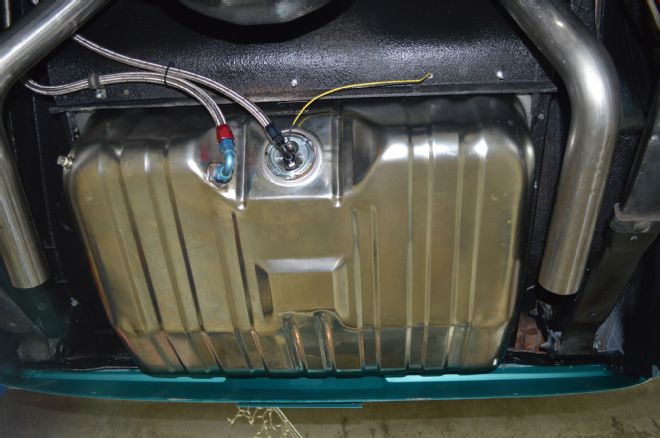
The fuel system requires a return line from the regulator back to the tank, so we modified a new stock fuel tank for a -10 feed line (in the stock flange) and an -8 return, which required a bung welded into the tank. Don’t do this with a used tank unless you know what you’re doing, or I predict a big, painful bang in your future. It’s why we started with a new tank that never had fuel in it before.
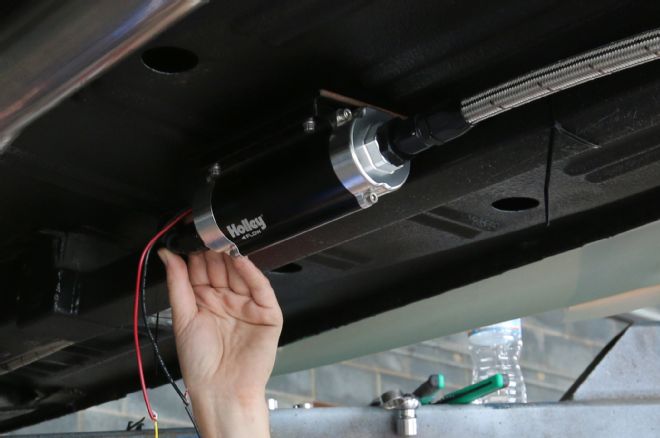
We mounted the pump to the underside of the floor, on the passenger side next to the subframe connector. Note, you must also make custom-length fuel hoses, which are included in Holley’s fuel system kits.
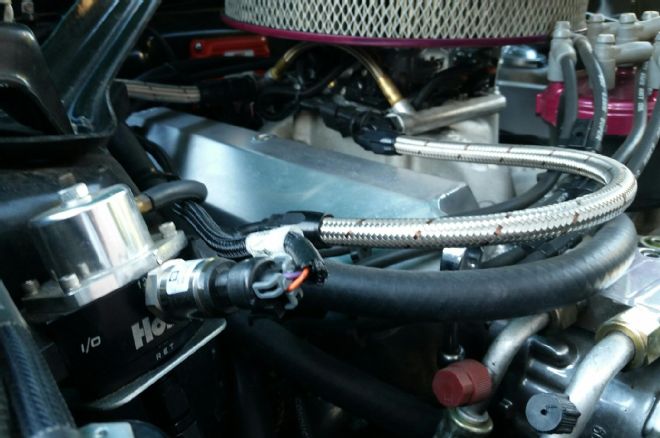
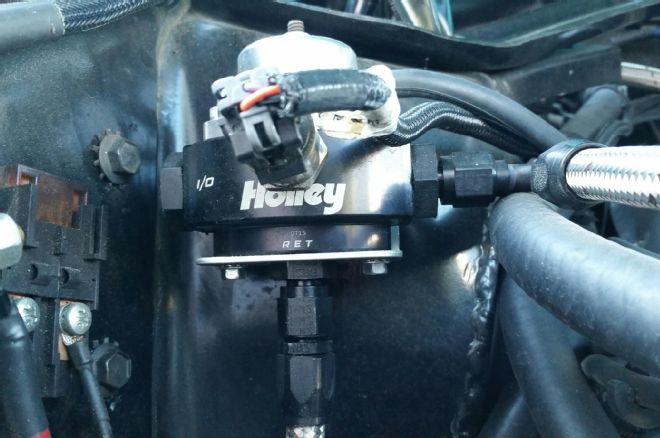
We mounted the Dominator billet EFI bypass fuel-pressure regulator on the passenger-side shock tower. One fuel line feeds the throttle body/injectors, and the return line exits the regulator at the bottom and goes back to the fuel tank. The electrical connection tells the EFI computer the fuel pressure.
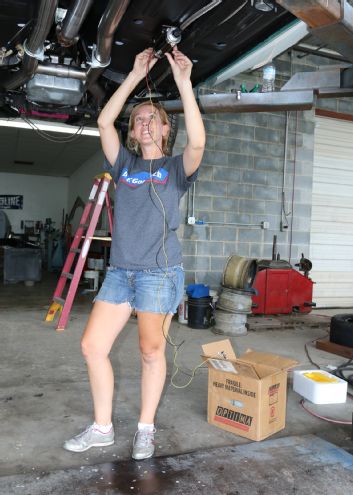
Once the fuel lines are routed and hooked up, it’s a good time to test for leaks. With a few gallons of gas in the tank and jumper wires routed to a battery, get the pump running and check all the connections for leaks.
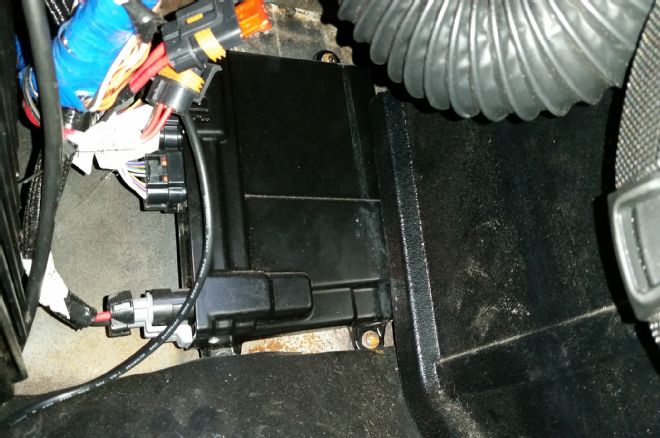
The EFI computer can be mounted in the engine compartment, if you’re careful to keep it away from heat and moisture. However, it’s a much better idea to mount it inside the car. We mounted ours on the passenger-side footwell, next to the kick panel.
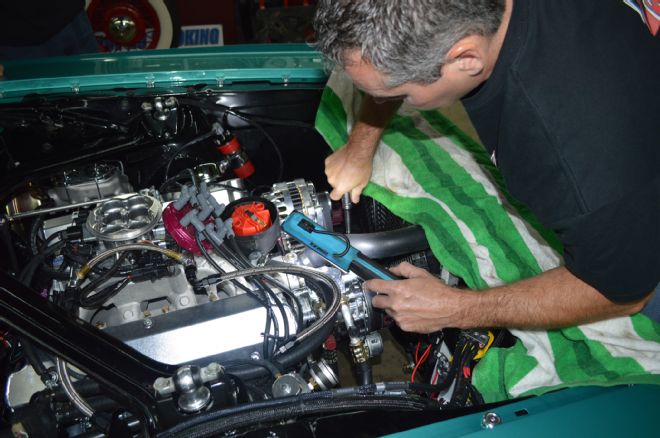
You can configure the Terminator system to control ignition timing when used with a Ford TFI distributor, but we have it controlling fuel alone, while an MSD 6A box and distributor handle our 347’s timing. Still, set the initial timing before firing the engine to minimize setup time.
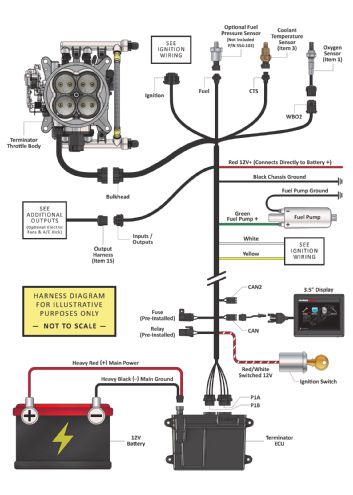
As an example of the wiring involved, this is from the instruction sheet. As you can see, beyond those in the throttle body, you only need to hook up three sensors: one each for fuel pressure (installed in the regulator), coolant temp (intake manifold or cylinder head, not in the thermostat housing), and the oxygen sensor in the exhaust (as close to the header collector as possible).
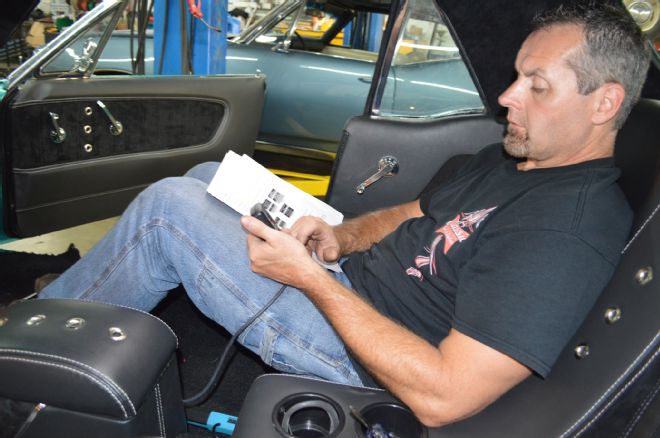
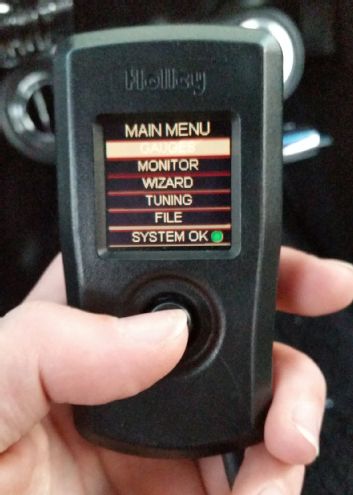
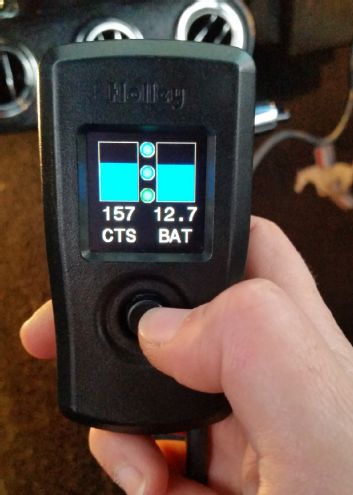
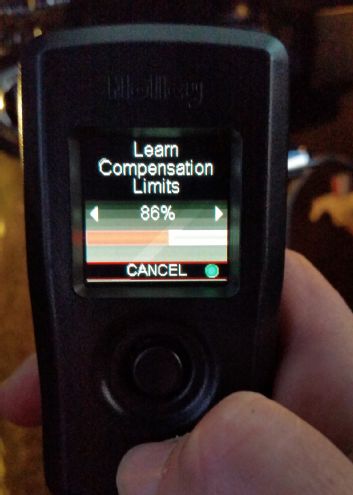
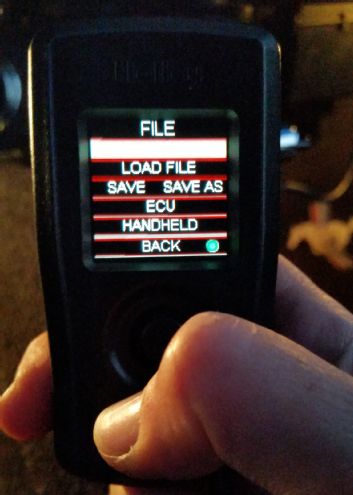
With the ECU, handheld controller, throttle body, and intake hardware, all sensors, wiring, fuel pump, regulator, return line, and all other hardware installed, the vehicle should be prepared to start and run. Now, set the basic calibration with the small handheld controller. The system will run you through several steps, asking for basics like engine cubic-inches, rough camshaft timing (you don’t need to know exact cam specs, but it’s helpful if you do), whether the computer is controlling ignition timing or not, target air/fuel ratio, and more.

At this point, it is time to drive the car and allow the system to perform its self-tuning process. For best results, drive under as many different operating conditions as possible, with different engine speeds and loads. First, slowly rev the engine up in neutral and hold it at different speeds—up to 2,500rpm—to help the system learn these points. Second, drive the car, using different transmission gears, so it can learn in different areas. If you have an automatic transmission, you may want to put it in gear, and with your foot on the brake pedal, apply a small amount of throttle to allow the system to learn this area, as well. Note: There are several conditions in which the computer’s self-learning will not occur: When the engine is below 160-degrees Fahrenheit; when the engine sees quick accelerator pedal movement; certain times when the accelerator pedal is lifted and the vehicle coasting; or when the learning function is disabled by the user.
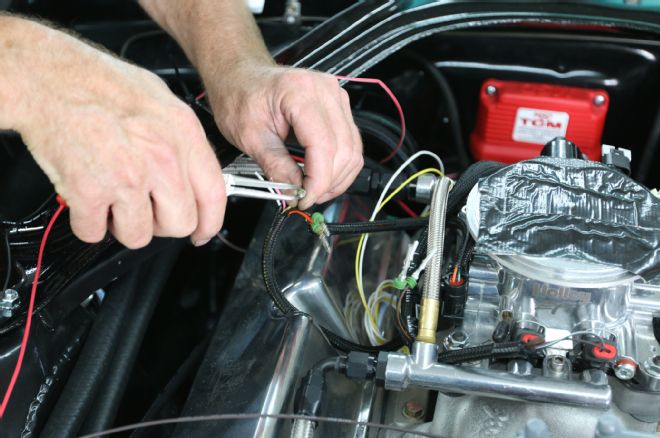
Like ignition timing, the Holley Terminator system can also control a modern automatic transmission, like our Performance Automatic (PA) 4R70W trans. However, we opted to run the MSD Atomic trans controller that came with the PA trans, which requires a throttle position sensor (TPS) input. The TPS is built into the Terminator throttle body, so we had to splice into the output wires and create a Weatherpack connector to hook the Atomic controller to the Holley TPS.
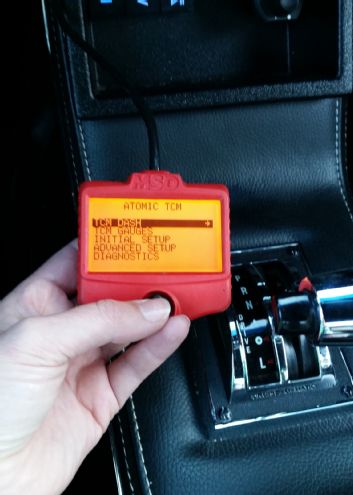
As with the Holley system, before driving the car for the first time, we had to program the PA transmission. This small handheld controller is part of the MSD Atomic trans controller, and only requires a few basic inputs to get the car rolling.
What The…?!
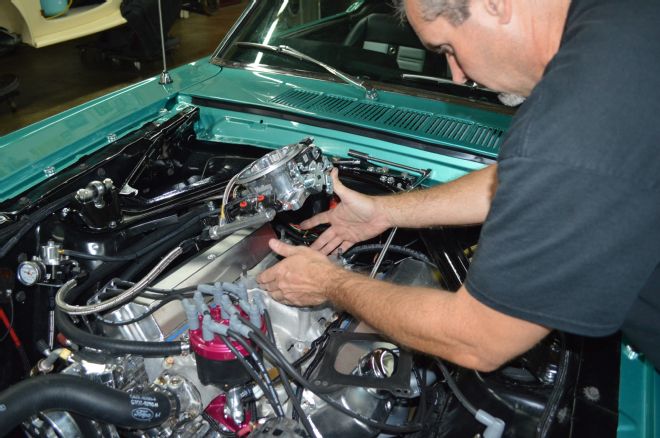
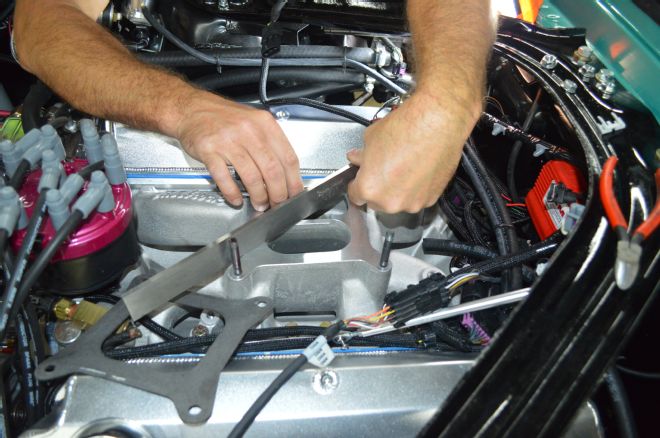
Here’s an issue that we’ve never dealt with before that had everyone truly stumped for the better part of a day. With everything programmed and running, the idle wouldn’t come down below about 2,000rpm. We checked everything three and four times, and still couldn’t figure it out. That’s when Classic Speed & Custom’s Treichler covered the throttle body bores with a rag—and the engine kept running. We blocked the entire air entry into the throttle body and the engine still ran! That’s a new one!
Remember that cheap Chinese carb spacer we mentioned earlier? Turns out, it was improperly machined and created a huge vacuum leak, releasing enough air that the engine could run, although not well. So, the CSC guys checked the mounting surfaces on both the spacer and intake, and milled the spacer flat to solve the massive vacuum leak. Crap like this is what keeps you awake at night frustrated beyond belief, but it was obviously no fault of the Holley system.
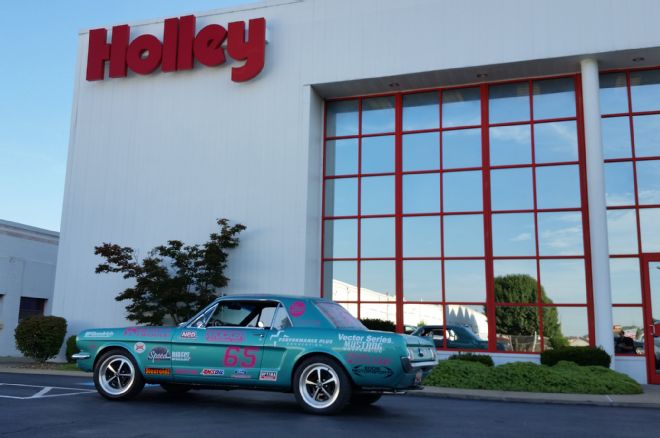
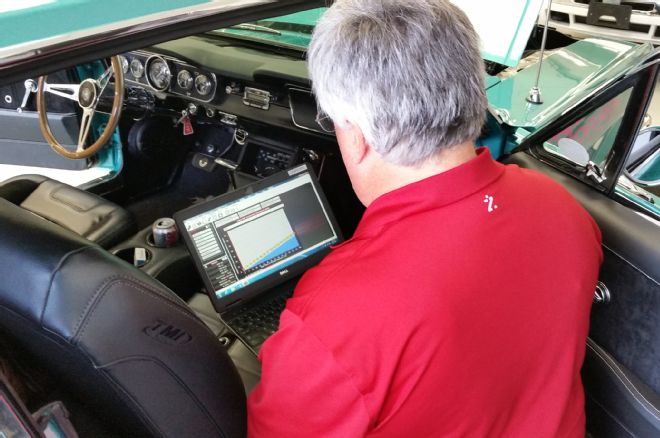
Project Road Warrior’s maiden voyage (more to come next month) was on the 2015 Goodguys Road Tour. Car owner and builder Courtney Barber drove from her home in South Carolina to Kentucky to pick up her co-pilot, and stopped at Holley’s headquarters in Bowling Green along the way to make sure everything was right with the EFI. Holley’s Robin Lawrence pulled out his laptop and made a few small adjustments to help compensate for the radical altitude changes coming later in the trip, but it wasn’t much of a change and shouldn’t be necessary for 99 percent of installs.