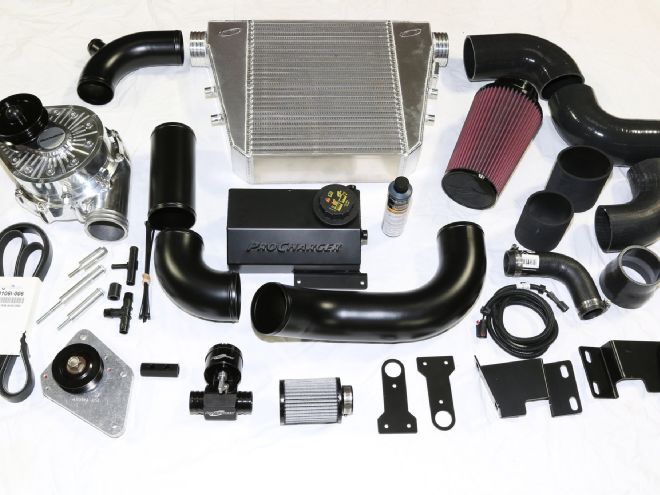
The all-new Ford Mustang is officially the hottest sports car of the year, and rightfully so. Ford built one hell of a steed and changed the way the world looks at Blue Oval performance. This is due to the monumental achievements of the 2015 Mustang. For the first time, a Mustang featured an independent rear suspension that could actually handle some twisty roads, but even better was the fact that not a single engine available featured anything less than 305 hp. To say we were pleased with the 435hp 5.0L Coyote V-8 in the GT would be a huge understatement. But what if that just isn’t enough for a horsepower junky?
Lucky for us, the aftermarket industry has been very quick to respond to the demand for more and more power. One leader in the forced-induction world has been ProCharger, a company that has made its presence known with countless self-contained supercharger systems to turn your peppy pony into an angry stallion.
ProCharger is no stranger to the forced-induction world and has been building some of the most innovative supercharger systems for more than 20 years. Not surprising, the company was the first centrifugal supercharger manufacturer to design and release a supercharger system for the 2015-2016 Mustang GT. The system features an aluminum bracket design as well as a compact belt-drive system that allows the ProCharger P-1SC-1 system to tuck up cleanly underneath the hood. Of course, it just wouldn’t be right without a legitimate intercooler, so ProCharger designed a highly effective air-to-air intercooler that mounts just behind the front bumper. The kit also comes with a handheld tuner to take full advantage of the newfound ponies under the hood.
The best part: This system is perfect for the weekend garage warrior, only requiring five or six hours of wrenching with simple handtools. Of course, we had to see it for ourselves. We dialed up our late-model Mustang specialist friends at GTR High Performance in Rancho Cucamonga, California, and got them to guide us through the S550 ProCharger install. Read on as we transform this 2015 Ford Mustang from mild to wild in just a couple of hours.
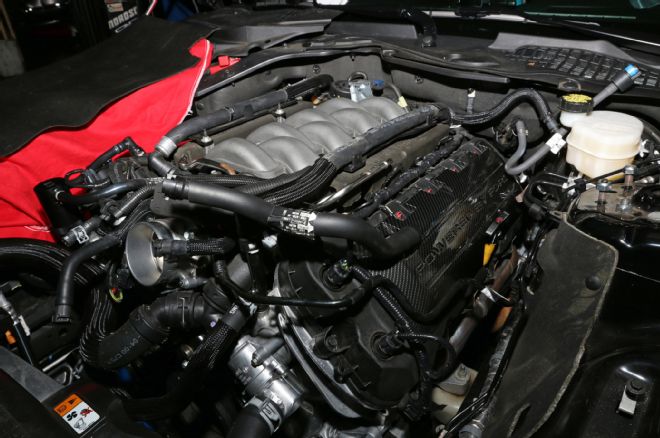
1. The first order of business is to strip the factory airbox off the 5.0L Coyote V-8 so you have room to install the supercharger and associated parts.
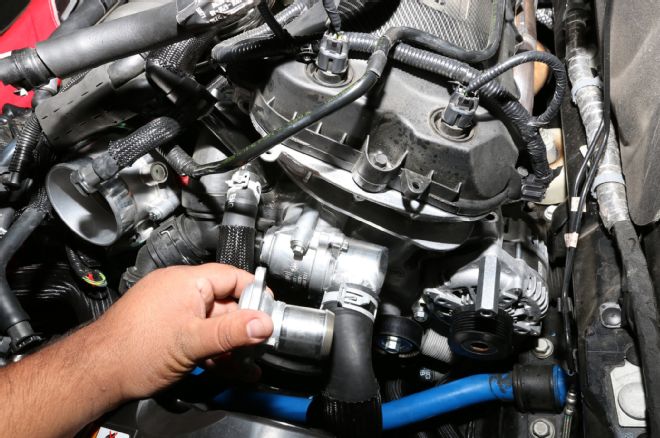
2. You’ll notice that we had to swap out the factory thermostat outlet in favor of the supplied 90-degree outlet that ProCharger supplies with its P-1SC-1 supercharger kit. This simple swap is done to clear the supercharger bracket.
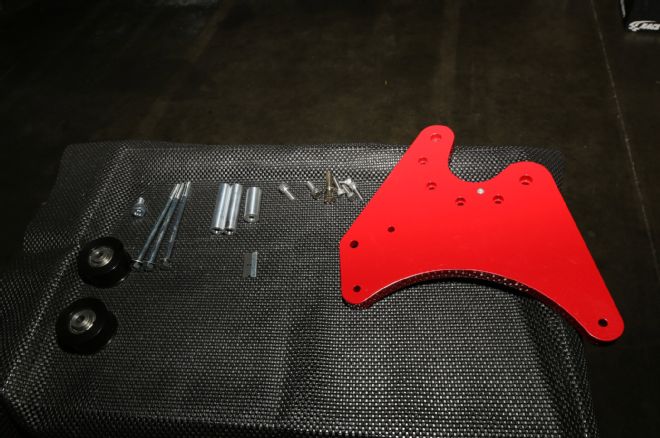
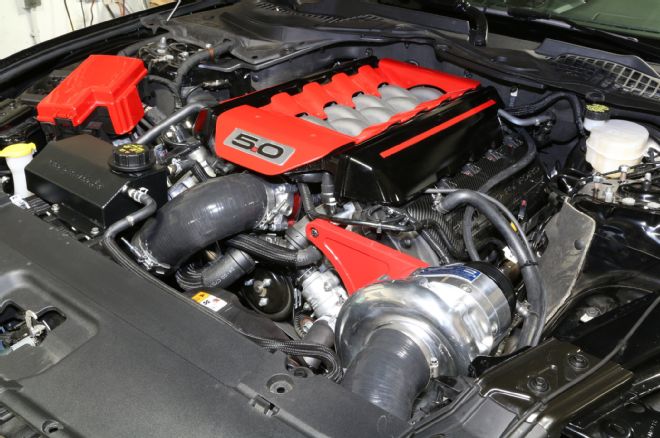
3. The ProCharger aluminum bracket and supercharger can be had in a variety of finishes, including satin, polished, or the new black finish. The owner of this Mustang decided he wanted to make it pop, so he had the bracket powdercoated red.
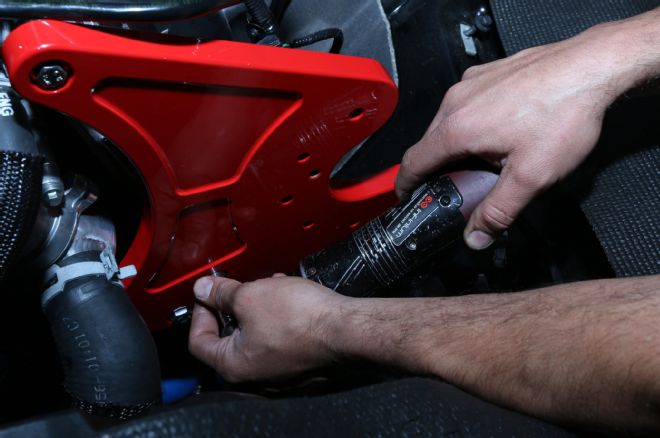
4. The bracket is a killer looking piece that goes on easily and even features stepped-down bolt slots for added aesthetics.
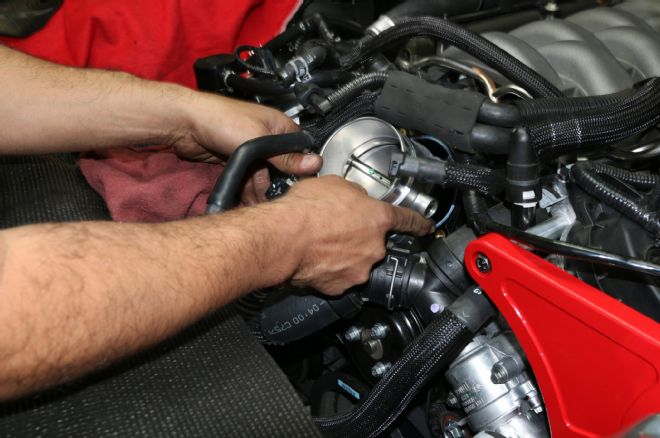
5. With the bracket in place, we moved on to the new supercharger belt tensioner, which requires you to remove the throttle-body.
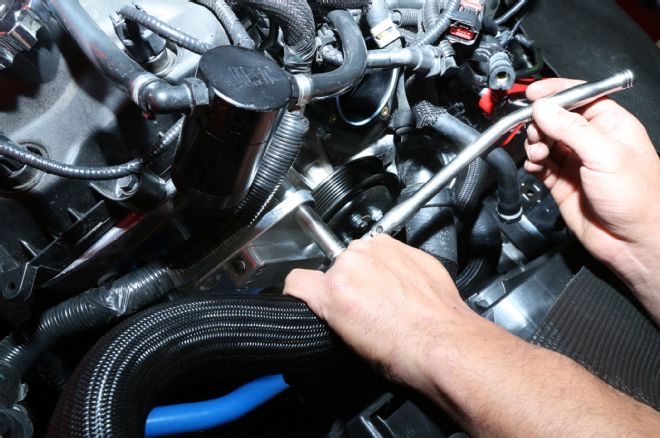
6. With the throttle-body out of the way, the belt tensioner drops right into place with the supplied hardware. Spin a ratchet a couple of times and you’re all set.
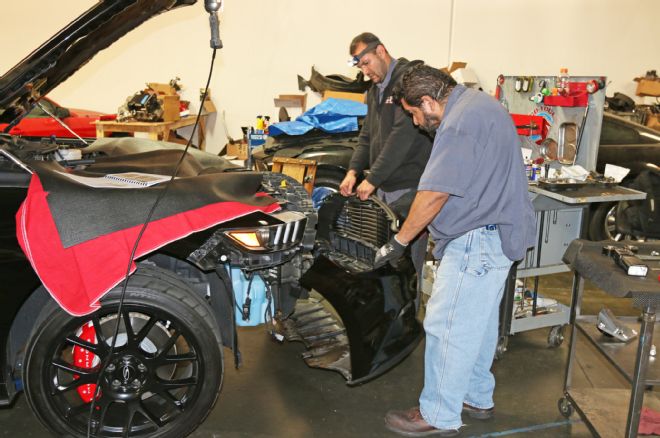
7. In order to get the intercooler behind the front bumper, you’ll have to remove the front fascia. As long as you are careful to remove all the factory clips, the bumper cover will pop right out. This is where that extra pair of hands really helps. You really don’t want to fumble around with this big awkward piece and risk putting a nasty scratch on it. Here Pedro Pasoldan (near) and Ricardo Topete (far) were able to pull the stock bumper cover off and set it down gently off to the side.
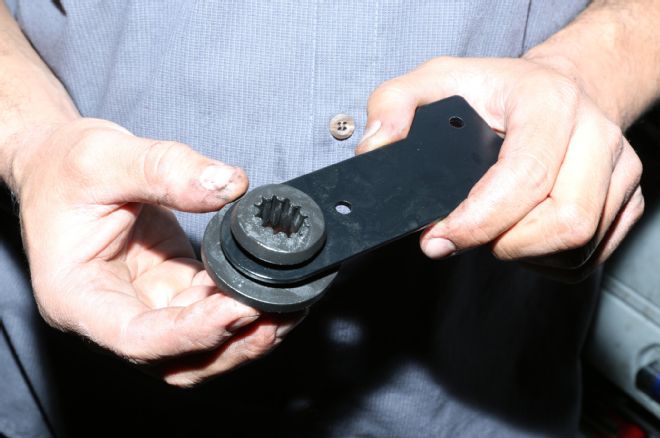
8. The ProCharger P-1SC-1 HO kit comes with two new upper radiator support brackets, which place the radiator back about 2 inches to clear the ProCharger air-to-air intercooler.
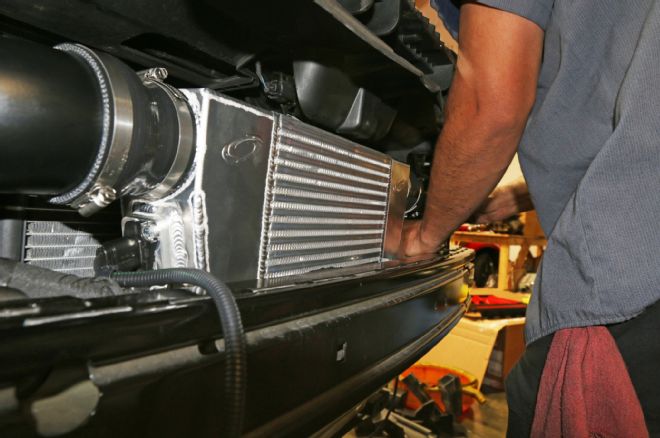
9. Once you have moved the radiator back with the supplied brackets, you can slide the intercooler, but bolt it in loosely with the supplied hardware and brackets. You’ll also notice that the stock mass air meter is reused and mounted on a killer-looking TIG welded port on the intercooler. It’s a simple fact of physics: Cooler air makes more power. On street-driven vehicles, air-to-air intercooling is a natural fit because it locates the intercooler at the front of the vehicle where it is exposed to a constant supply of fresh air. ProCharger’s intercooler is engineered with large-volume air plenums that utilize a highly effective and extremely durable bar and plate intercooler core design. This provides a large surface area for superior levels of heat dispersion.
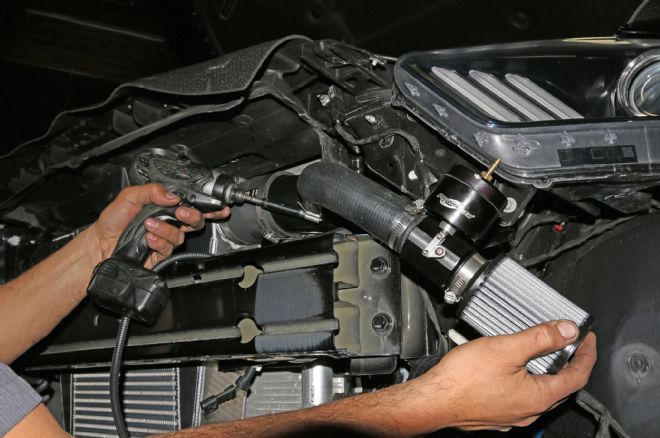
10. Once you get the intercooler piping in place, you can go ahead and tighten down the supplied hose clamps and install the ProCharger blow-off valve. The valve allows excess boost to escape the intake tract when you get off the throttle.
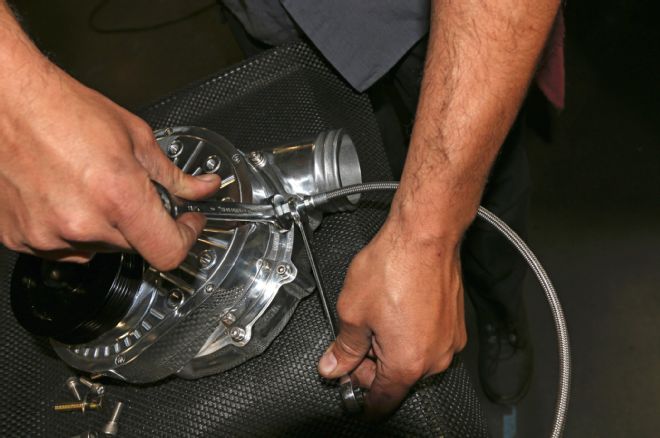
11. It’s important to add the drain line under the P-1SC-1 so you can service the supercharger every 6,000 miles.
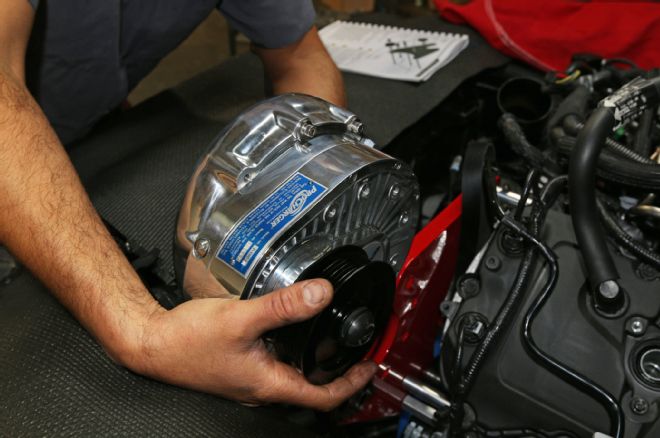
12. With the oil drain line installed, Topete dropped the P-1SC-1 onto the custom powdercoated aluminum bracket. It’s worth noting that these self-contained superchargers are the first and only gear-driven centrifugal superchargers to feature self-lubrication and also feature the highest step-up ratio, exclusive billet impellers, and the industry's only billet gear cases for superior rigidity, sealing, and appearance.
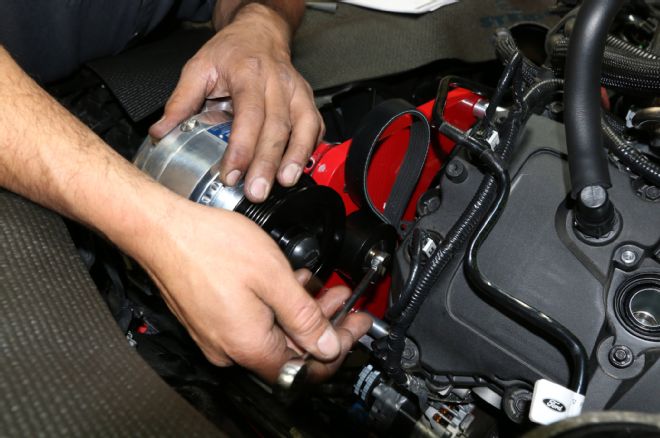
13. With the supercharger installed, the belt idler pulley can be installed with a box wrench.
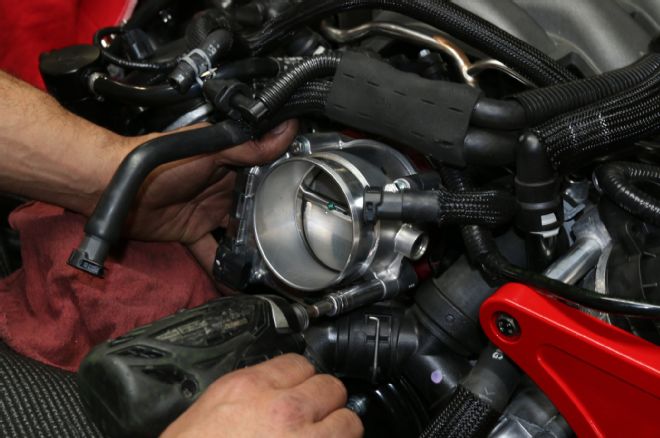
14. To reinstall the throttle-body, simply tighten down the four retaining bolts.
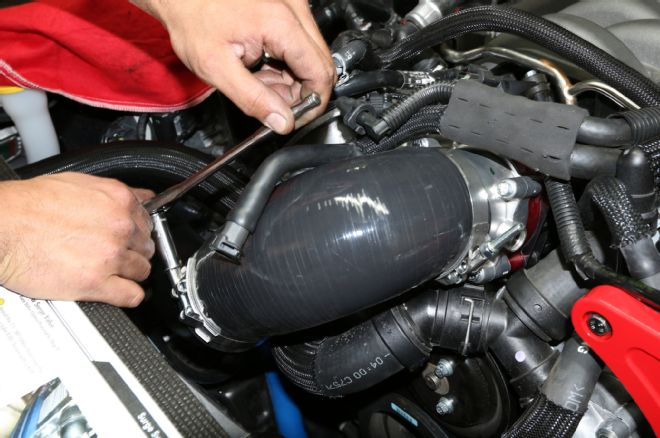
15. At this point you can install the large 90-degree silicone intake hose with the supplied clamps.
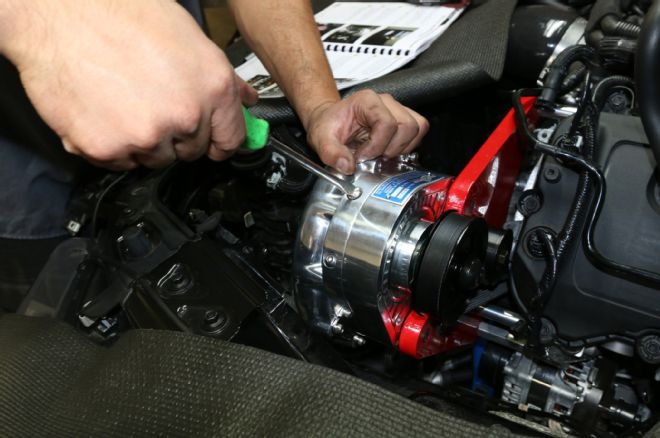
16. The P-1SC-1 supercharger is shipped dry, so you’ll have to remove the filler bolt/dipstick with a flathead screwdriver to fill the supercharger with oil.
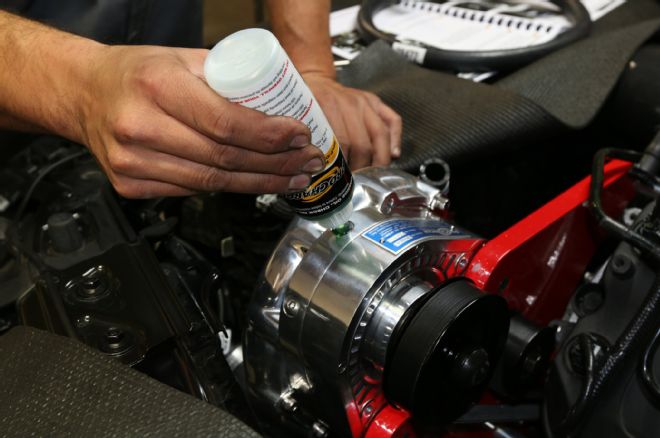
17. One 6-ounce bottle of ProCharger’s premium synthetic supercharger oil and you’re good to go.
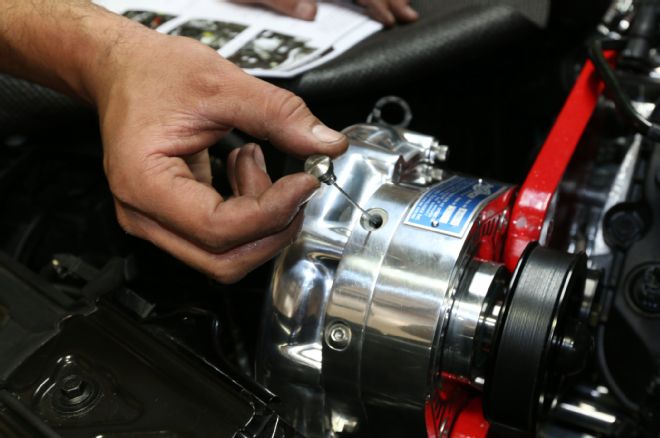
18. The trick bolt/dipstick makes it easy to determine if you have the correct amount of oil in the supercharger.
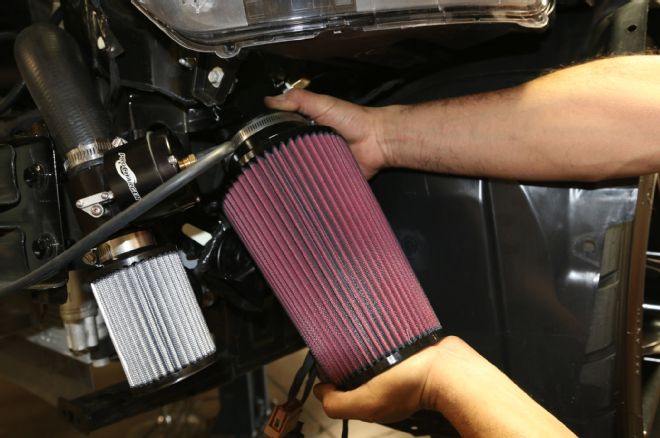
19. After filling the supercharger with oil we turned our attention to the air cleaner side of our system. The ProCharger P-1SC-1 HO system draws in cool air from the fenderwell just behind the front bumper cover. The air filter element feature a large surface area to catch more air while the oiled filter element ensures that small contaminants and particulates get filtered out of the intake tract.
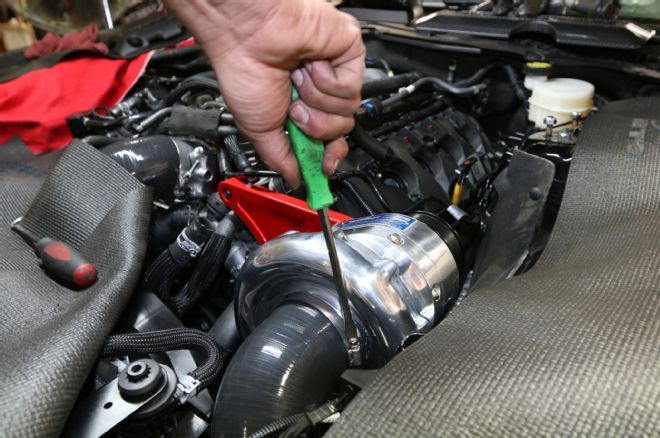
20. With our air filter in place, we went ahead and tightened the large silicone supercharger inlet hose with a flathead screwdriver. The reason we did this last was because we wanted to make sure we had plenty of room to get the air filter element securely on the intake tube. At this point you can reinstall the front bumper cover. We went ahead and left it off on purpose for dyno photos.
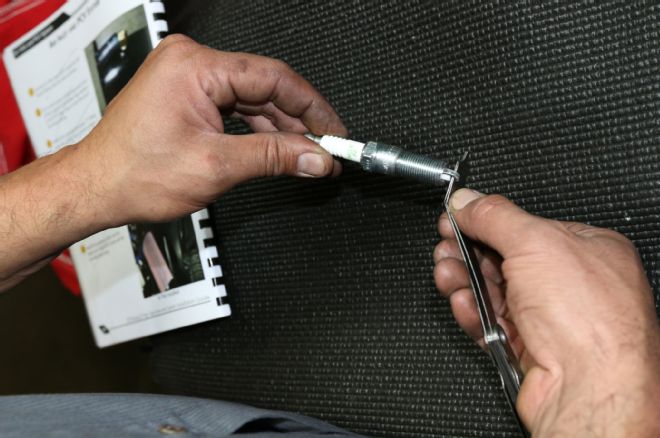
21. While the S550 in question had very few miles, we swapped out the stock spark plugs in favor of a new set of NGK R plugs and gapped them to 0.032 inch.
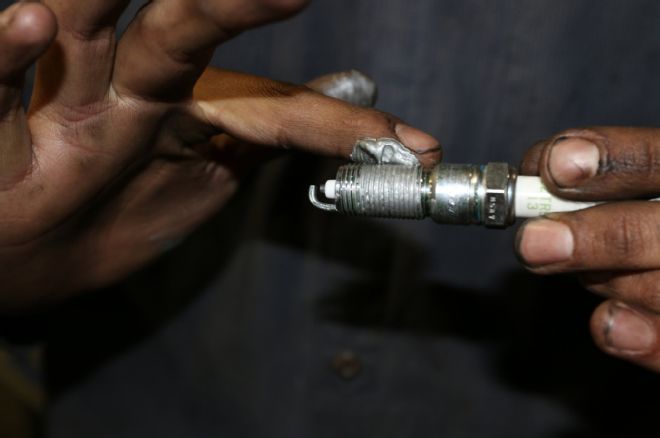
22. Before you drop a plug in the spark plug bore, make sure you add a little antiseize on the threads.
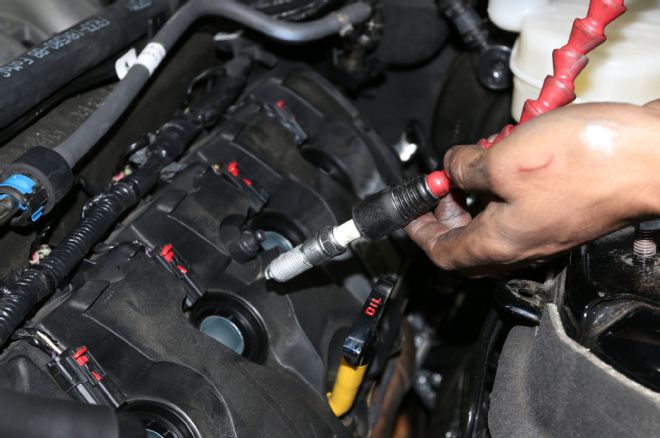
23. GTR is no stranger to Four-Valve mod motors—or Coyotes, for that matter. So it didn’t surprise us that GTR has a dedicated tool to thread in new spark plugs. The quality assurance is in the details, and with a tool like this you won’t have to worry about bumping the electrode on something and accidentally changing the plug gap. You can also use a small rubber hose to get the plug started in the threads.
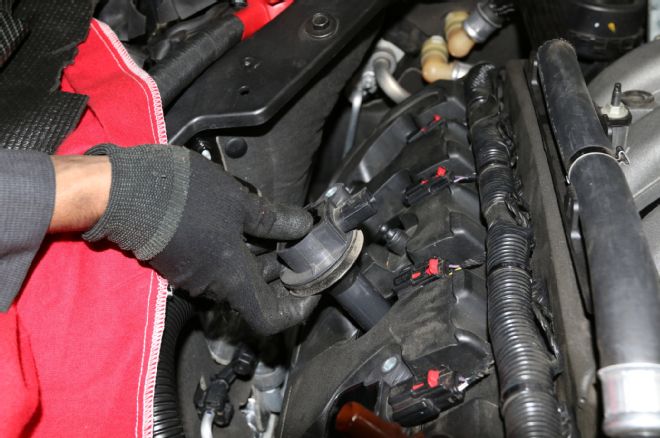
24. Once the plugs were dropped into place, we went ahead and installed the coil packs.
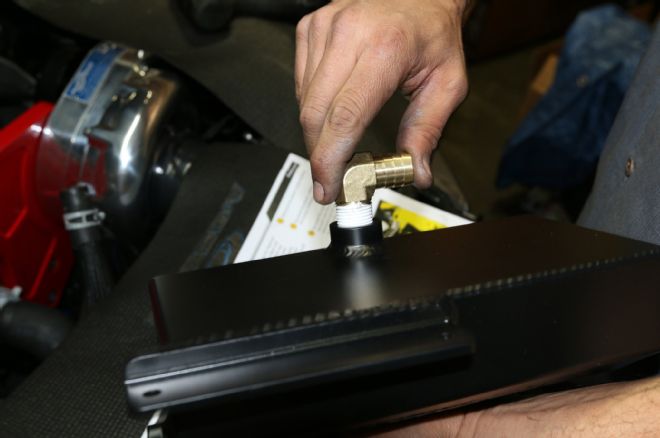
25. The ProCharger kit comes with a nice fully welded aluminum coolant reservoir overflow tank. You’ll have to thread on the 90-degree brass elbow, but make sure you use the appropriate Teflon tape. More importantly, overlap the tape in the direction of the up thread pitch. This means counterclockwise of the thread. And for those of you who are wondering why, it ensures that the tape doesn’t unravel as you thread on the fitting.
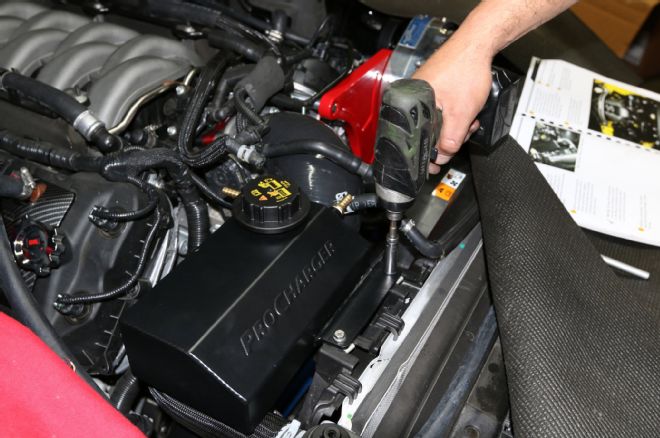
26. The ProCharger coolant overflow tank is bolted into place into the stock location on the fan shroud. Aesthetically, this piece is leaps and bounds cleaner over the factory plastic degas bottle.
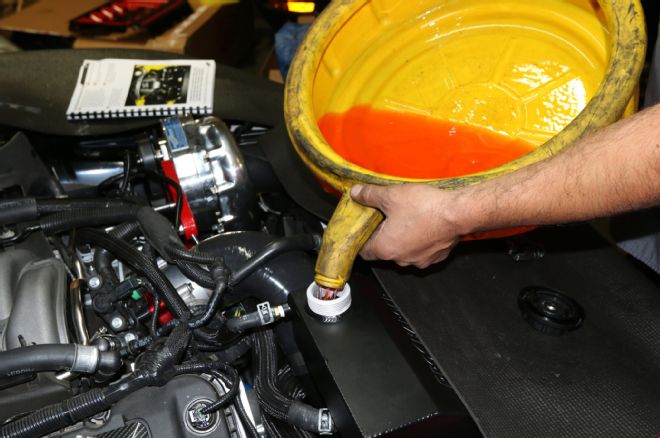
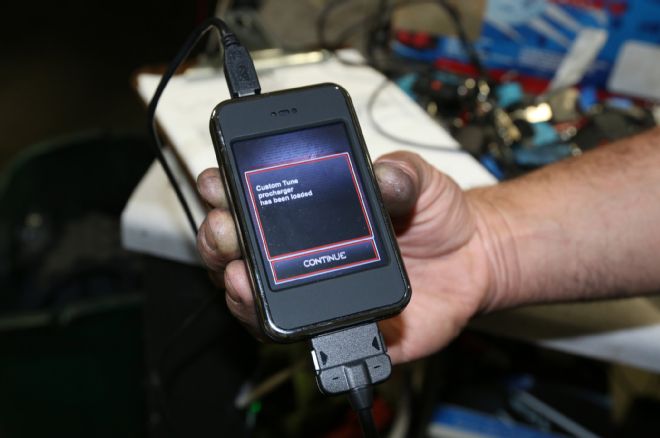
27. With the hard part of the installation complete, Topete downloaded the custom ProCharger P-1SC-1 HO tune onto the supplied DiabloSport inTune handheld tuner.
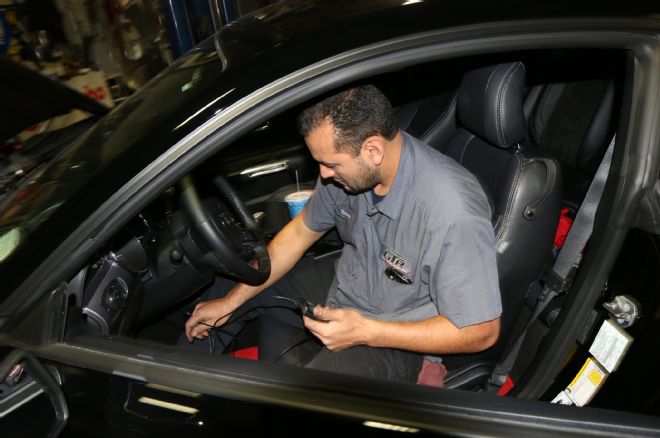
28. The DiabloSport inTune handheld tuner plugs right into the OBD-II port under the dash and takes only a few minutes to load the tune onto the onboard computer.

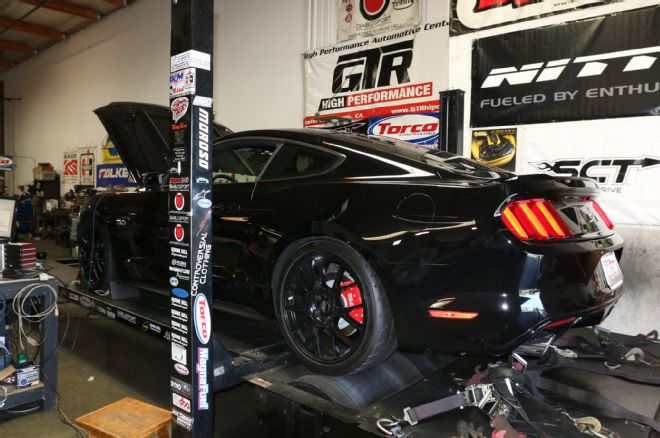
29. With the custom tune loaded, we strapped the manual transmission–equipped S550 Mustang to the Dynojet dynamometer. Our stock baseline run with a simple cat-back exhaust netted us 388 rwhp.
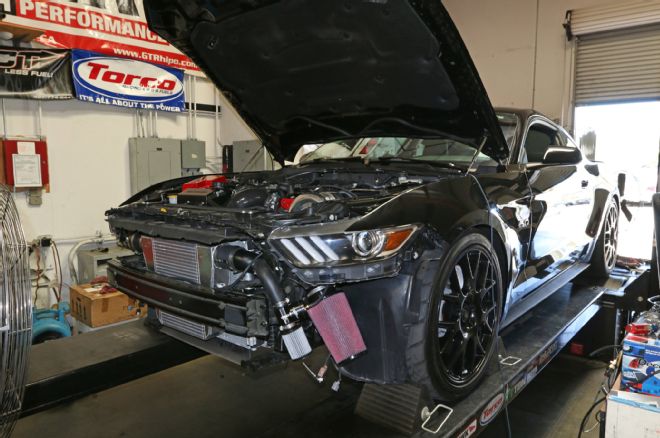
30. The S550 Mustang looks mean with the new ProCharger P-1SC-1 HO supercharger and air-to-air intercooler without the front bumper cover in place, so we ran it on the dyno that way. The new combination was good enough to get the 5.0L Coyote all the way up to 527 rwhp at 6,300 rpm with only 7 pounds of boost. That’s a win in our book!
31. The ProCharger P-1SC-1 HO system delivers a power gain anywhere around 45-50 percent over stock.
32. The proof is in the pudding. This ProCharged 5.0L Coyote is definitely putting some serious power down, all while running the factory fuel system and remaining completely street legal. We’re talking a pump-gas-friendly system with 527 tire-frying horses on tap!