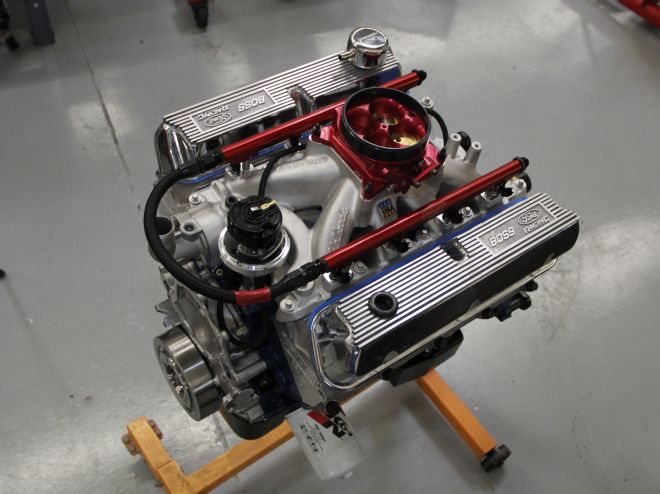
Whoops, the cylinder heads you ordered just arrived in five different boxes. What do you do now?
This happened to us when we ordered a set of Racing Head Service (RHS) 215cc heads for a small-block Ford Car Craft is putting together. We had an ultra-basic valvespring tool and a dial caliper in the toolbox, but what else would we need? We put the parts in a box and headed to JMS Racing Engines in El Monte, California, to find out.
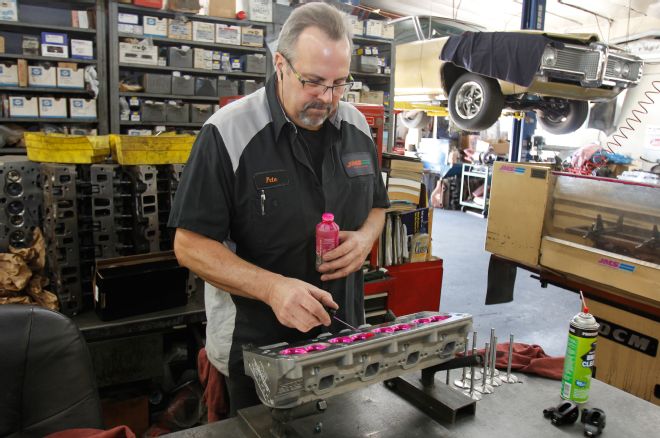
01 Pete Hillemeyer has been the go-to guy for cylinder heads for almost 30 years. He works at JMS Racing Engines in El Monte, California, and offered to do cylinder-head things for the camera.
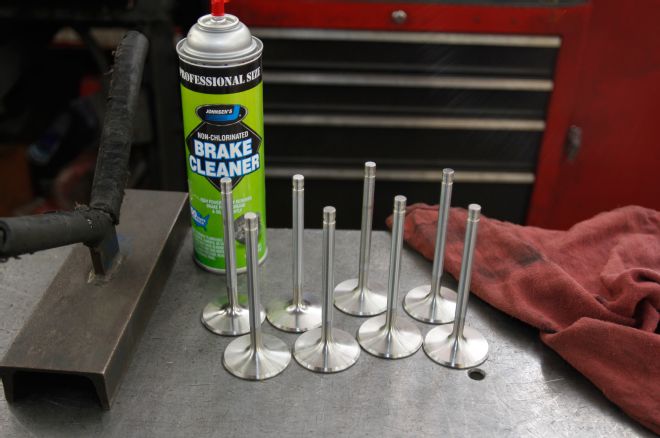
02 The RHS Pro Action 215cc cylinder heads use 2.08- and 1.60-inch valves that are coated in a rust-proofer. Step one is to clean the valves with brake cleaner.
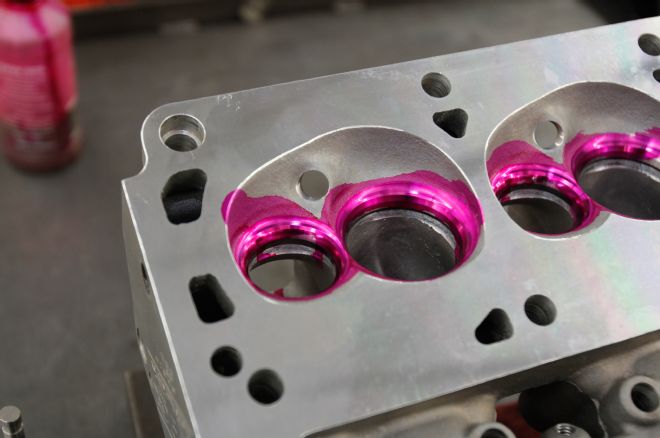
03 Hillemeyer always laps the valve seats. It’s not mandatory, but any guy can do this in his garage with a can of lapping compound and some Dykem layout fluid. He recommends using 280-grit lapping compound or finer.
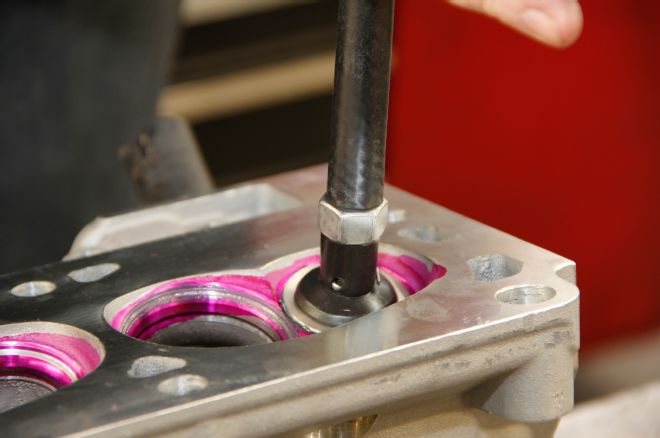
04 The lapping cup is a suction cup on a stick that is attached to the valve face and turned by hand. This process removes any imperfections from the valve face so it mates perfectly with the seat.
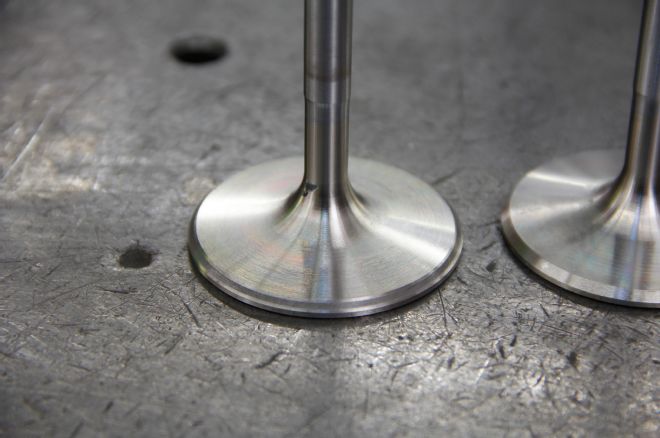
05 A wear line on the face indicates where the valve is contacting the seat and exposes the problems with both the valve and seat like dents or nicks. It also shows where the valve is seating. The valve on the left has a good wear pattern. If the line were higher (toward the stem), then Pete would re-machine the seats to get the wear line down.
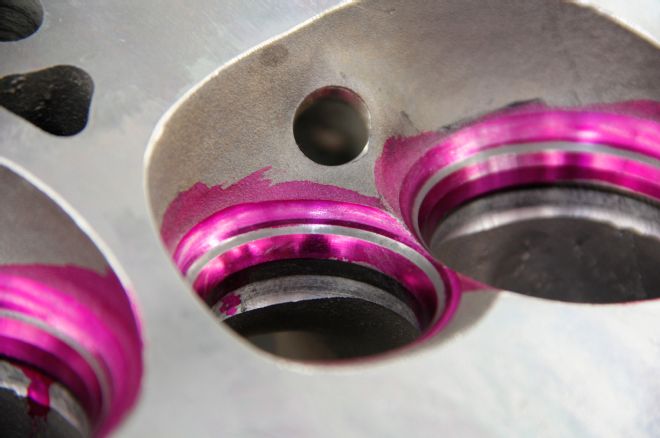
06 Lapping also reveals problems on the valve seat. Both the intake and exhaust seats have good wear patterns.
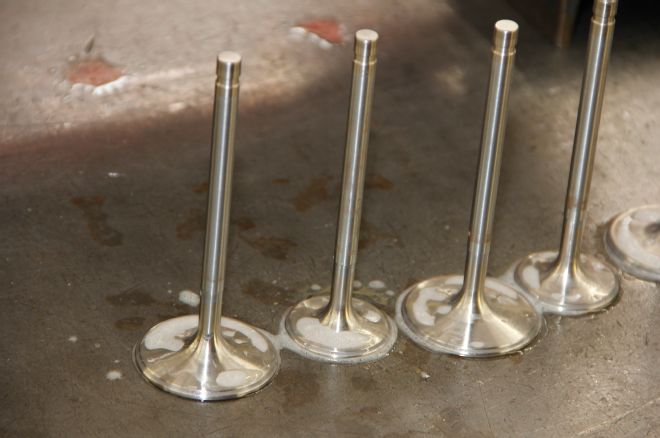
07 Keeping the valves in order, Hillemeyer recommends a water-based cleaner like Simple Green to remove the lapping compound.
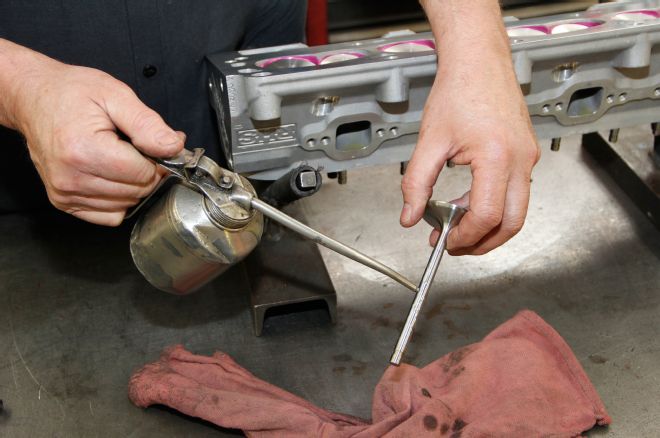
08 After the valves were cleaned, Hillemeyer added a few drops of engine oil (or assembly lube, not llithuim grease if the car is going to sit for a while) to the valve stem.
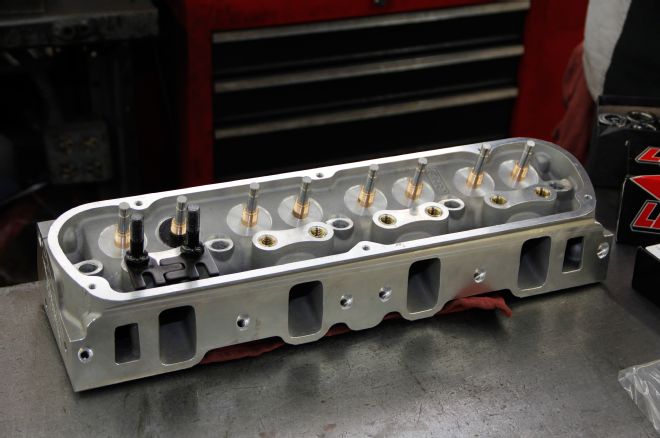
09 The copper-colored valveguides have threads that help hold the seal in place. "Valveguides are a lot better now," Hillemeyer says. "The quality of materials allows some control of the inside diameter and allows them to be machined if they are tight." The valves should glide in and out of the valveguide without radial play or stickiness.
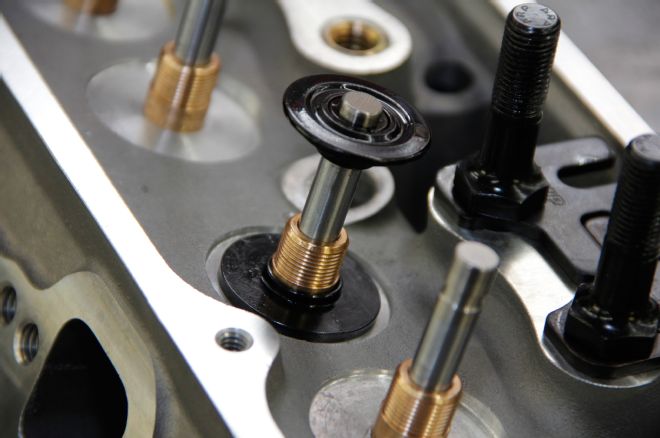
10 With the valves ready, it was time to check valvespring height and pressure. "The exhaust lobe usually has more lift than the intake, so I check the exhaust valvespring for installed height. Then you know you are safe." Hillemeyer says. The spring-height specs come with the valvesprings.
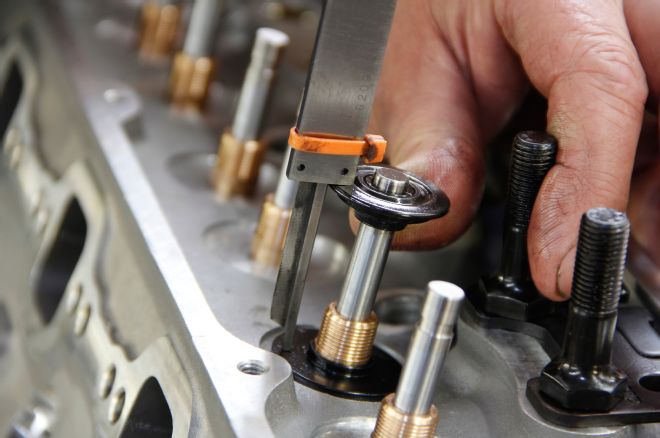
11 For dual springs with a stepped retainer, Hillemeyer measures from the top side of the retainer to compensate for the step, then subtracts 0.100 inch from the measurement. The spec was 1.810 inch for spring part number 73925. The measured spring height was 1.954 inch minus 0.100 for 1.854 inch.
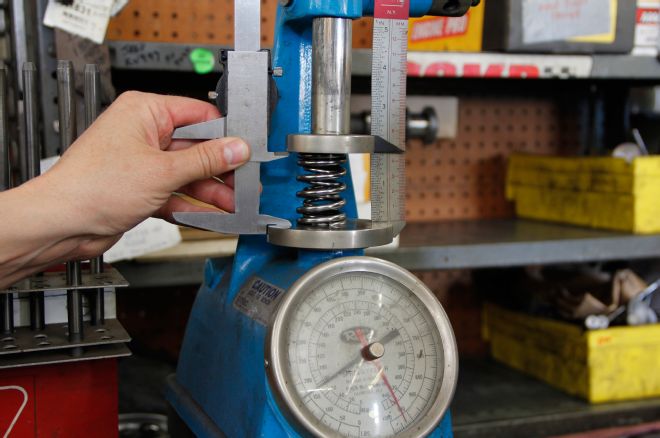
12 At installed height, this spring has 175 pounds of seat pressure. Hillemeyer told us that a general rule of thumb says 125 pounds of seat pressure would be too low, causing potential valve float, and 200 pounds is over-springing it, flattening cams and bending pushrods.
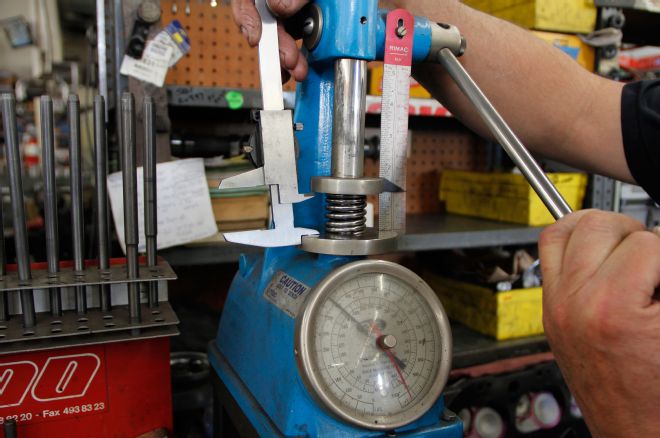
13 The next check was over-the-nose or open-seat pressure. Again using the installed height of 1.854 inch, Hillemeyer subtracted 0.600 (the "lift at valve" spec from the cam card) and set the spring tester for 1.245-inch open valvespring height. The open-seat pressure was 410 pounds.
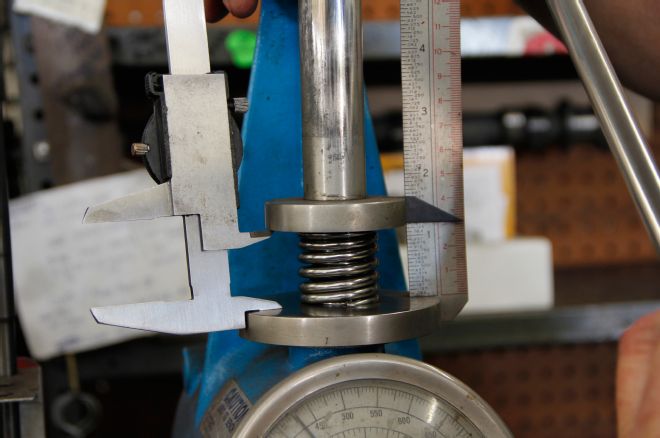
14 Hillemeyer also checked the spring for coil bind by adding another 0.050 inch to the lift for a maximum of 0.650 to check clearance between the coils. This spring didn’t bind until 0.750 inch.
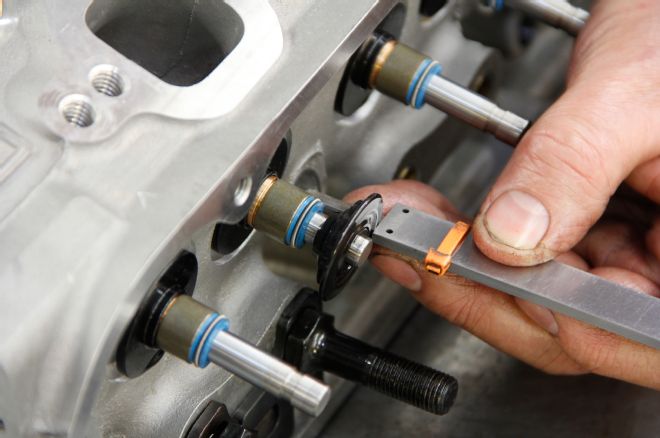
15 Hillmeyer also checked for seal-to-retainer clearance by subtracting 0.750 (lift at valve plus 0.150) from the installed height on the cylinder head. The final installed specs were 175-pounds closed, 410 pounds open pressure at 0.600-inch with 0.750 max lift.
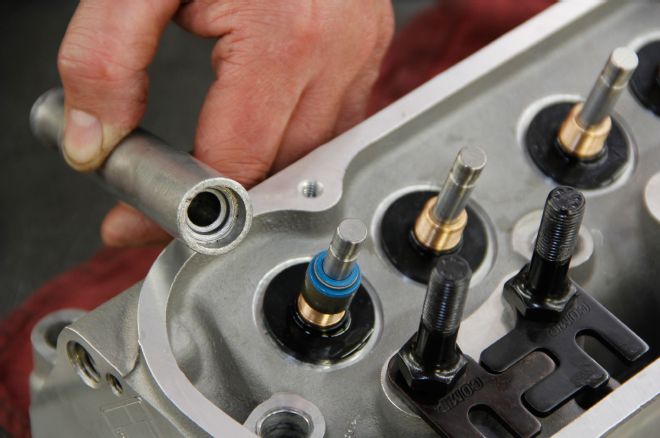
16 The valve seals are installed using a special tool (or a not so special socket) and a plastic sleeve to protect it from the sharp valveguide grooves. Cutting the seal lets oil into the combustion chamber.
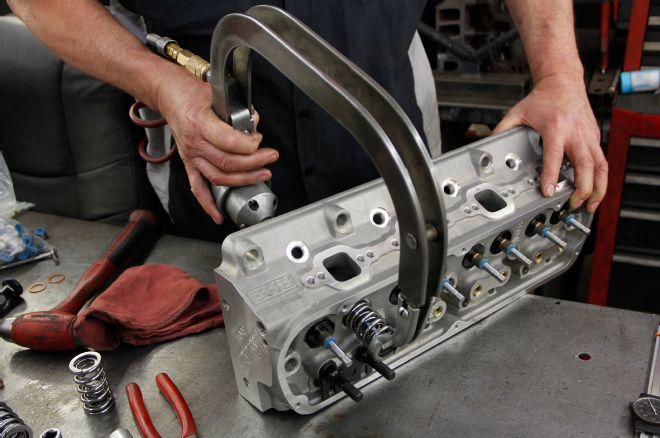
17 JMS has this pneumatic valvespring compressor that makes final installation cake. There are also elbow-powered versions for the rest of us.
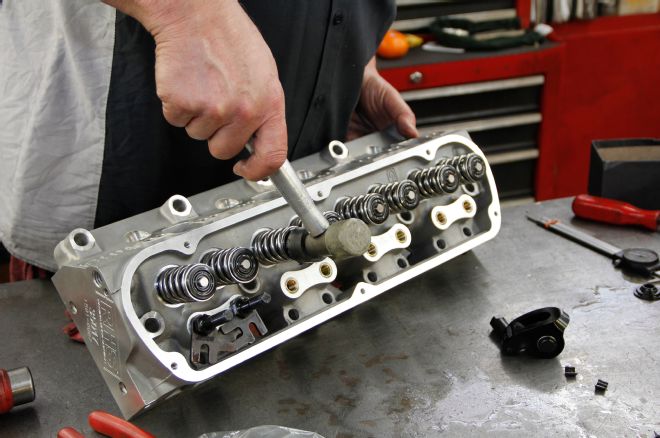
18 A couple of light taps with a hammer ensured that the valve keepers weren’t going to fly off. Keepers "keep" you valves from hitting the piston.
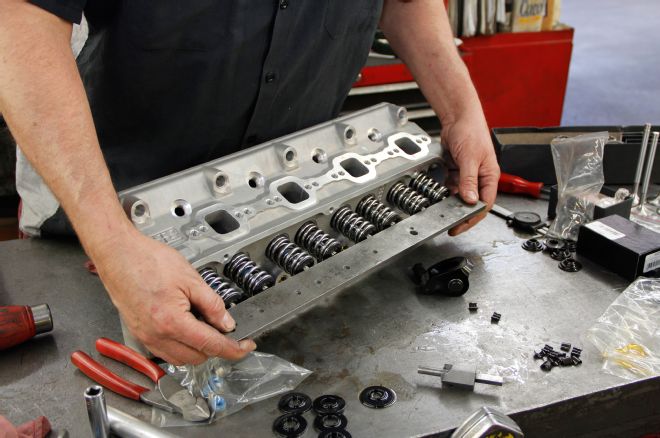
19 Hillemeyer also recommends using a straightedge to quickly find problems with the spring installation. Hung keepers usually raise the valve retainer.
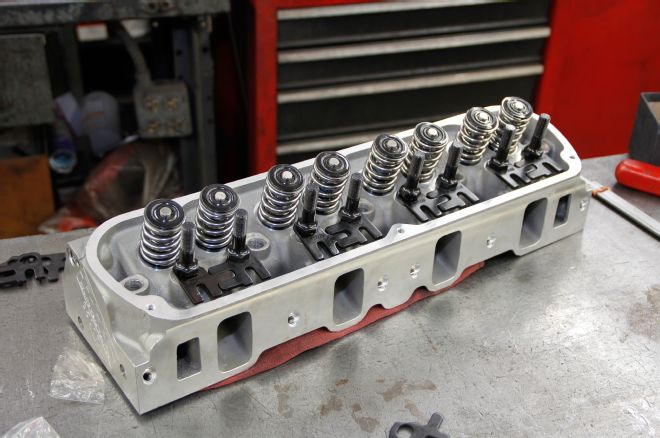
20 These heads are destined for a Ford Racing Z460 short-block with a big EFI intake and a roller cam with 240/252 duration at 0.050 and 0.590 lift. Then we are going to rev it to 7,500 and see what happens. This is Car Craft after all.
Parts List DescriptionPNSourcePrice Pro Action small-block Ford cylinder heads35013-02RHS$730.97 each