Everyone knows that building a car involves a lot of decisions, and each of those decisions has the potential to introduce unintended consequences. Choose to do this and you have to change that. Make a change here and now you have to modify there.
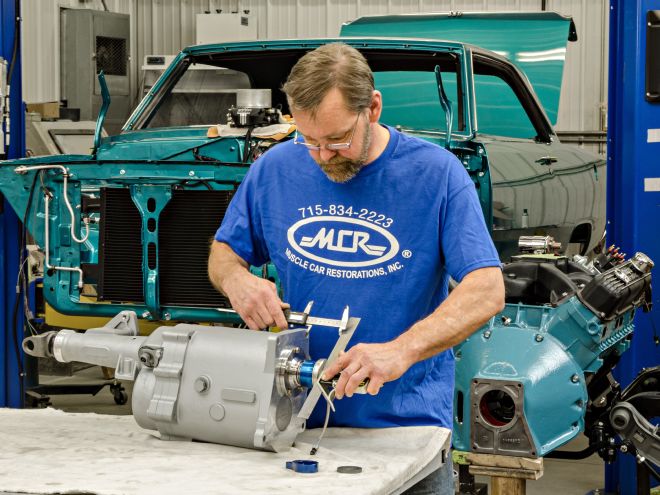
When this '68 Dart came into Muscle Car Restorations, it was set up as a race car with a big-block and a four-speed. This, of course, necessitates the use of fenderwell headers, which were not going to be in keeping with the restoration that the owner desired. The easy solution was to switch to either a small-block or an automatic but, really, who in their right mind would give up a manually shifted 440?
The owner located a set of tri-Y headers that he was told would work but while they cleared the Z-bar themselves, the exhaust pipe would still have to be run too low for comfort to fit under the linkage. It's a common problem with Mopars—the mechanical clutch linkage just doesn't fly with serious headers or exhaust. Fortunately, MCR has faced this problem before and was aware of American Powertrain's Hydramax hydraulic clutch system.
It's a common problem with Mopars—the mechanical clutch linkage just doesn't fly with serious headers or exhaust.
Using a hydraulic release bearing (HRB) simply eliminates all of the clutch linkage clearance and geometry issues and will allow pretty much any header/exhaust combination desired. They especially simplify an auto-to-four-speed swap as it eliminates the need to weld the Z-bar bracket to the frame.
Fortunately, MCR has faced this problem before and was aware of American Powertrain's Hydramax hydraulic clutch system.
Now this car owner gets to keep his big-block and shift lever along with a properly routed exhaust and a beautifully restored stock body. So this was one decision that resulted in a number of good consequences!
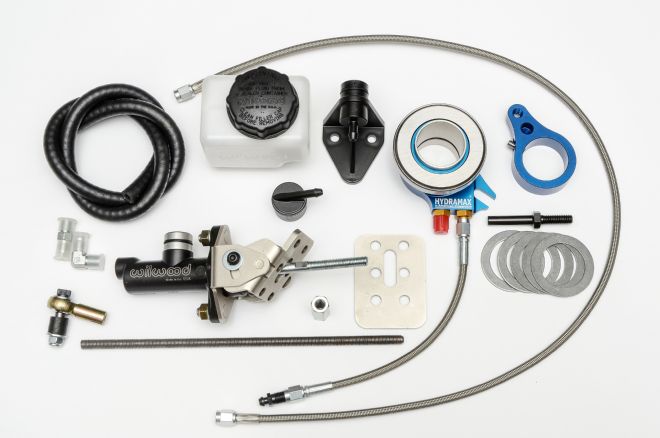
1. American Powertrain's A-833 hydraulic throwout bearing conversion kit includes everything you need to ditch your old mechanical clutch linkage and convert to a full hydraulic system. Installation is almost easy.
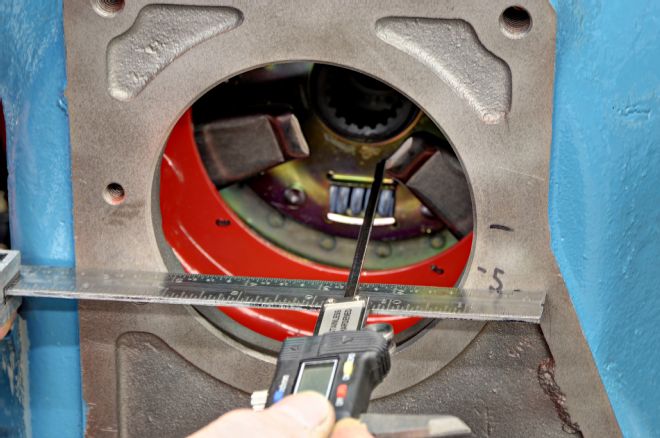
2. The first step is to accurately measure the distance from the face of the bell housing to the face of the pressure plate fingers. Let's call this distance "A." In this case it is precisely 3.90 inches.
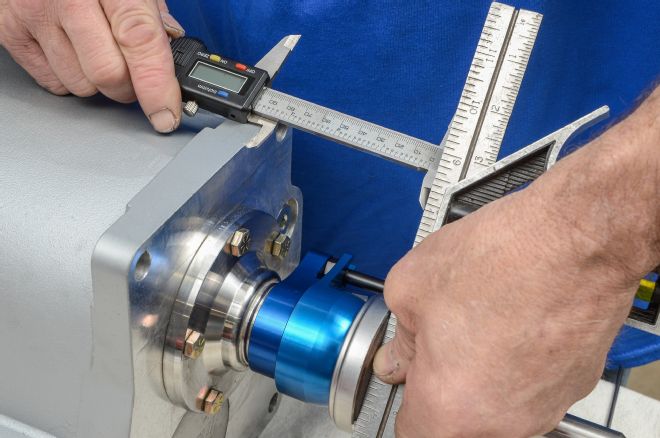
3. The next step is to measure and set the distance from the face of the HRB (hydraulic release bearing) to the transmission face. This is distance "B," and it needs to be .150 to .200 inches less than distance "A." In other words, we're looking for about a 1/8th to 3/16th inch clearance between the bearing and the pressure plate fingers when the bearing is fully retracted.
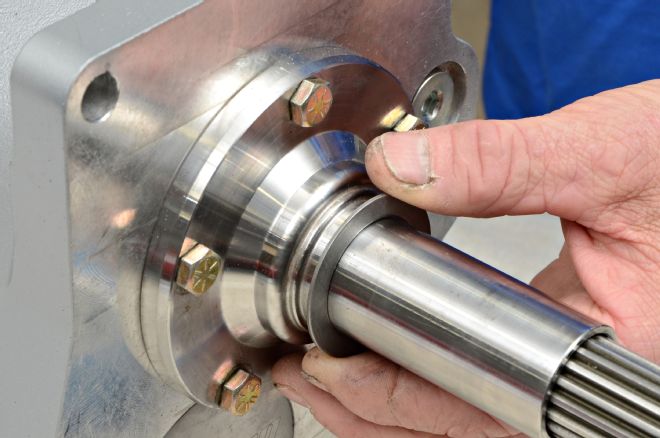
4. American Powertrain supplies a number of shims to help set the proper distance from the face of the HRB to the trans.
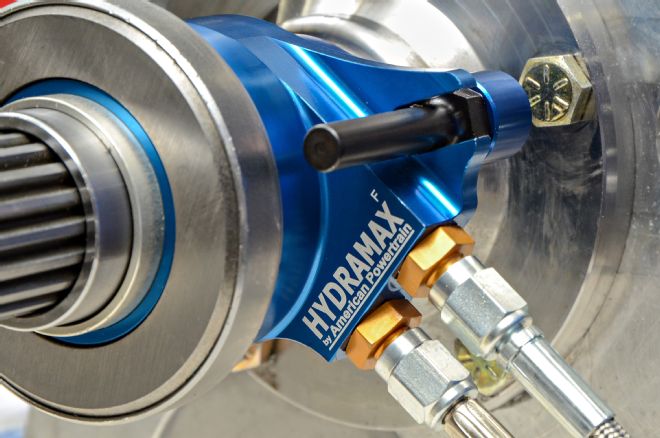
5. If using just the shims, then a replacement retainer bolt with an extended stud is used to index the bearing.
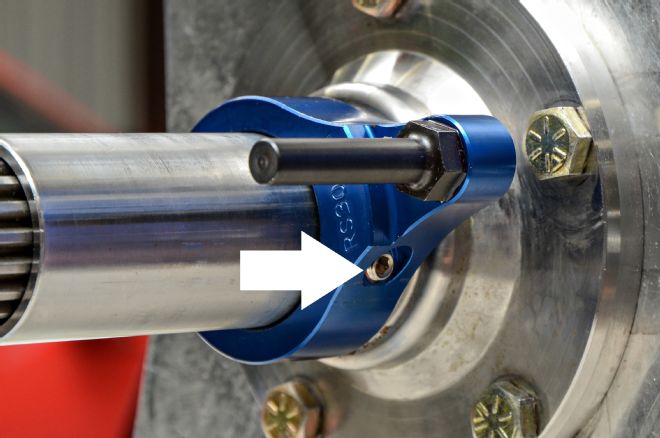
6. In our case, the spacing required exceeded the shim's thickness so the supplied floating retainer was used. A set screw locks it in place (arrow).
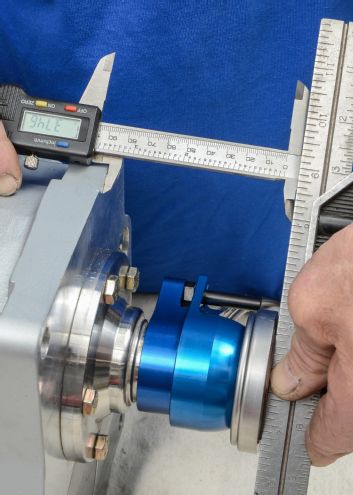
7. Using just the floating retainer, our distance "B" measurement was 3.74 inches. Subtracting that from our 3.90 inches distance "A" yields .160 inches, which is within the target range of .150 to .200 inches.
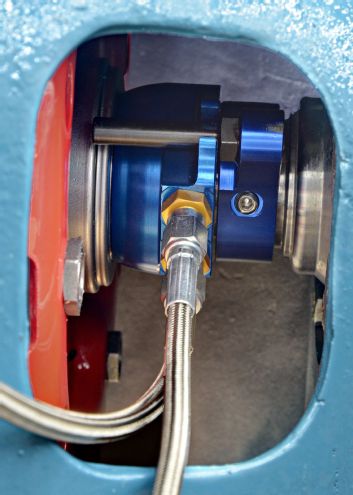
8. The set screw on the Floating Retainer allows the bearing to be rotated to achieve the best position for the hoses to exit the side of the bellhousing.
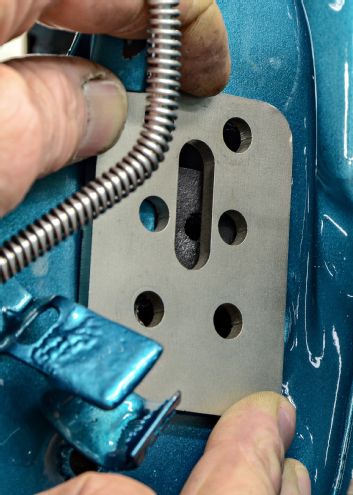
9. The firewall backing plate positioned over the clutch rod opening is used as a template for drilling the mounting holes through the firewall.
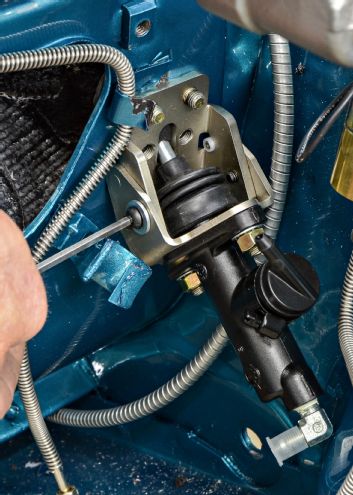
10. The backing plate goes inside the firewall and the supplied bolts thread directly into the master cylinder's firewall mount. A coupler is used to thread the clutch pedal rod onto the master cylinder.
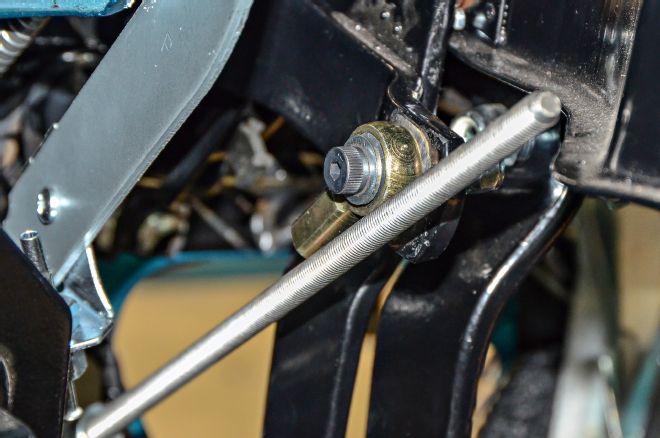
11. The clutch pedal rod is extra long so it can be cut to the exact length needed. It should be set so that the clutch pedal is just touching its upward stop when the master cylinder is in its fully released or "home" position. This is critical. The pedal must not prevent the rod from coming up as far as the master will allow it.
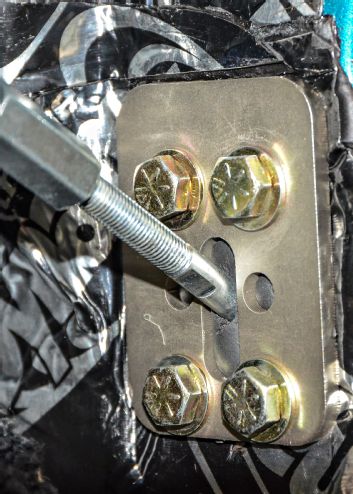
12. The firewall mount includes a pivot that allows the master cylinder and the clutch rod to be easily angled toward the clutch rod mounting point on the pedal. This automatically ensures correct clutch-rod-to-master-cylinder alignment. Tighten the two bolts to permanently fix the angle.
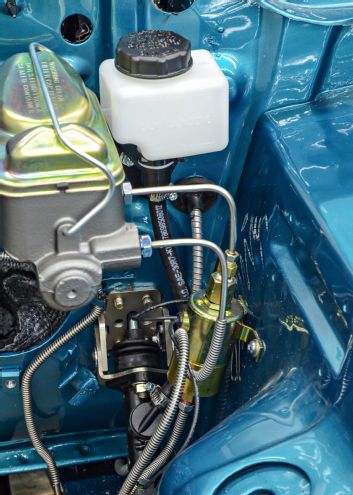
13. Since this car wasn't using its stock ignition box, a convenient spot was open next to the brake master cylinder to mount the reservoir directly above the master cylinder. Use only DOT 3 non-silicone fluid. High-temp racing grade DOT 3 is recommended.
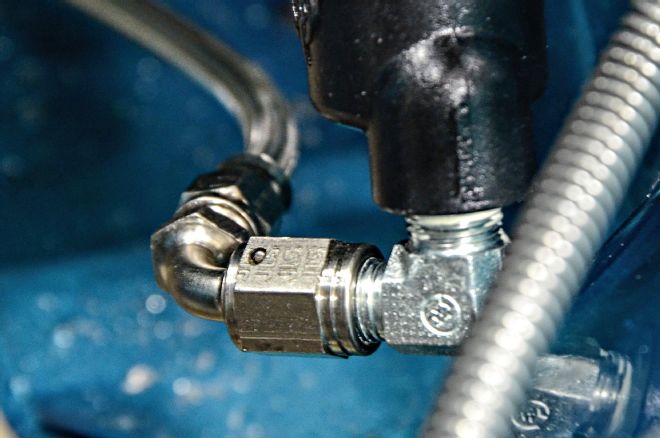
14. Muscle Car Restorations used the supplied right-angle fitting on the end of the master cylinder. They also shortened the hose about a foot and added another right-angle fitting to the hose to direct it back toward the firewall. MCR insists on cutting the hose to the length needed rather than looping it to take up any extra length to avoid air pockets and any bleeding issues.
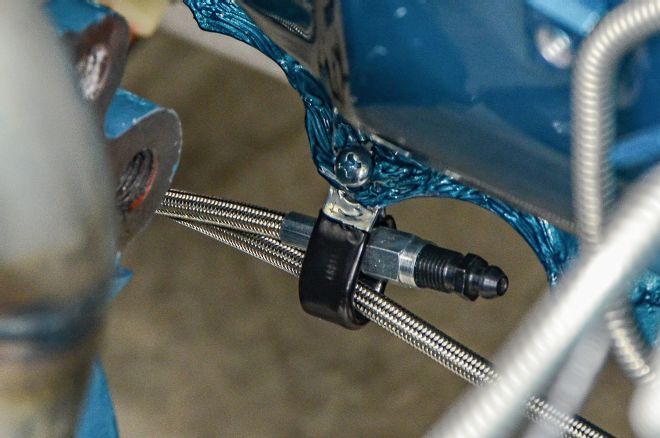
15. MCR added a small clamp to hold the hoses up and away from the header and exhaust. The short bleeder hose can easily be released to hang down to bleed the system and then be safely resecured.