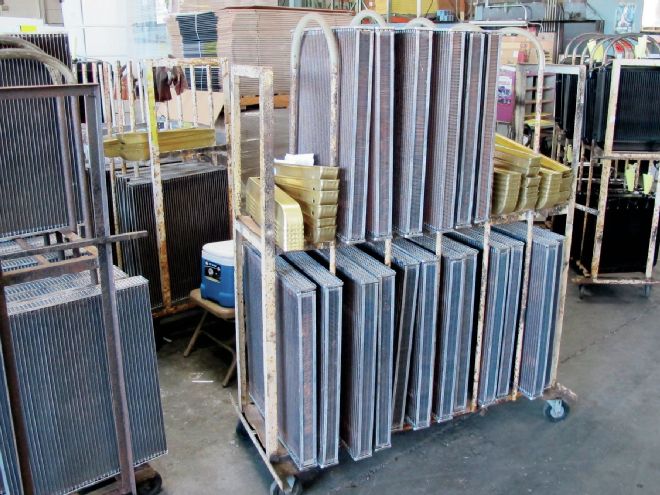
One of the problems that often plagues owners of modified trucks is overheating. Nothing is more stressful than driving with one eye on the road and the other on the temperature gauge—unless its seeing steam coming from under the hood or the dreaded green river of doom running on the ground.
Like many of us, our fearless leader, Ryan Manson, has a truck that is a work in progress. That's another way of saying that his C10 gets driven between updates and has to be reliable at all times—and that means it has to keep cool stuck in So Cal traffic or running flat out thrashing new products. To meet the temperature control requirements for the challenges ahead Ryan went to Don Armstrong at U.S. Radiator for guidance.
Tubes and Fins
Radiator cores might all look pretty much the same, but they perform vastly different based on tube spacing and fins per inch. Don points out that the heat transfer points of a radiator are where heat is actually allowed to leave the radiator and that is where the fins are bonded to the tubes. The more transfer points a radiator has, the greater the temperature drop will be between the inlet and outlet. For comparison a '60s-style core typically had tubes spaced ½ inch apart, that is ½ inch of fin between the tubes. By going from a two-row radiator to a four-row core design we were able to double the heat transfer points, which resulted in a 15-20 percent increase in temperature drop without changing the other variables, such as air or coolant flow.
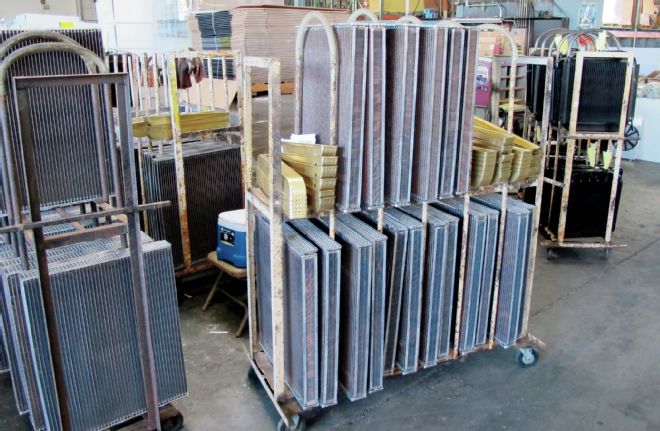 Don Armstrong’s U.S. Radiator supplies radiators for virtually any application—down-flow, cross-flow, aluminum, copper/brass in single and multiple pass configurations.
The Aluminum Versus Copper Controversy
Radiator materials always cause a heated debate, and while that may be a bad pun, there are those who champion aluminum construction and those who prefer copper/brass coolers. Don tells us that in the '80s the Japanese came out with a core design in response to the need to downsize radiators that was efficient enough to allow the re-introduction of aluminum (a less efficient heat transfer material) at the OE level. By changing the tube spacing to 3⁄8 inch, a core design referred to as "high efficiency” in the industry, more tubes or water passages and fins were allowed across the face of a core with a specific width in inches.
The design was simple enough and proved to be very efficient in that more heat transfer points created greater temperature drop inlet to outlet. However, it should be pointed out that the move to aluminum radiator construction was purely financial. The raw materials necessary to build a radiator are purchased by the pound and an aluminum radiator weighs about 25 percent of a copper/brass unit (dollars per pound being almost equal at that time) the result was a huge financial savings for the car companies.
U.S. Radiator has done a considerable amount of testing to compare performance between copper/brass and aluminum radiators, the results of which are surprising. They found that temperature drops at all operating ranges were virtually the same, with a slight advantage going to the copper/brass unit. Given the thermal conductivity or heat transfer rate of copper is 92 percent versus aluminum at 49 percent the results don't make sense. However, Don points out that copper fins are bonded to the tubes or water passages using lead solder, which is very inefficient and slows the heat transfer rate to just slightly better than that of aluminum.
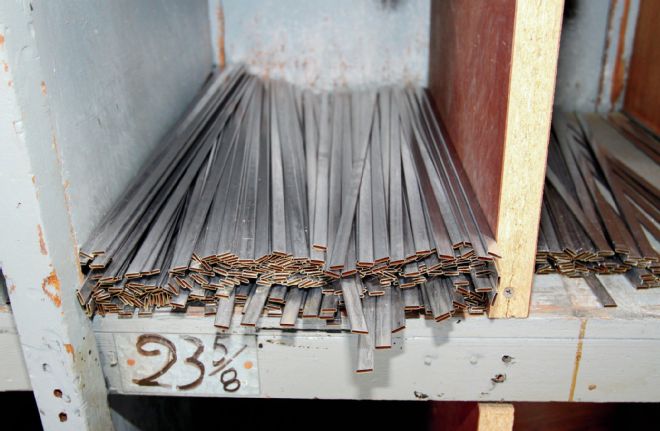
01 This selection of tubes is for copper/brass radiators; they are pre-coated with a thin layer of solder that will bond to the fins.
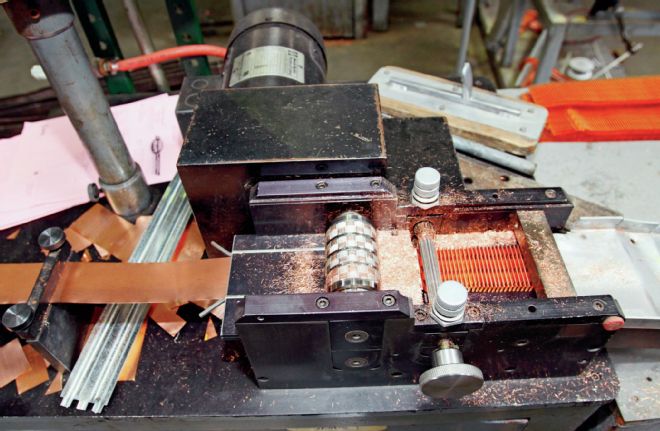
02 Some radiator companies buy cores from outside suppliers; U.S. Radiator builds their own. This machine turns sheets of copper into the serpentine fins that will be placed between the tubes.
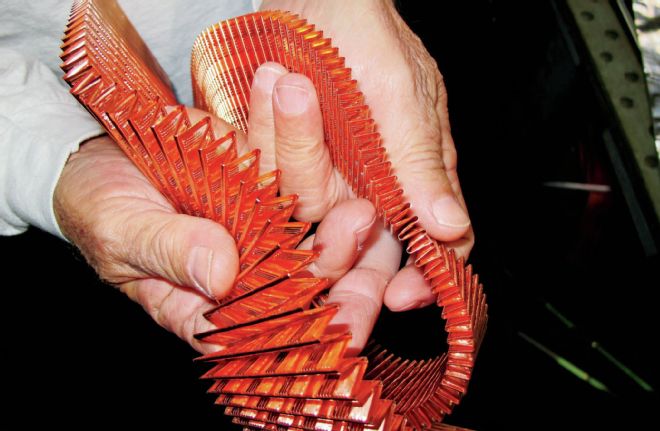
03 Look closely at the fins and tiny louvers can be seen—they improve heat transfer when compared to the non-louvered style.
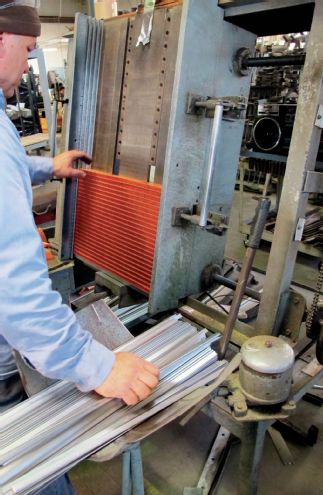
04 Building the core begins with stacking the tubes and fins in a fixture that can be adjusted to the height and width required.
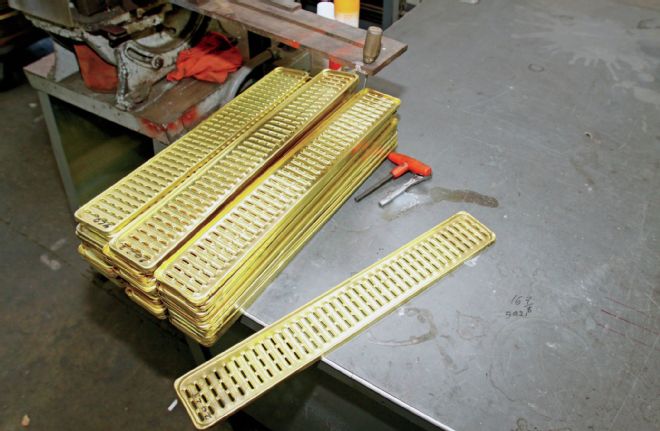
05 Everything is build in-house at U.S. Radiator. These are the headers that attach to the cores in copper/brass radiators. Note they accept three rows of tubes.
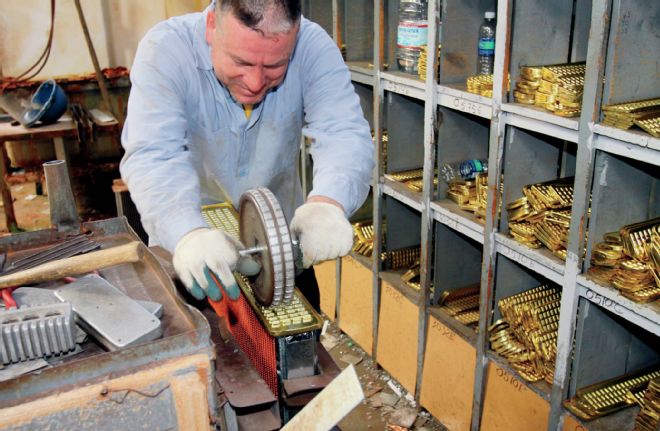
06 Once the headers are in place this roller is used to make sure the openings in the ends of all the tubes are uniform.
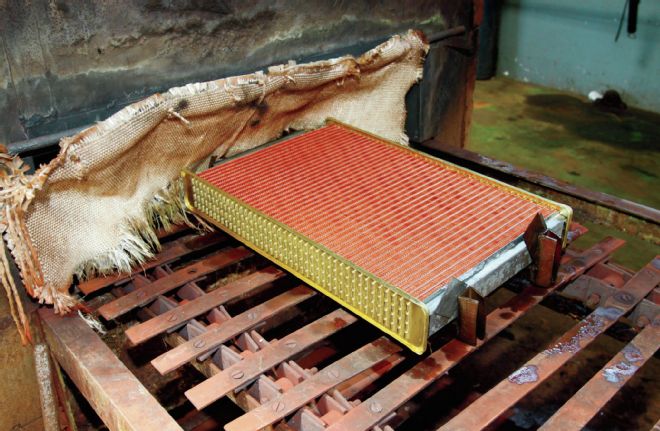
07 With the headers installed the core assembly is sent through an oven, which melts the solder on the tubes securing them to the fins.
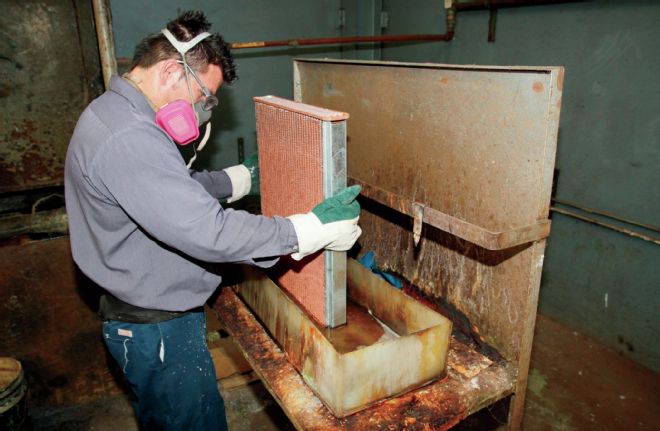
08 After the cores have cooled sufficiently the headers are dipped in solder to permanently attach the tubes.
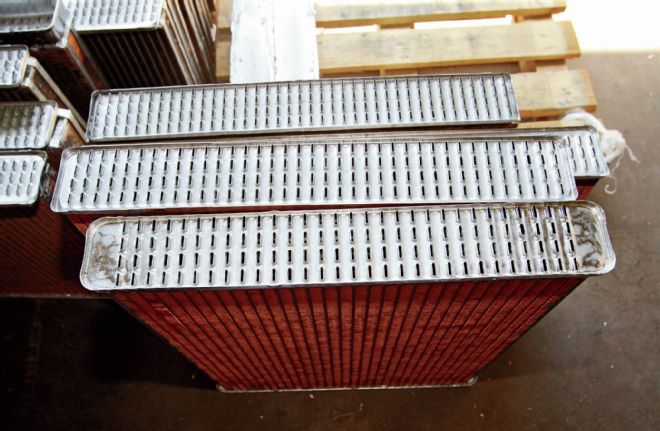
09 Here is a header after being dipped in solder. Note this core has four rows of tubes.
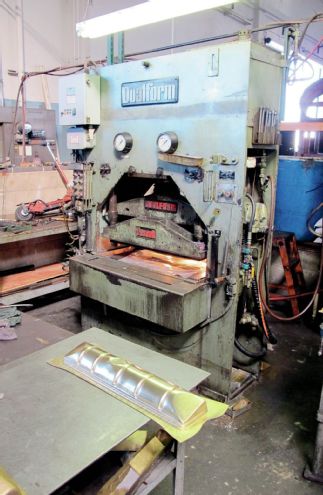
10 Tanks are stamped on this press; they are made from brass or aluminum depending on the application. In our case the radiator uses brass tanks and a copper core.
This can be a disadvantage if the bonding process does not allow the copper fin to touch the brass tube and why not all copper/brass cores of similar design but different manufactures transfer heat equally. Copper/brass radiators, because of their weight and durability, have been around a long time and are easily disassembled and reassembled for cleaning purposes. Not the case with aluminum unless speaking of the OE version that comes with crimp-mounted plastic tanks. As a result, the life expectancy of the aftermarket aluminum radiators will be less than that of copper/brass.
The Triple-Flow Option
In most radiators coolant flows from one end of the core to the other, so it stands to reason that the longer the core is, the more exposure the coolant has to airflow, which would result in better cooling. Basically that's the reason cross-flow radiators were developed. As cars became lower, the only way to provide adequate core length was to make radiators shorter and wider and run the coolant side to side.
Of course the problem that crops up when choosing a radiator is the core size is restricted by the space available. To address that issue U.S. Radiator developed the Triple Pass alternative. This unique design uses a series of baffles to re-route the coolant through the radiator core three times. As a result the coolant travels further through the core and coolant temperature can be dropped 15 to 20 percent. The Triple-Flow option is available in down-flow and cross-flow designs.
What We Did
When it comes to unusual complications when building a truck we have an unequaled track record for creating situations that take some head scratching to solve. In this case the issue was the inlet and outlet had to be on the same side of the cross-flow radiator. But what seemed to be a problem had a simple solution thanks to a U.S. Radiator double-pass core. Like the triple pass, the double has baffles that redirects the flow of coolant. In this case it starts at one end of the divided core, then turns around and flows back through the other half. Think of it as one great big, long radiator.
How it Turned Out
The original plan for Ryan's truck was to repower it with a mild carbureted LS327 crate engine, but then there is this propensity to complicate things. What the truck ended up with was a fuel-injected, TorqStorm supercharged, intercooled, knuckle-dragging 530-plus horsepower LS (check out the dyno pull at www.torqstorm.com). With all the ingredients for disaster on a regular basis—lots of horsepower, a commute that's more stop than go, and summertime thermometer readings in the triple digits—Ryan's truck never came close to overheating, thanks to the right radiator. We think that's pretty cool.
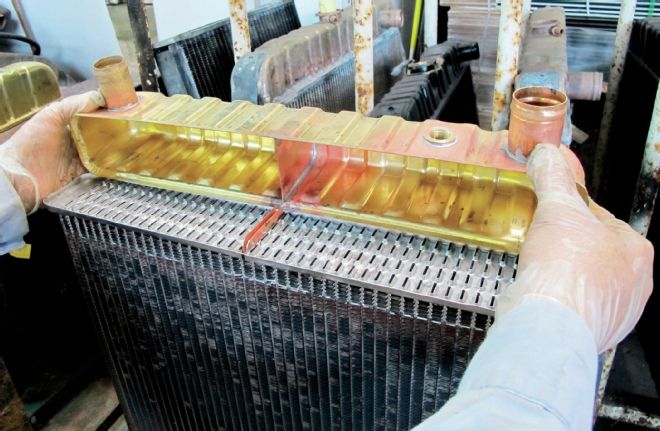
11 This is the secret to a multi-pass radiator, baffles soldered into the tank that fit into locators installed in the core. In our case the core is a double pass.
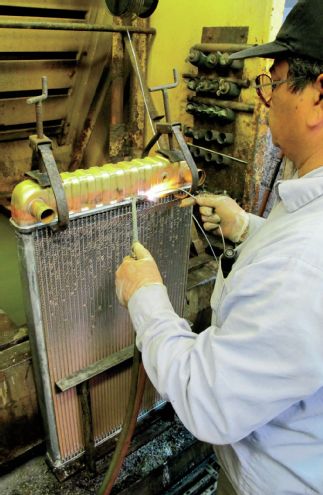
12 The tanks are clamped in place then soldered to the headers. Note both the inlet and outlets are on the same side.
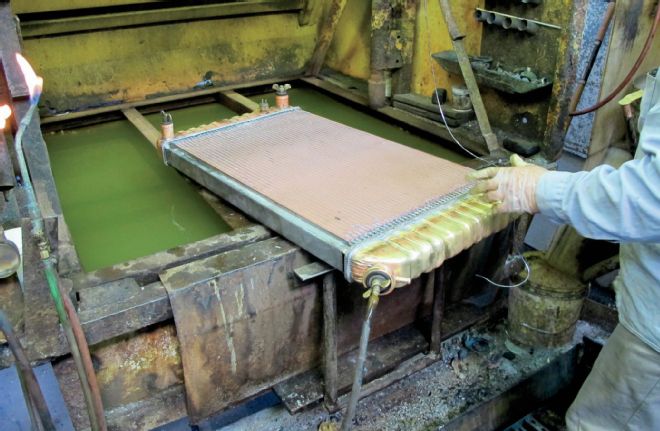
13 With all the openings plugged the core is pressurized then submerged to check for leaks.
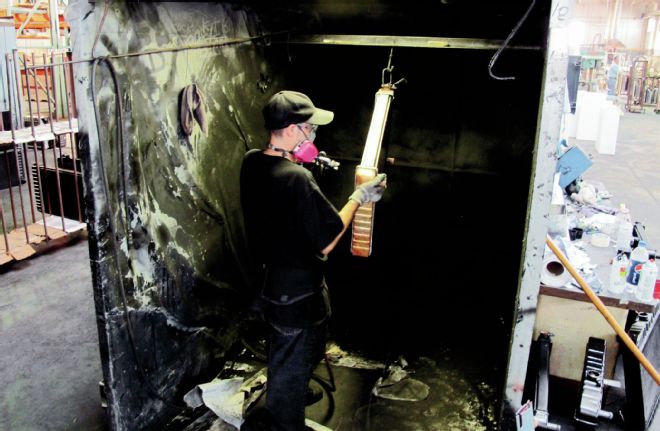
14 After testing the copper/brass radiators are sent to the spray booth for a coat of high-temp black paint.
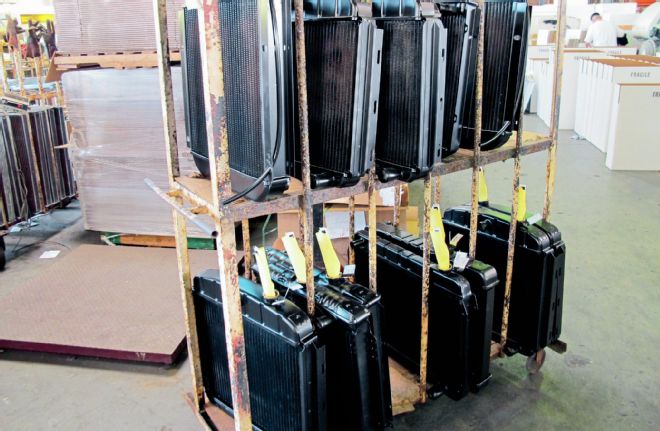
15 In addition to the custom coolers U.S. Radiators builds they have direct replacements for virtually any car or truck.
Plumbing Predicament
When everything under the hood of your truck looks cool, using a universal flexible radiator hose just isn't right. So if a hideous hose isn't an option, and there's not a molded hose that will fit, it's time to get creative.
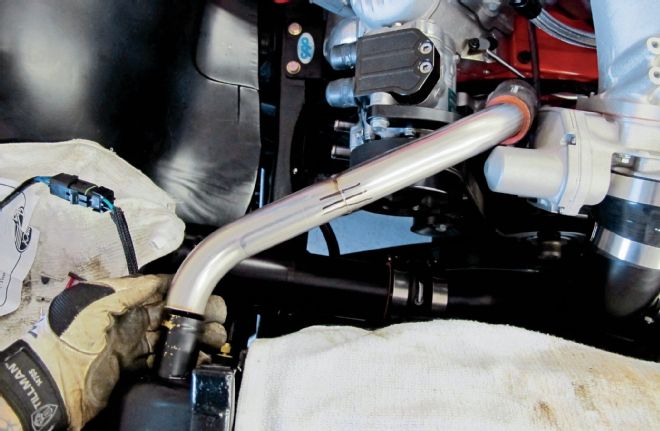
01 To connect the LS Powerhouse to the U.S. Radiator Ryan Manson gathered up components from Vibrant Performance. The first step was to mock up the proper size stainless tubing, cut it to length, and mark it for welding.
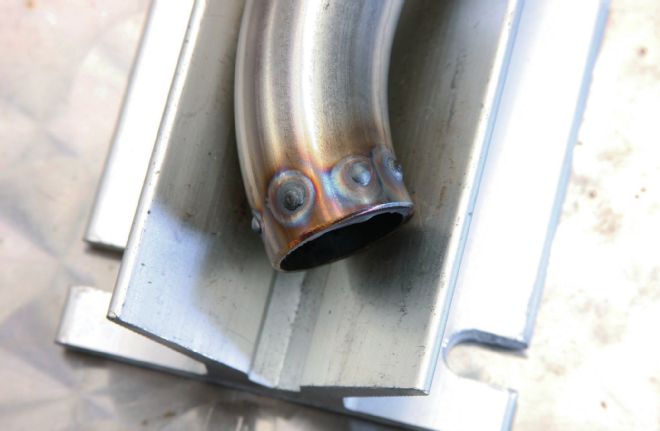
02 The ends of the tubing would receive a continuous weld bead to help the hoses stay in place.
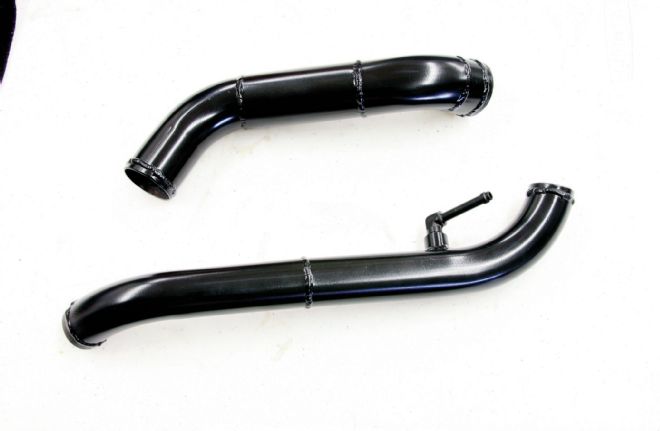
03 After welding the tubes were given a coat of black paint. Note the "vent” fitting required for LS engines on the longer, upper tube (bottom of photo).
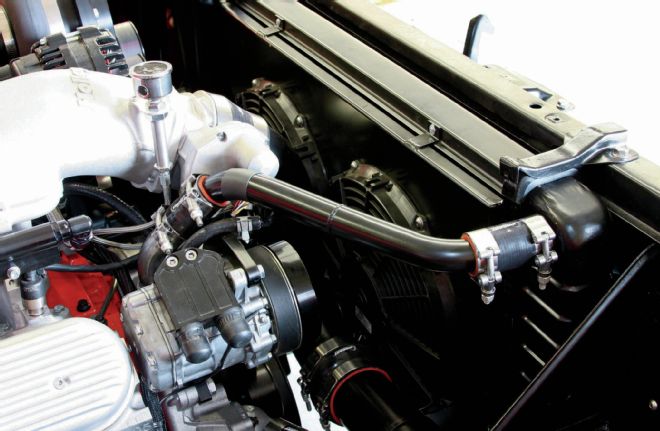
04 Vibrant Performance high-performance silicone hoses were used to connect the tubes. Hoses are available from 1/8- to 5-inch inside diameter.
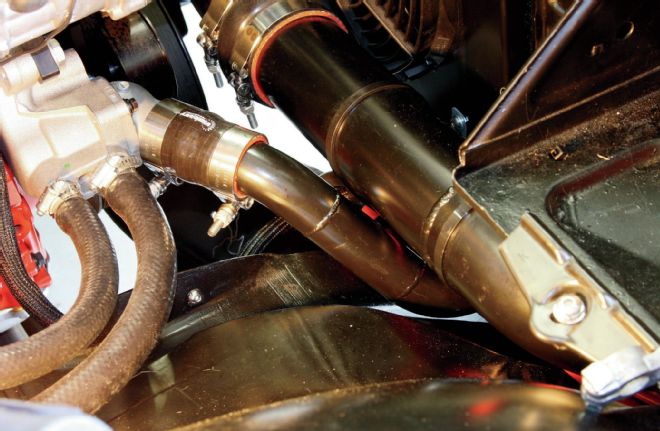
05 The lower radiator connection had to be routed around the larger tube connecting to the intercooler. All the clamps are Vibrant Performance V-Bands. Their design allows for a quick release, gasket-free seal as well as superior retention. They're available in stainless steel or billet aluminum.