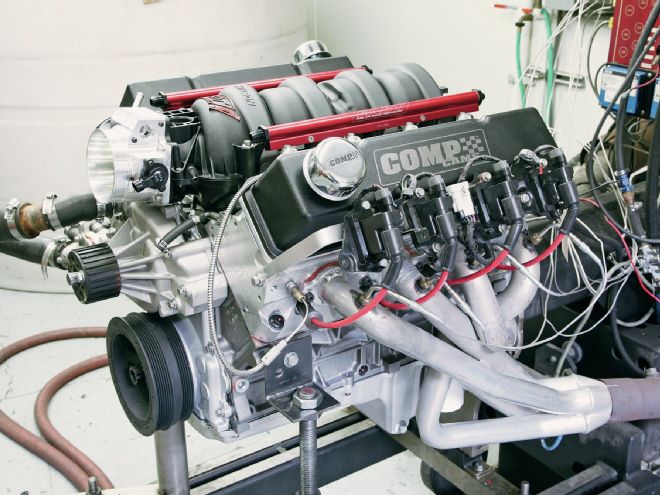
In part one of our build, we introduced you to our 4.8L Vortec V-8 stroker engine project. At Superior Automotive Engineering, in Placentia, California, the LY2 iron block was stripped down, cleaned, and precisely machined to its new larger displacement: 383 ci. We left off just as the block was sprayed in a two-tone gray and red-orange enamel paint scheme, and now we'll be moving on to install all the upgraded internal components we've been stockpiling.
So, you may ask, what exactly will we be using inside our new 383 LS motor? First, we've got the Eagle 383 rotating assembly that you saw a glimpse of in part one (#12922, $2,299 at CNC-Motorsports.com). The package includes an Eagle 4340 forged steel crank with optional oil-shedding ESP Armor coating, Eagle 6.125-inch forged H-beam rods, and Mahle 3.905-inch bore forged pistons with a -26cc dish and valve reliefs.
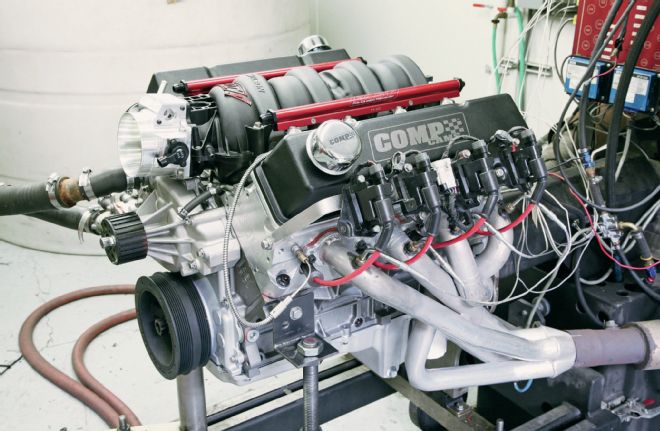
01 Fully assembled and sitting on the engine dyno, our new 383 stroker LS motor looks downright mean. Then again, looking cool is pointless if you're not making serious horsepower, so follow along to see how we accomplished that goal.
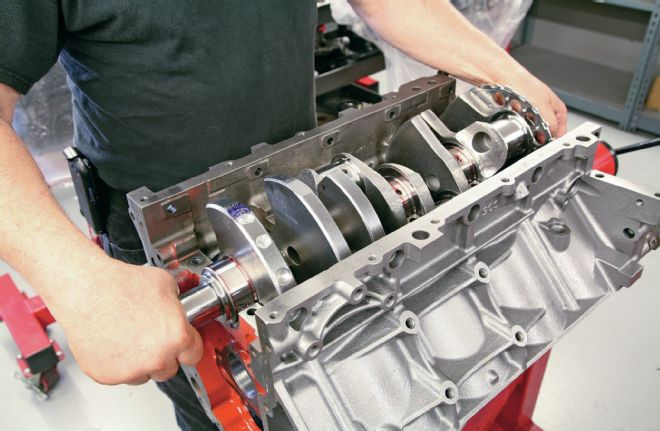
02 Part one of our build left us with a freshly machined and painted block. To begin assembly, the main bearings were installed with assembly lube. Then, the Eagle crank with oil-shedding ESP Armor and longer 4.00-inch stroke length was set in place.
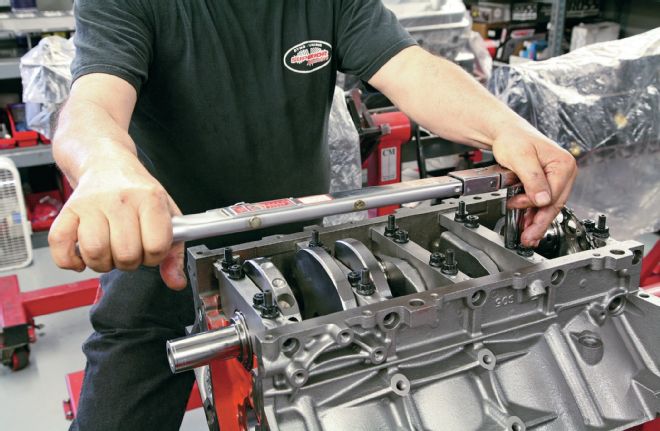
03 More main bearings were placed on the main caps, which were installed atop the crank with new ARP studs. All hardware was carefully torqued to ARP's specs: 60 lb-ft for the inner studs, 50 lb-ft for the outer studs, and 20 lb-ft for the side bolts.
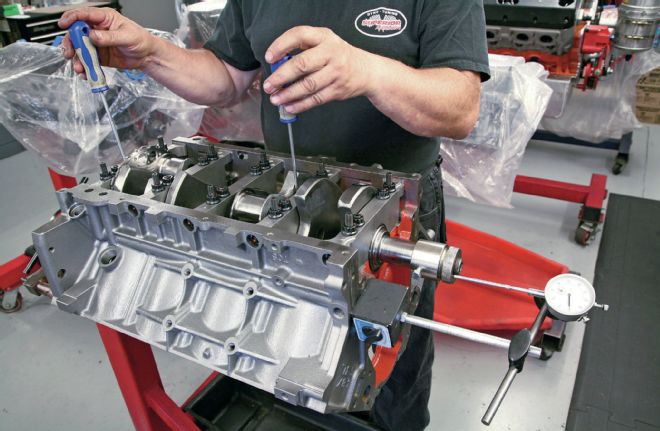
04 Using a magnetic gauge and two flathead screwdrivers, Jorge checked for any endplay or movement in the crank. Even a tiny amount of extra play could cause a catastrophic failure later, so confirming the crank is secure put our minds at ease.
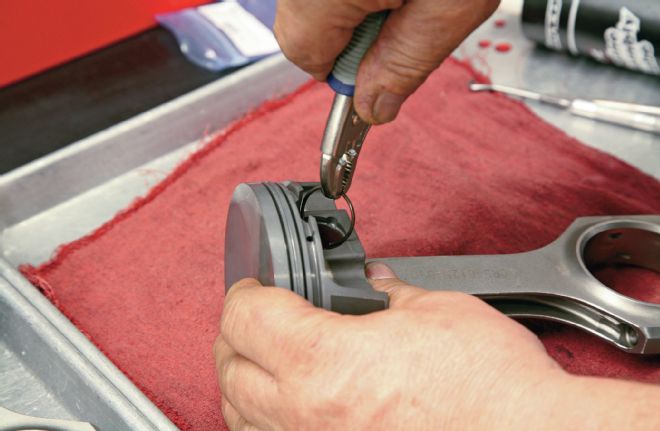
05 Next, we began assembling the Eagle 6.125-inch forged H-beam rods and Mahle 3.905-inch bore forged pistons. Retaining rings were inserted on the sides of each piston, attaching it to the pin and connecting rod.
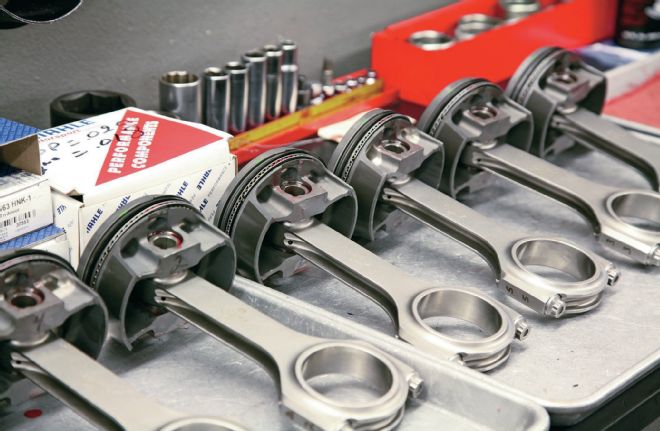
06 Once the pistons and rods were joined, all three sets of piston rings were gapped and installed, and we were ready to drop everything into the cylinders.
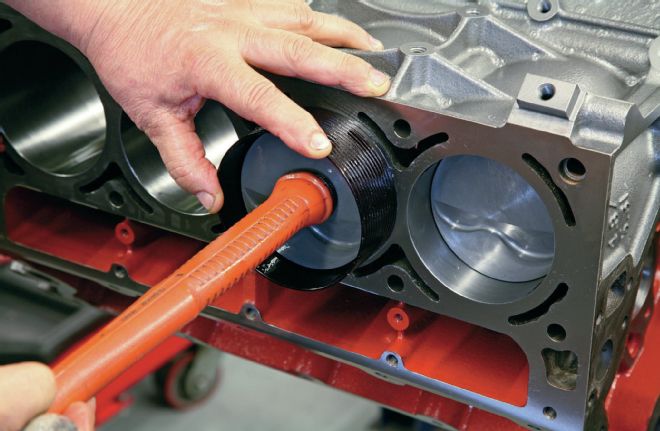
07 After lubing and installing the rod bearings, a mallet handle and piston installation sleeve were used to press all eight pistons into the cylinders.
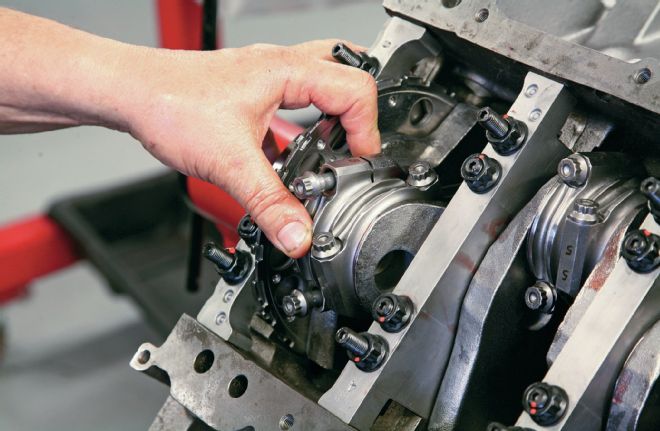
08 The rod end caps were then installed with the respective bearings in place along with a liberal coat of assembly lube. The included ARP rod bolts were torqued to 63 lb-ft.
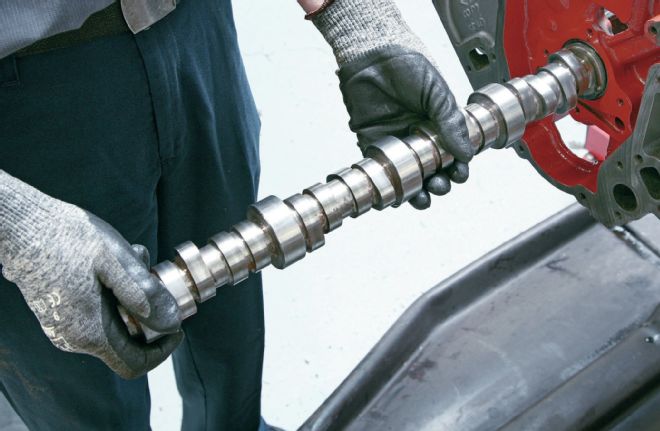
09 Cam bearings were installed in the block, followed by the Comp Cams XFI XE-R hydraulic roller camshaft. The cam's 0.595/0.598-inch lift and 281/283-degrees duration will give our build plenty of top-end power for the track, and its 112-degree lobe separation angle (LSA) will retain a streetable idle.
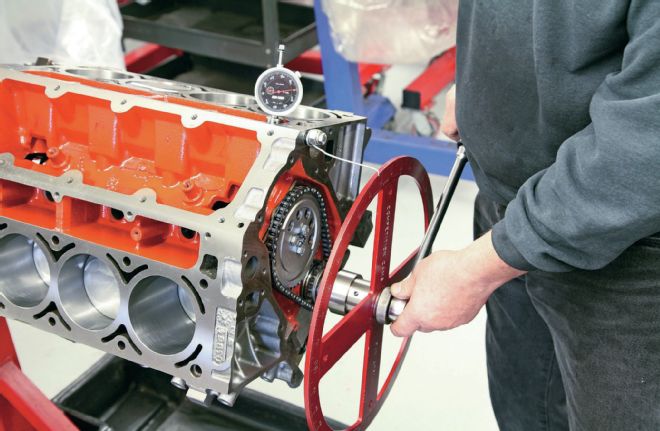
10 With the camshaft installed, we bolted on a Comp Cams thrust plate (#5400TP-KIT, $99 direct from Comp), and then added a Comp adjustable timing chain set (#3158KT, $175). The cam timing was then advanced 4 degrees, which will lower our powerband slightly and improve off-the-line acceleration.
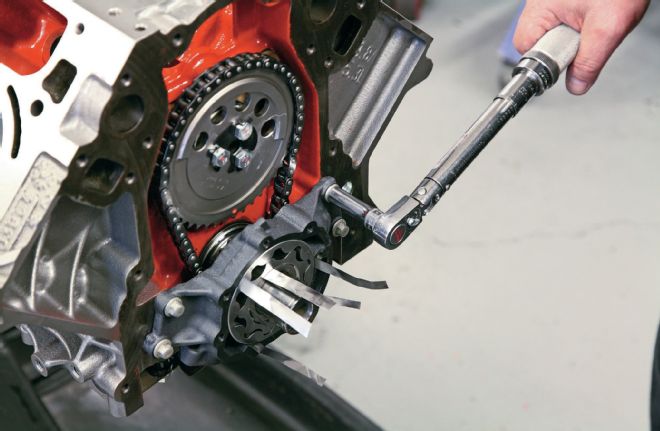
11 When installing and aligning the oil pump on an LS engine, you've got two options: buy the expensive factory installation tool from GM, or do what we did here. Ultra-thin 0.0015-gauge steel shims were used to align the gears while the bolts on the housing were torqued down, centering the pump.
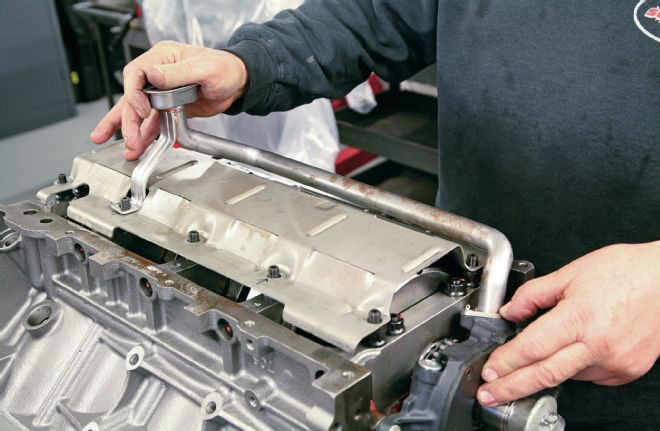
12 Now that the oil pump was installed, the engine was flipped upside down, and the windage tray and oil pickup were bolted on.
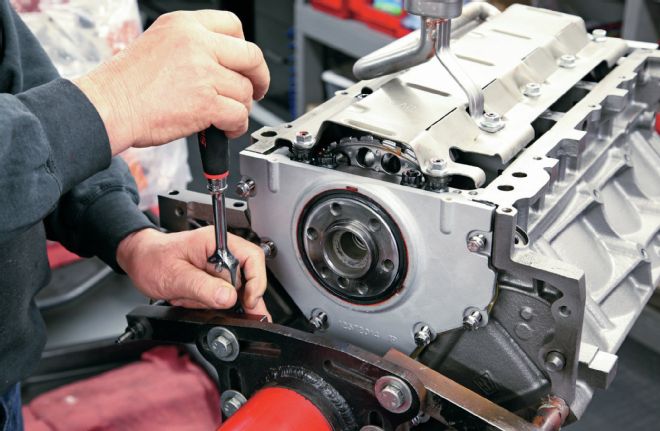
13 The front timing chain cover and rear cover were then lined with silicon sealant and bolted to the block with ARP hardware.
Next, we called up COMP Cams, who sent out an XFI XE-R hydraulic roller camshaft (#54-446-11, $399 direct from COMP), Hi-Tech pushrods (#8406-16, $189), short-travel race lifters (#875-16, $228), and Ultra-Gold rocker arms (#19024-16, $505). COMP also included a few other goodies, such as valve covers and a timing kit, but we'll get to those later. FAST sent us its LSX 92mm intake manifold with a Big Mouth throttle body (#54039BK, $1,506), billet fuel rail kit (#54023, $220), and 36 lb/hr injectors (#303608, $331). Finally, Racing Head Service (RHS) sent over a pair of Pro Action cathedral-port heads (#54302, $819 each at www.jegs.com), and ARP supplied all-new hardware for our engine and accessories.
After it was all assembled, Superior Automotive bolted the engine up to their in-house engine dynamometer. On the dyno, our new build was warmed up, broken in, and then run at full-throttle to check power output. Read on to see the assembly process and find out how much power this 383 stroker LS engine made.
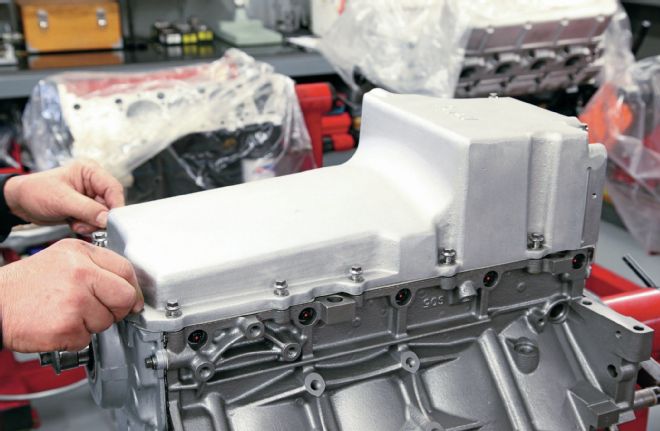
14 Holley supplied this LS retrofit oil pan (#302-1, $370 direct from Holley) for our build. Its dimensions allow for easy installation in most classic truck applications, and its internal baffle will prevent oil starvation under hard cornering.
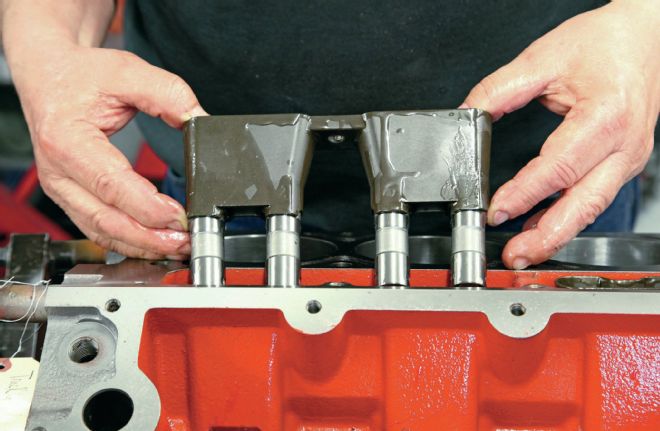
15 Our new Comp Cams short-travel race lifters were bled in a vise, soaked in oil, and installed in the block in their plastic trays.
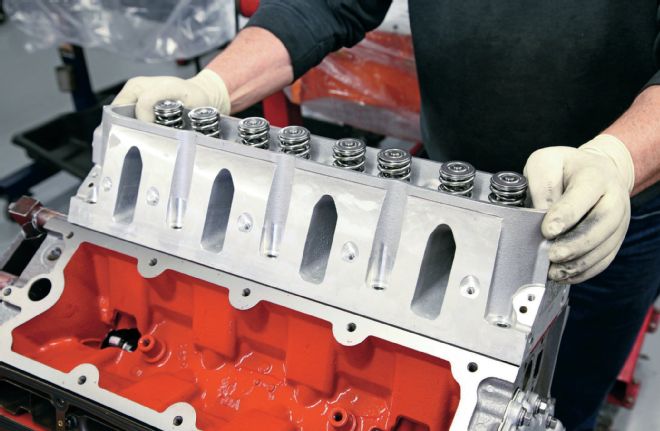
16 New head gaskets were coated in sealant and set in place before installing our RHS Pro-Action cathedral port heads. These aluminum heads will greatly improve flow, and they come pre-assembled with Comp Cams valve springs.
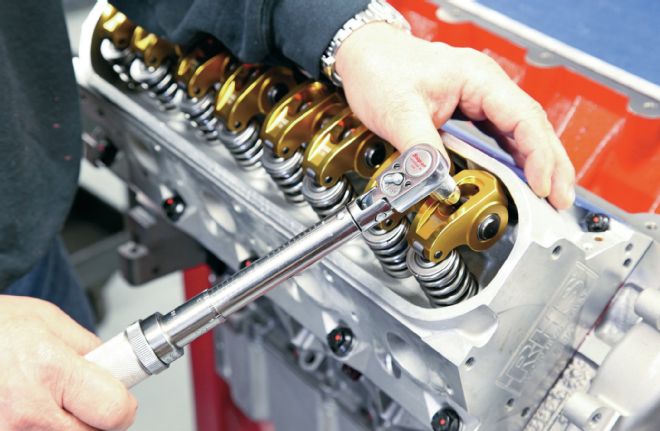
17 Comp Cams Hi-Tech 7.400-inch pushrods were dropped into the heads above each lifter, and these Comp Ultra-Gold rocker arms hold them in place. The valvetrain geometry and preload was carefully checked, then each rocker arm bolt was torqued to 22 lb-ft.
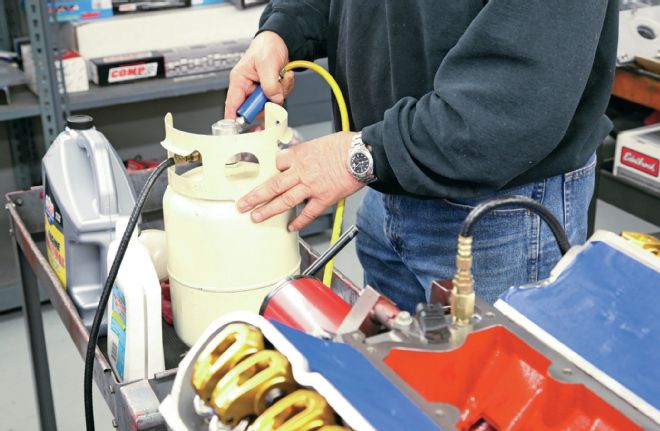
18 Compressed air was used to force-feed the engine oil through the oil pressure sensor opening in the block. After turning the crank and repeating the process several times, oil began to seep from each rocker arm, showing the engine was fully pre-lubed.
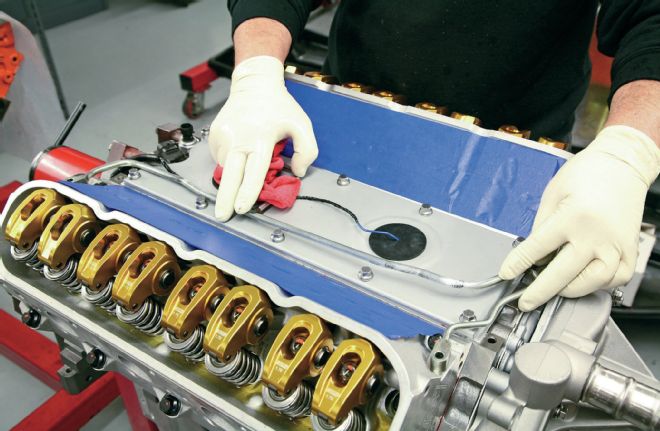
19 Next, the valley cover, knock sensors, and factory coolant crossover tube were installed between the heads.
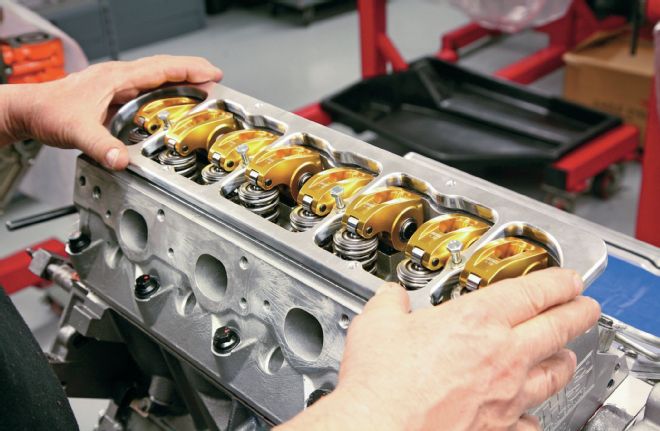
20 Since the engine's low-profile factory valve covers wouldn't clear the new rocker arms, we picked up these billet aluminum valve cover adapters from Comp Cams (#NG4011, $154). They'll allow us to run old-school small-block valve covers on our LS motor.
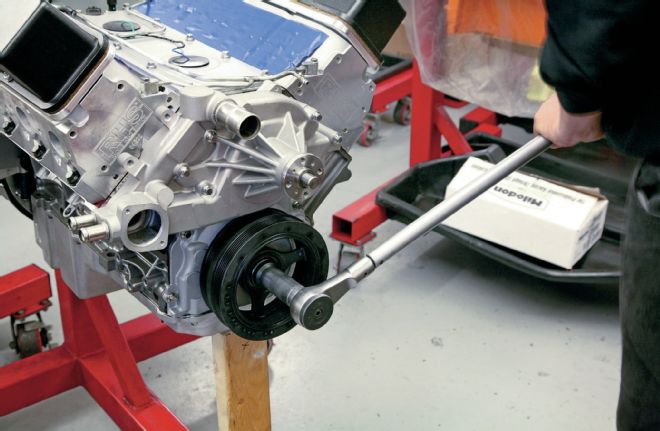
21 With the flywheel locked in place and the engine supported by a wood block, the crank balancer was pressed on and torqued to a hefty 235 lb-ft. Note that this Corvette balancer doesn't line up with the longer truck water pump snout, so we plan to swap the balancer to a truck model before installing this engine.
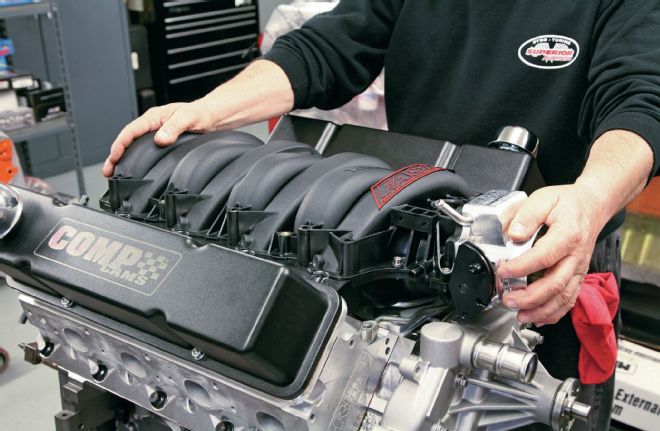
22 Our FAST LSX 92mm intake manifold and Big Mouth throttle body were installed between the heads. This modern manifold design contrasts nicely with the old-style small-block valve covers we got from Comp Cams (#280, $150).
23 Jorge at Superior Automotive fabricated this temporary custom bracket to hold the ignition coils in place, since we can't bolt them to the valve covers anymore. He also installed the new FAST high-flow fuel rails and 36 lb/hr injectors, completing the assembly process.
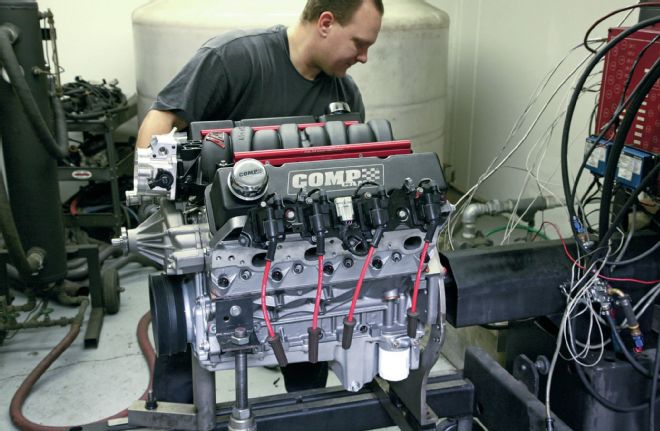
24 Now for the moment of truth: the engine dyno. Our engine was bolted to the stand, and the dyno's input shaft was mated directly to the rear of the crankshaft.
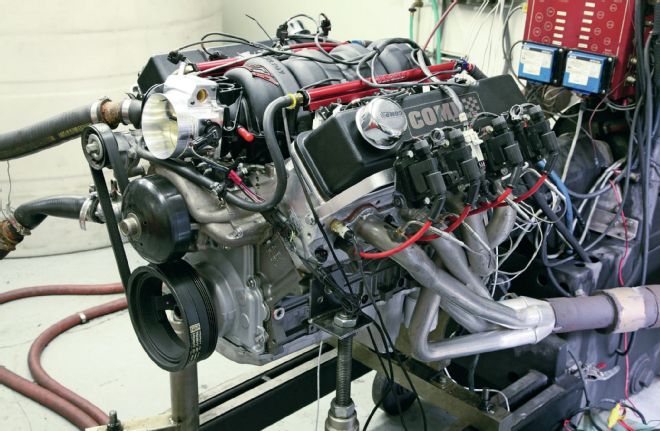
25 Before running on the dyno, a set of headers were installed, an electric motor was mounted to the water pump, and fuel lines were connected to the FAST fuel rails. The fuel injectors, ignition coils, and other sensors were connected to a standalone ECM computer supplied by Superior.

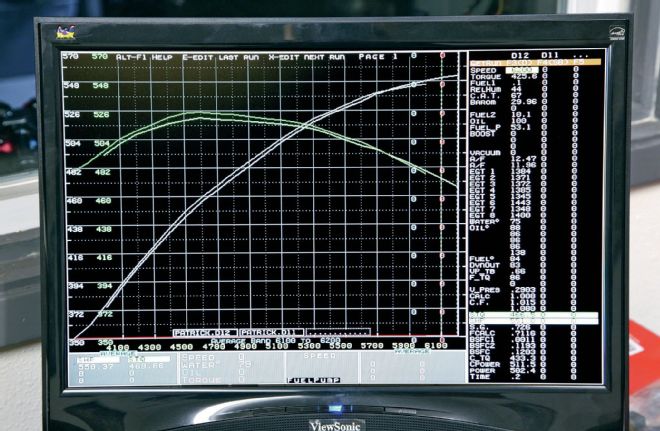
26 After running the engine for a 30-minute break-in period and establishing a safe baseline tune, Superior put the hammer down to see how much power our 383ci could make. After a few runs and tweaks to the tune, it ended up making 551 hp at 6,200 rpm and 520 lb-ft at 4,600 rpm. That's more than enough power to light up the tires at the dragstrip or hustle around an autocross course, and it serves as a reminder of why the LS series is often hailed as the king of modern high-performance engines.