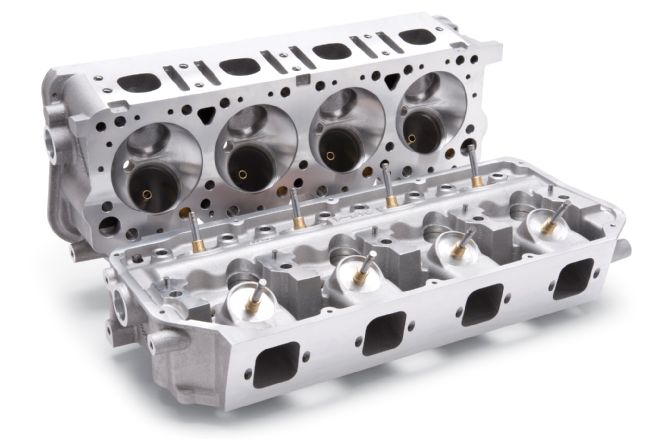
 Edelbrock's new Victor Jr. Hemi head provides a higher-performance bolt-on aluminum option to expensive and heavy (not to mention rare) original Hemi castings.
You just got your new set of aluminum cylinder heads for your engine, but now you have a decision to make. You can either install the heads just as they were sent to you, or you can do a little bit of work to increase the flow and thus increase the horsepower of your engine.
Mention porting cylinder heads to most enthusiasts and they cringe when thinking about the “black magic” that is head porting. While there is certainly some science to getting a full-blown porting job right, there are still some easy things you can do at home to net some great results.
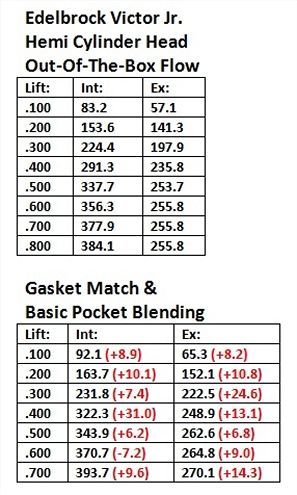
In our November 2014 issue, we got our hands on a new assembled Edelbrock Victor Jr. Hemi head so we could do some flow bench testing (part No. 61175, $1,249 street price, each). While the head moved some serious air right out of the box, we thought we might be able to make a couple of small improvements here to increase the flow using the 2.32-/1.94-inch valves supplied with the head.
...we thought we might be able to make a couple of small improvements here to increase the flow...
There are several levels of porting that can be done. If you have the cash or the capabilities, a full-blown port and polish job will definitely put your heads in another realm of performance, but many guys just want to simply clean up the heads and do some basic things themselves. For that reason, we decided to show you the DIY approach to porting the Edelbrock Victor Jr Hemi head.
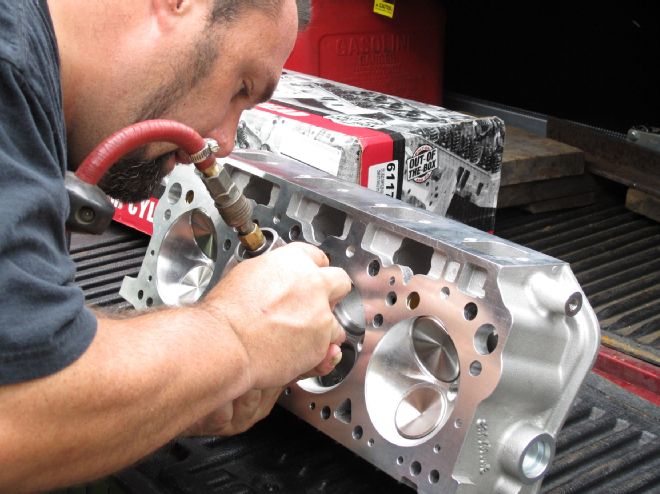
The short turn of the exhaust port on the Victor Jr. Hemi head was really abrupt so we wanted to see how much of an improvement could be had by simply blending this hard corner. Smoothing the short turn begins by eliminating any sharp edges. Since moving air wants to travel in a straight line, the abrupt corner will not let the air flow around or over it. By simply radiusing the corner and smoothing the area around the valve seat, you can increase the air’s ability to go around this corner and through the valve opening. Don’t remove too much metal, as there is usually a coolant passage under the short turn.
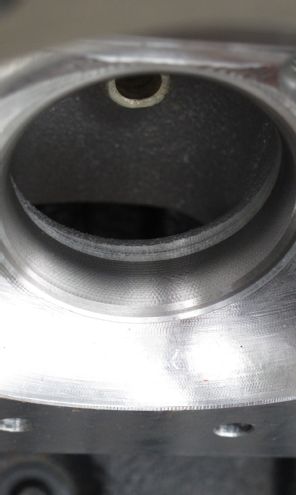
Once we blended the short turn and the pocket of the exhaust, we decided to turn our attention to the intake port. We don’t want to get into a full-blown performance porting job, so our attention will be focused on gasket matching the intake port and cleaning up the pocket. While gasket matching the port is a simple task, you need to be careful while working the pocket area. If you let the grinder get away from you one time the valve seat can be irreparably chewed up.
The first thing we did was to perform a port match (also known as a gasket match) at the edge of the intake port. By making sure that the port is the same dimension as the gasket, you can eliminate any turbulence created by the port-edge protruding into the area of air flow where it meets the intake. This of course also means the port on the intake manifold side receives the same treatment.
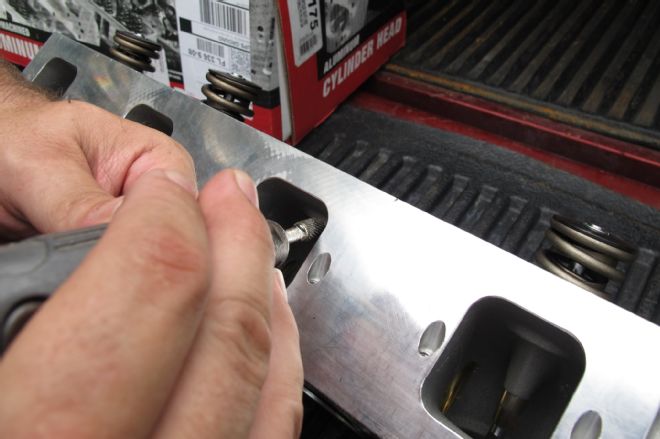
Underneath the valve (known as the pocket), all we did was blend the area around the valve seat. Blending this area can net great gains in flow and it’s a simple job that you can do at home. You can get deeper into the port and even taper the valve guide, but many guys doing this at home can go too far and weaken the guide by making it shorter.
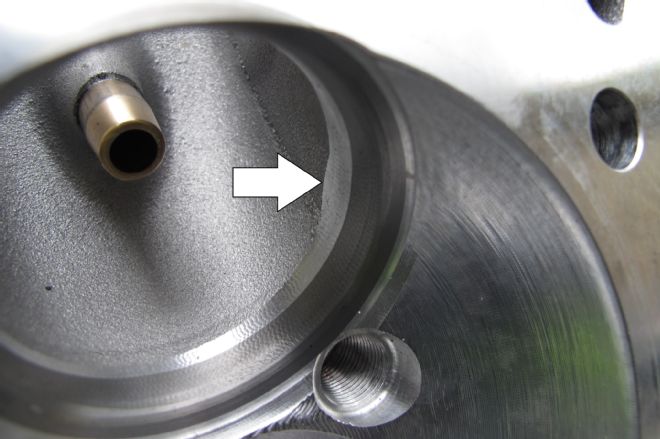
Since we’re focusing on easy, at-home porting, we just focused on smoothing the area under the valve. A die grinder (either pneumatic or electric) should be used for this process. Just make sure to use a bit designed for aluminum—a bit designed for cast iron will load up with aluminum and can’t be cleaned.
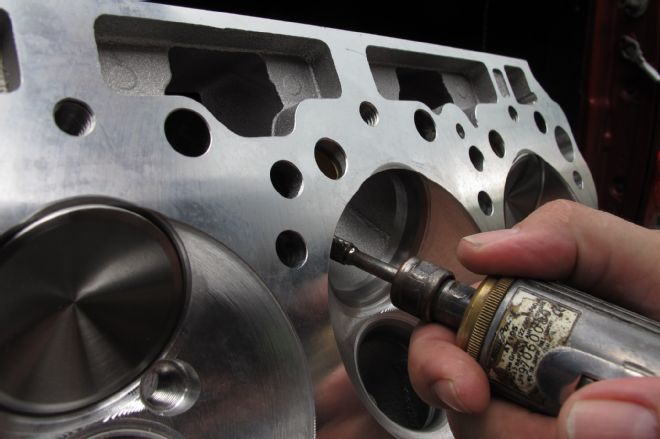
Did we manage to get any gains in flow? You betcha. While a full-blown race porting job would put these heads in a completely different realm in regards to air flow, as good as they are right out of the box, we wanted to show you street guys just what can be done at home with just an afternoon of work, and die grinder.
