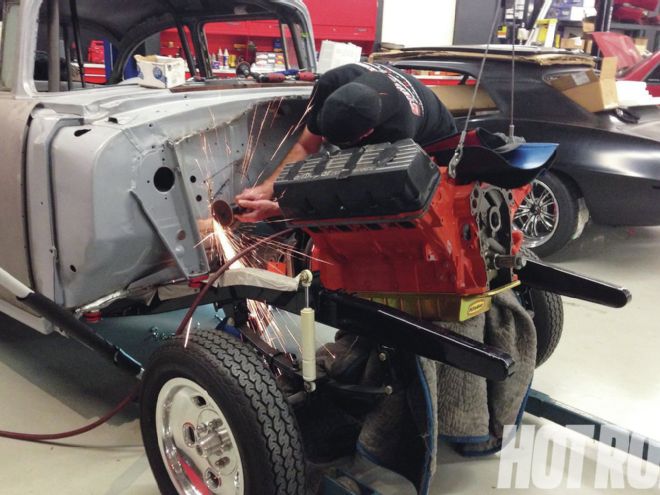
We’re installing a 528ci Mopar Hemi into Mike Finnegan’s ’55 Chevy gasser. Imagine this: no one makes exhaust headers for that swap! We decided to make our own. Step one was to make sure the engine was exactly where we wanted it in the chassis. Small changes in engine placement make a huge difference in header fitment.
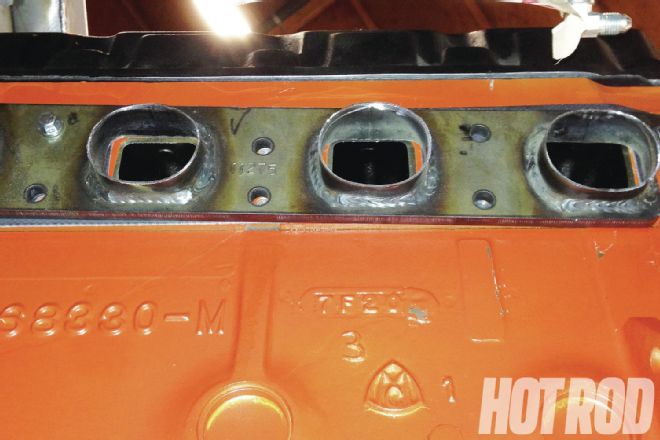
The first thing to get is a set of header port flanges, which are available for all sorts of oddball engines. These Hedman units come with a short length of pipe welded into the port holes in the flange, and we had to trim them short, as shown. Many flanges won’t be prewelded, so make sure they fit the pipe diameter you plan to use. Also avoid bare flanges that neck from round tube to a square or rectangle port, like on the Hemi, because it’s a big pain to reshape the end of a tube at home.
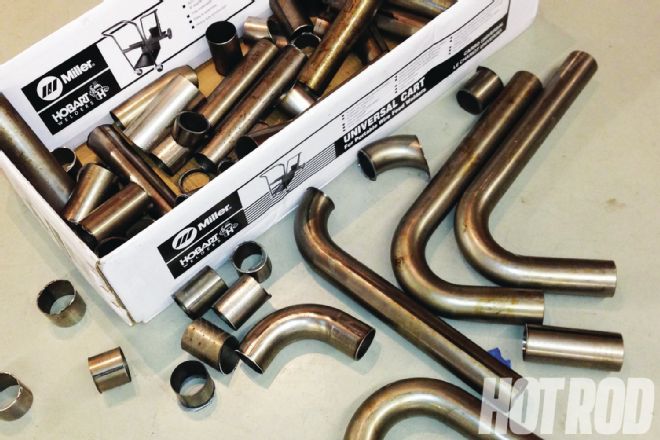
You’ll need a big selection of U-bends and other bent shapes in order to cut pieces out of them to form the shape of the final header tubes. Ours came from Hedman, and we chose mild steel since it’s cheaper and easier to work with than stainless steel. The tubes are 21⁄8-inch diameter; optimum size varies with your engine specs.
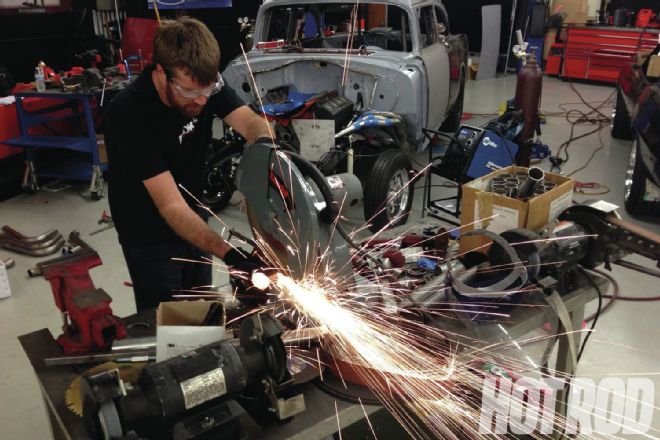
We began the fabrication process by creating temporary mounts so we could hold the header collectors in the position where we wanted them to end up. Again, collectors are easily purchased in a variety of styles from companies like Hedman. These have slip-fit tubes to mate with our 21⁄8-inch primary tubes, and the collectors use a 31⁄2-inch slip-fit connection rather than the common three-bolt flange.

You’ll need a chop saw and several blades, as you’re going to be doing a lot of cutting at a variety of angles.
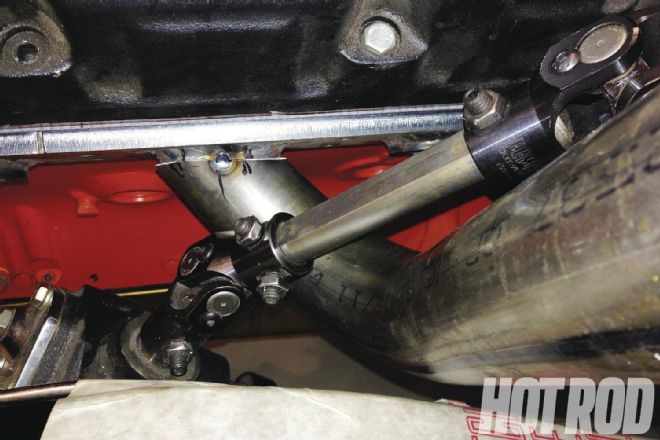
We began by placing the most difficult tube, as it would dictate the placement of the tubes for the more easily accessible ports. Our challenge was to get the number-five cylinder’s pipe out and around the steering column. If you end up with the header trapping itself in the car by bending around obstacles, don’t forget that you can always cut the head flange and make a slip-fit connection so that individual tubes are removable separately from the rest of the header.
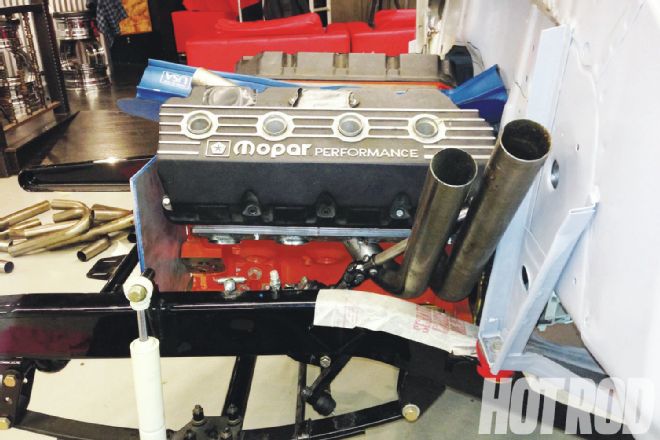
Next, we fitted the second most difficult tube. This is going to be an edgy race car, so we don’t care much about the proximity to the firewall, but you’ll want to keep heat transfer in mind for the firewall, floors, meltable items, and so on. You can always use heat-deflecting products from companies like DEI.
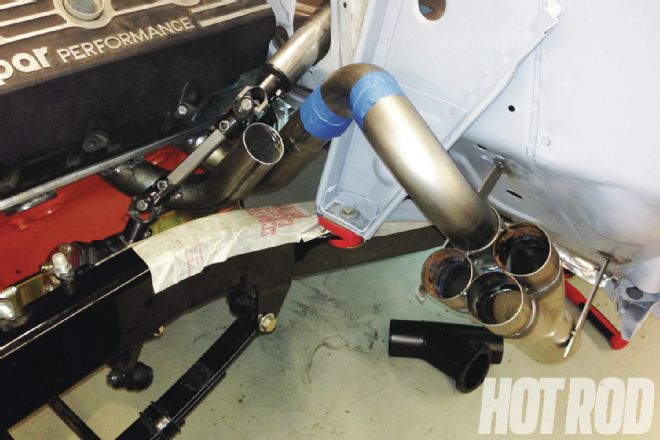
It’s been easy so far. The tough part begins when you have to plan how all the tubes will make it from the port to the collector without getting in each other’s way.
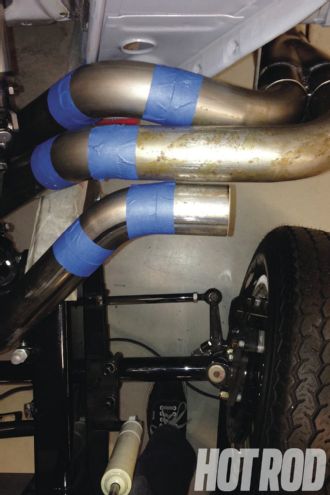
This view shows us in the middle of planning out the overall shape of the header as the tubes swoop into the collector. Note that we’ve made various shapes by cutting sections of prebent tubes, rotating them to shape, and temporarily holding them in place with a tight wrap of painter’s tape.
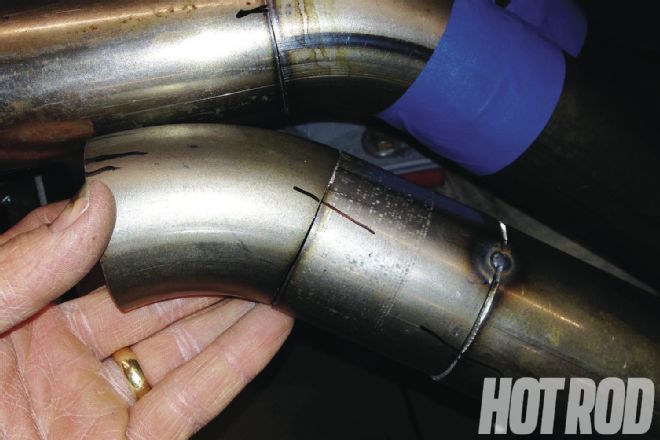
Here, we got brave enough to tack-weld one section in place. When test-fitting tube shapes, we often mark the segments with a Sharpie as a guide to put them back where we had them if we end up putting them down or trying other bends.
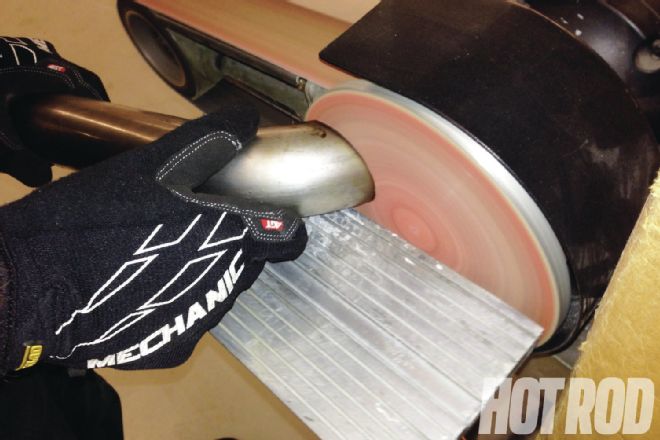
The chop saw should leave a pretty square cut on the end of the tubes, but you still have to ensure they are perfectly flat so each tube segment mates ends without any gaps. A flat disc-sander like this is perfect for the job. Eastwood makes an affordable one at $139.99, part number 13660 (not the same as what’s shown here).
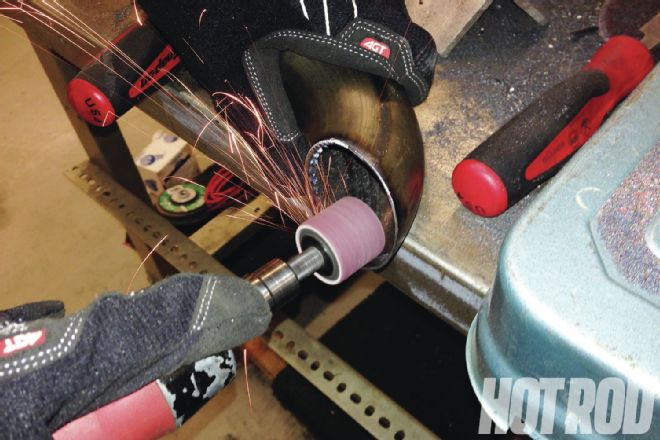
A downside to the chop saw is that it will leave boogers hanging inside the tube. You must clean these out with a die grinder and a sandpaper roll. The tubes come oily and need to be thoroughly cleaned with brake clean or acetone and fully dried before welding.
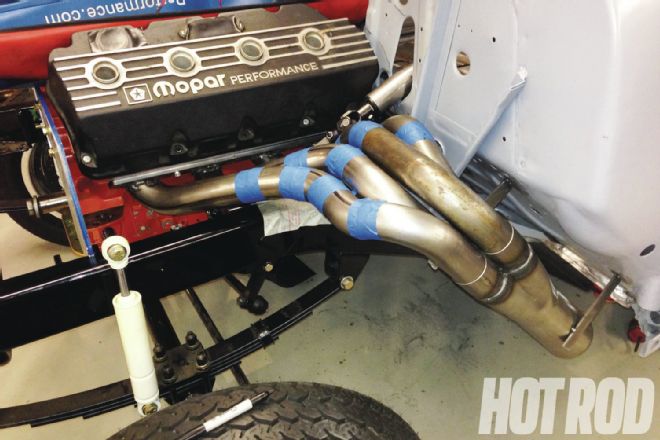
Here’s a glorious moment: our first ever homemade header totally mocked into place.
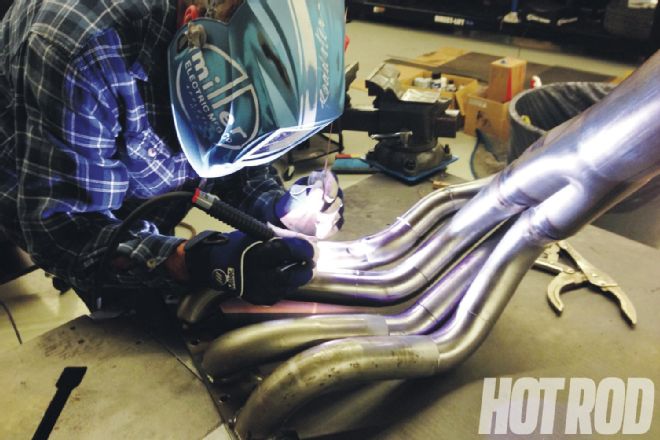
The last step is to weld it all. The most difficult part of the job is planning ahead so that you can weld all the way around every tube, which will mean taking them apart in a number of different ways as you reassemble them in place. It helps to number all the little sections so you can mate them up properly after taking them apart. It’s also important at this step to ensure all the tubes are properly fitted to the flange in a way where they can be welded all the way around. Welding the pipes into the collector is also a big challenge, which is one of the reasons we left them as a slip-fit. TIG welding will be cleanest, but these can also be MIG-welded.
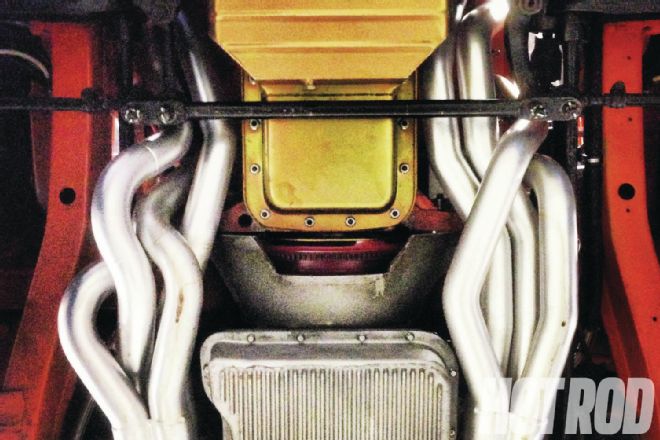
We got off really easy by doing this on a gasser with fenderwell headers and few obstacles. It was a good first header project. These TTI headers on our Hemi Super Bee show how complex it can get to do under-chassis headers on a production car.