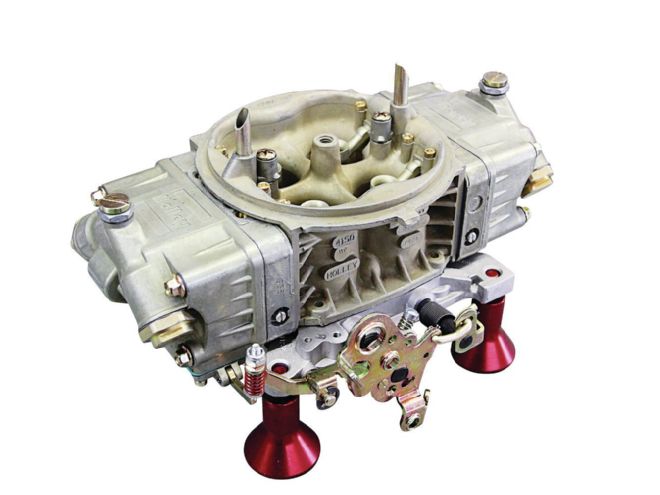
Most of you probably get that your carburetor is more than just a chunk of metal sitting on top of your engine, leaking fuel into the manifold. But what differentiates a good carb from a not-so-good carb? After all, the carb companies are making some great out-of-the-box pieces these days, but what seperates a good carb from a great one? We wanted to know what it takes to go from out-of-the-box to race ready, and for this we turned to carb builder Scotty McLendon who walked us through building a gauge-legal Holley 750.
Before we get started, a little backstory. In the coming months, you'll get to read about a cutting edge Super Late Model that is being build as this story is being written. We can't give away the specifics just yet, but Billy Hess is building a chassis that is certainly different than just about everything we've seen racing lately (but more on that at a later date.) As for this story, the carb we are talking about is being built for the engine that will power this new SLM. The bullet (which you will also see gracing the pages of Circle Track in the upcoming months) is a Ford Equalizer from the fine folks at McGunegill Engine Performance in Muncie, Indiana. When the discussion of parts came up, we were told we needed a "gauge-legal 750," but we didn't want to just slap an out-of-the-box leaker on it and call it good.
Wanting to make sure the induction system of our MEP powerplant is afforded every possible advantage, we turned to Scotty McLendon Carburetors to handle fuel delivery. Scotty McLendon has been building carburetors much longer than the 31 years your author has been around. He has set drag racing records, built carbs for all kinds of racing, and has offered up as much of his knowledge to help as many racers as possible. After a brief discussion about what we were building, the decision was made to start with a 750-cfm Holley 4150 carburetor (PN 0-80528-1). We brought Scotty a new carb from Holley and he showed us everything that goes into one of his race carbs. Follow along as we take a Holley 750 from box-stock to race ready.
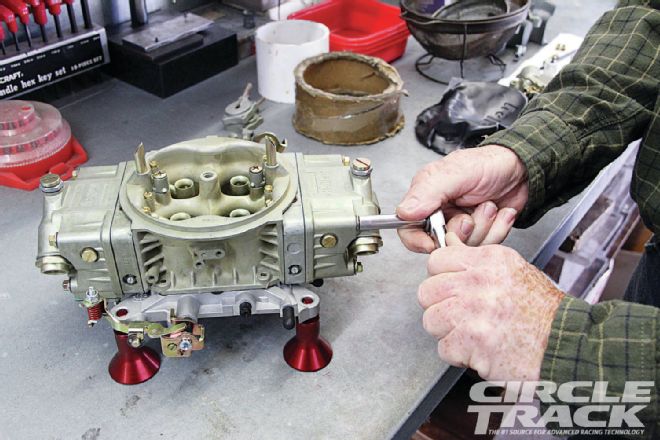 1. From the box to the track, every part of the carburetor is touched in one way or another.
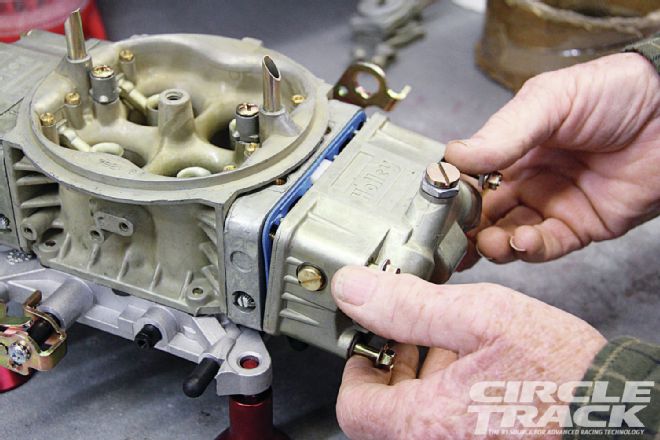 2. Scotty McLendon starts the carb build by removing the bowls. This gives us access to the floats.
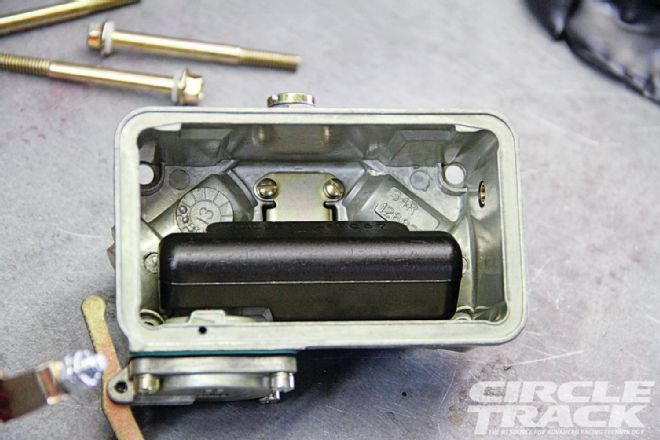 3. The stock floats are going to be removed. This is not because they won’t work, it’s because the Holley circle track floats work better!
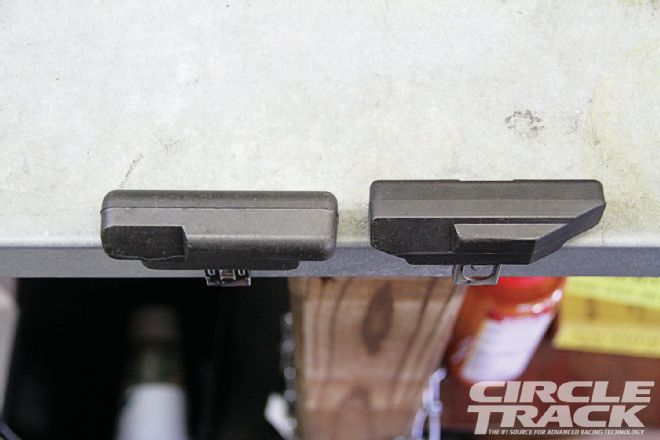 4. It’s easy to see the difference between the floats. The standard float is on the left and the circle track float is on the right. The CT float is designed for when centrifugal force moves the fuel while in the turns. The angled section on the right of the float keeps the float in the right spot when that fuel is in one side of the carb.
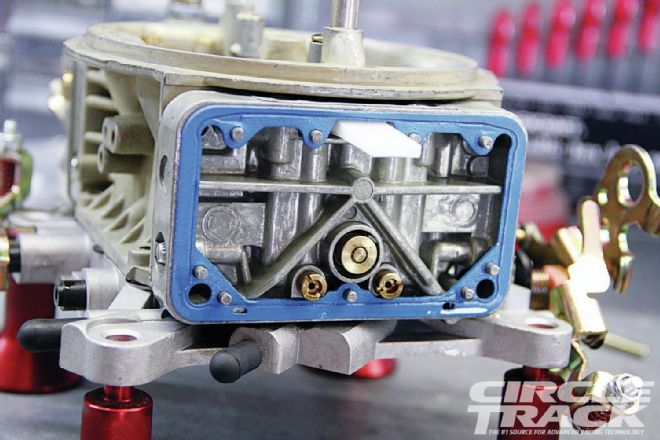 5. McLendon then removes the stock metering block.
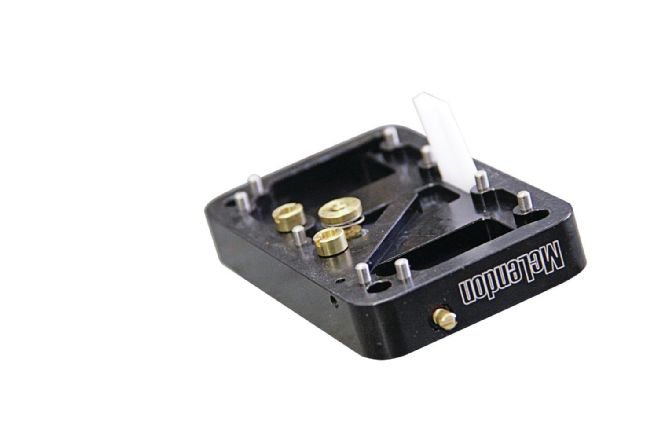 6. These will not be reused, as he has his own billet blocks with some design changes specific to the circle track world.
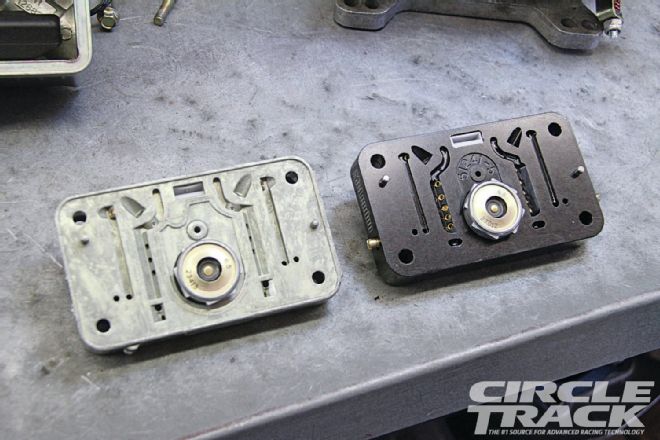 7. Aside from the difference in material, the most blatant difference between the blocks are the emulsion holes and the PVCR holes. Though you can’t see it in these behind the power valve, the PVCR holes are significantly lower that the ones in the Holley block. This ensures they do not get uncovered in the turns. When the holes are not submerged in fuel, they can pump air causing a lean spike and a stumble, which in most cases is at the hit of the throttle coming out of a turn.
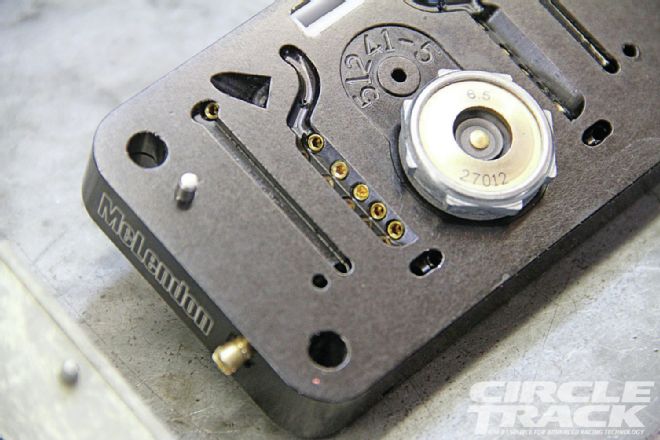 8. The Holley block has three emulsion holes, while McLendon’s has five. This offers a much wider range of tuneability for air/fuel across the rpm range. If the air/fuel curve is too rich or too lean at any one point in the curve, changing the diameter of the corresponding emulsion hole will affect just that area of the curve.
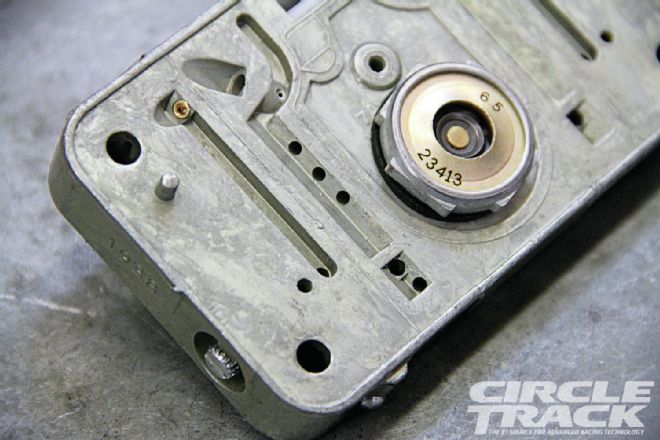 9. If for example, you were a little lean above 6,500 rpm, a jet change would make the lower portions of the curve too rich. By running a larger diameter lower emulsion hole, you can richen the high-rpm section of the curve without changing the lower.
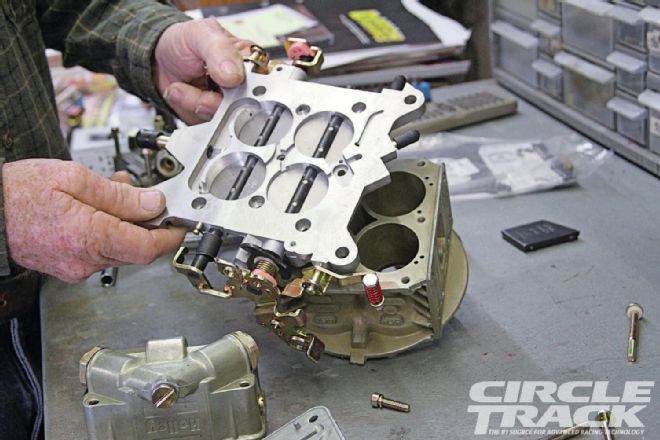 10. Next, the stock base plate is removed and replaced with one already setup for this carb. The only reason we did this was to save a little time. The modifications McLendon makes are very minute. The idle circuits are measured and adjusted as needed, and the vacuum ports are closed, as they are not needed in this application.
 11. Idle holes are also drilled in the butterflies.This allows for a smooth idle without having to modulate the throttle.
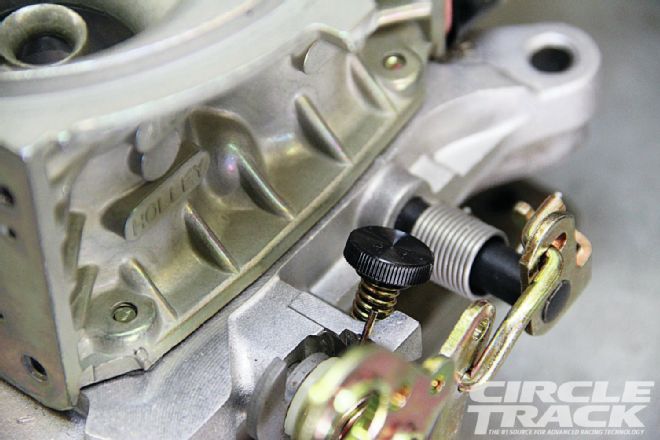 12. Another addition McLendon makes to his carbs is the idle adjustment knob. It makes quick idle changes super easy.
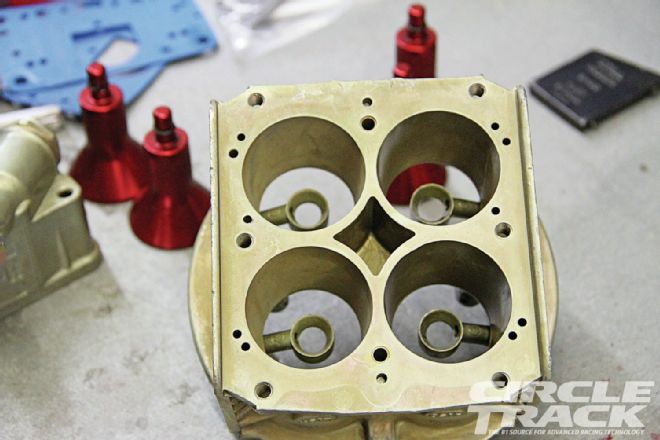 13. There isn’t much that McLendon does to the body of this carb. The primary and secondary venuris have a 13/8-inch diameter with a 7-degree taper. This must be untouched to fit the rules.
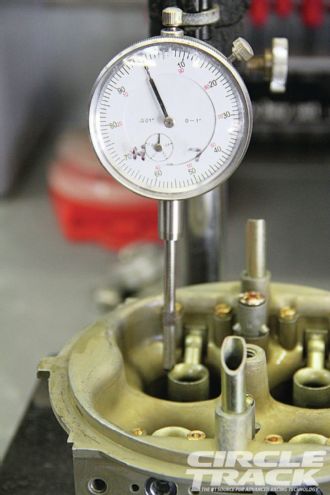
 14. Next the boosters are aligned. McLendon puts a dial indicator on each side of the boosters, then adjusts them left to right until they are perfectly level.
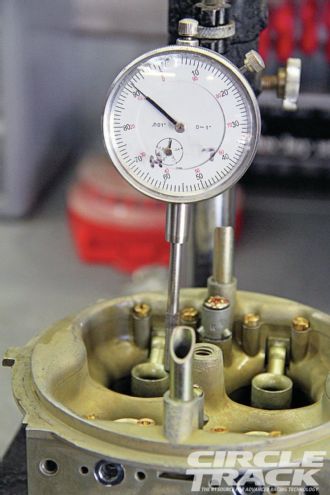 15. Then he uses a Locktite wicking compound to secure them in place. Lastly, they get adjusted the same way front to back and locked with more wicking compound.
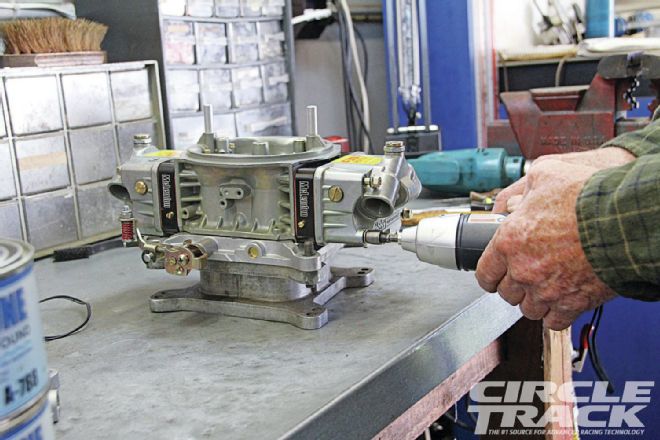 16. The carb and all of its new and modified components are reassembled and ready to be flow tested.
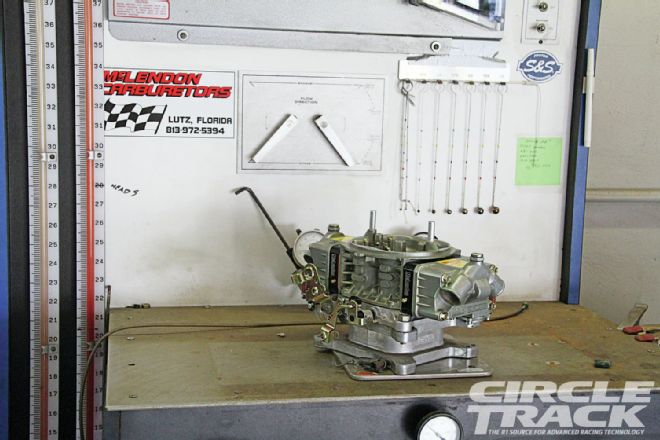 17. The modified 750-cfm carb is bolted to the fixture on McLendon’s SuperFlow flow bench.
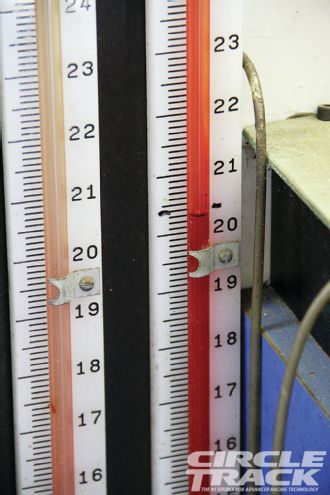 18. Four-barrel carburetors are flowed at 20.4 inches of water.
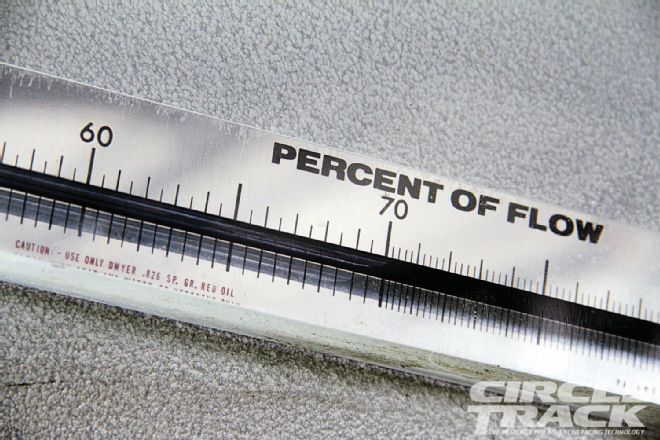 19. The flow percentage is right at 70. After some simple math, this corner of the carb flows 207 cfm.
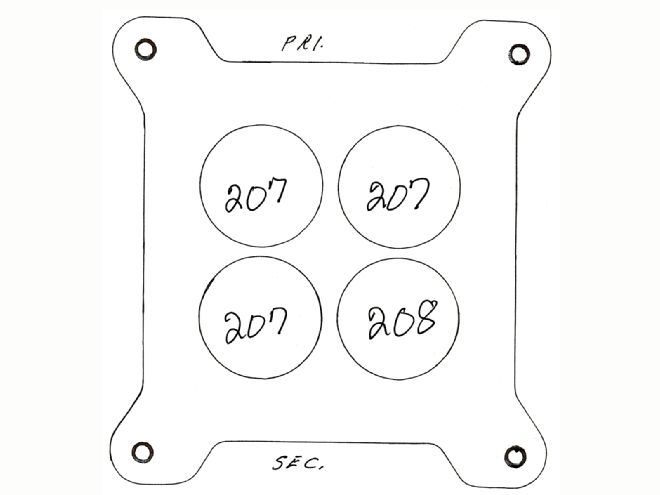 20. Here are the flow numbers for each hole. When you add the raw flow numbers, this 750-cfm carb flows 829 cfm. When you factor in the 7-percent for fuel, the carb flows 770 cfm.
Scotty McLendon Carburetors
813-972-5394