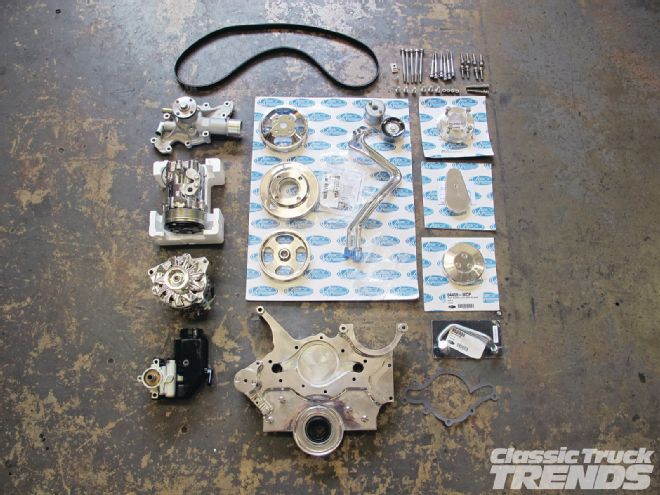
If you've ever messed around with Ford 302 engines, you will know that finding a matching pulley configuration can be a frustrating experience. When doing an engine swap, you can hope all day long that the pulleys, water pump, alternator, and power steering pump brackets will line up on your new motor, but more times than not they wont.
Such was the problem when we decided our '73 small-block had too many miles on it and decided to purchase a crate 302 from Ford Racing. Well, after we removed the stock pulleys and brackets from the old motor, gave them some degreasing and shiny paint we found that they just didn't bolt on and align up with anything as they did before. After talking to a myriad of Ford engine builders and making many fruitless trips to the swap meet for the right pulleys, we decided to contact Vintage Air for one if its Front Runner engine drive systems.
Unlike many of the other serpentine drive systems, since 2005, Vintage Air's all-in-one system has had a simple block-mounted design, which permits any deck height/cylinder head combination. This is due to the fact that it doesn't attach any new parts to the heads or intake. The heart of the Front Runner relies on a rock-steady main bracket made from a healthy chunk of CNC machined 6061 T-6 billet aluminum.
All of the new pulleys and pumps are mounted using fixed positions, with only the spring tensioner providing continuously correct belt tension. By engineering the system this way it produces a compact footprint on the front of the engine that is less than 7 inches from the front of the block and is less than 20 inches wide. Yes, the Front Runner can and will fit even into the tightest of engine bays and chassis rails.
As you have read, most of the components are made from aluminum, but Vintage Air hard coats their pulleys, so you have the weight reduction of aluminum, but they wear like steel. And that is a good thing.
When getting down to the installation of the Front Runner, we took the kit down to Jerry's Performance Engines in Garden Grove, California, so we could shoot this install. Like the professional motor builder he is, Jerry took his time, and in less than two hours, all the components on the 302 were set up for driving. Jerry was very impressed with the quality and craftsmanship of the unit and told me he is going to suggest it to anyone with a 302 needing pulleys or power options. Jerry was also impressed that all the components fit on the main unit without having to force them on or fiddle with them like some other serpentine kits. As a matter of fact, we only had to chase a few threads to make sure we got the polishing compound out of the way before torqueing everything down to proper specifications.
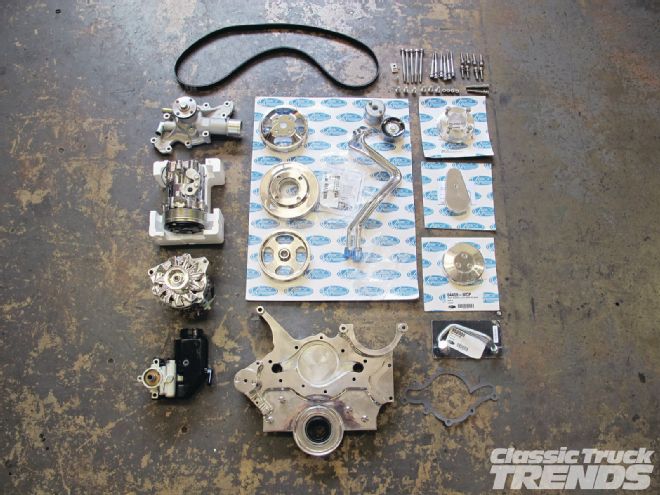
Here is the complete kit, ready to install on our Ford Racing 302. As you see, it comes with every nut and bolt to do the job.
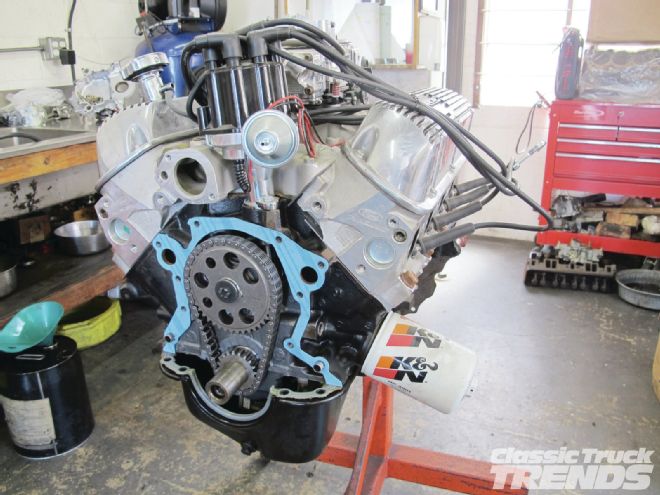
Here is the Ford Racing 302 crate motor we were trying to put into our truck. We pulled off the timing cover, water pump, and harmonic balancer that came with the engine so we can install the Front Runner.
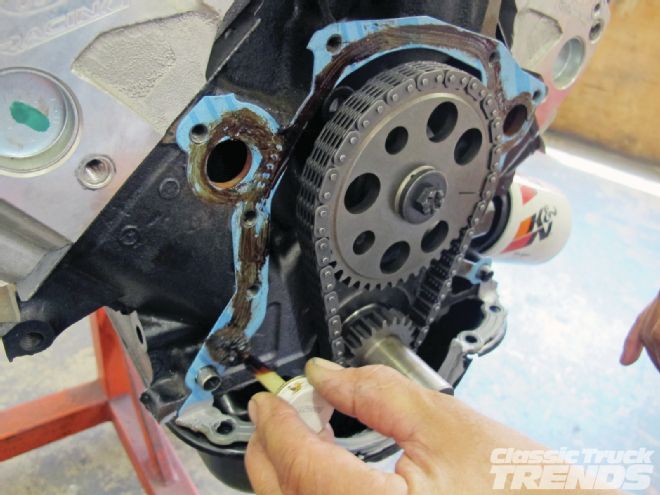
The new timing cover gasket was installed on the block and then treated with some adhesive.
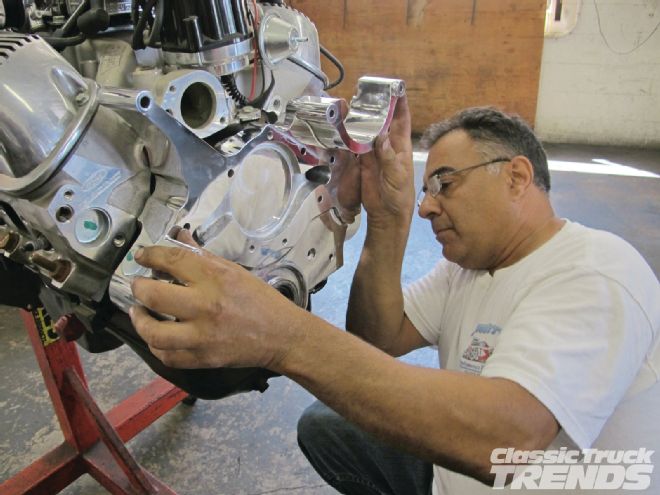
Jerry installed the crankshaft seal, lined up the Front Runner bracket, and installed it onto the front of the engine block.
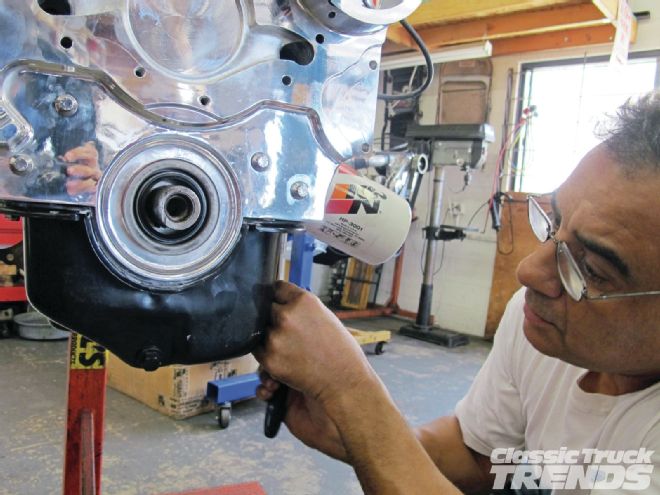
Some adhesive was put onto the oil pan gasket and Jerry tightened the oil pan to the Front Runner bracket.
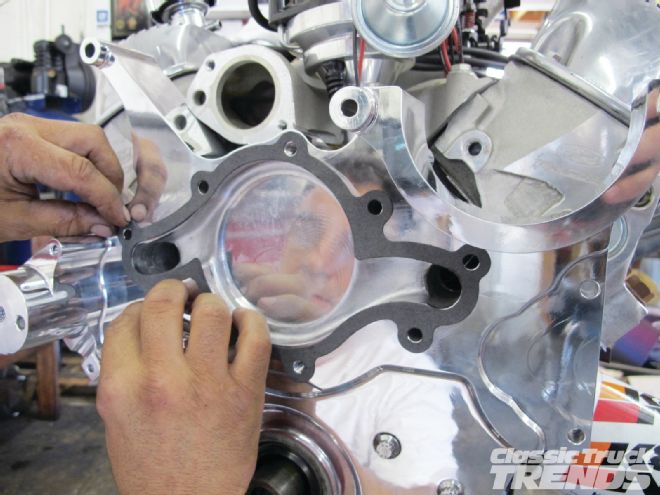
At this time the water pump gasket was put onto the Front Runner bracket with some Gasgacinch.
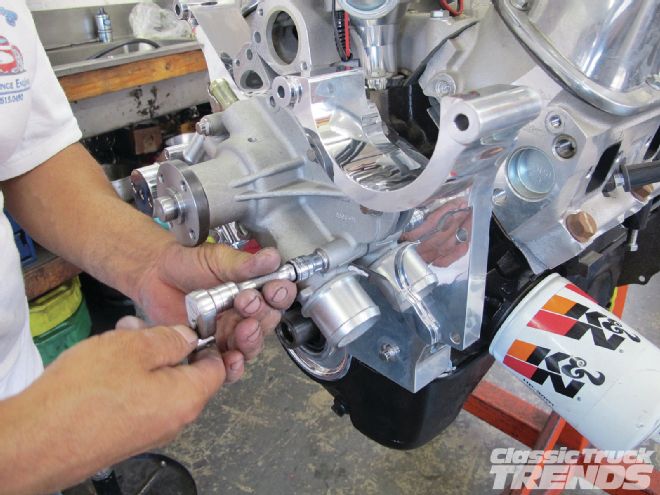
The Vintage Air-supplied water pump was then bolted to the Front Runner bracket and torqued to spec.
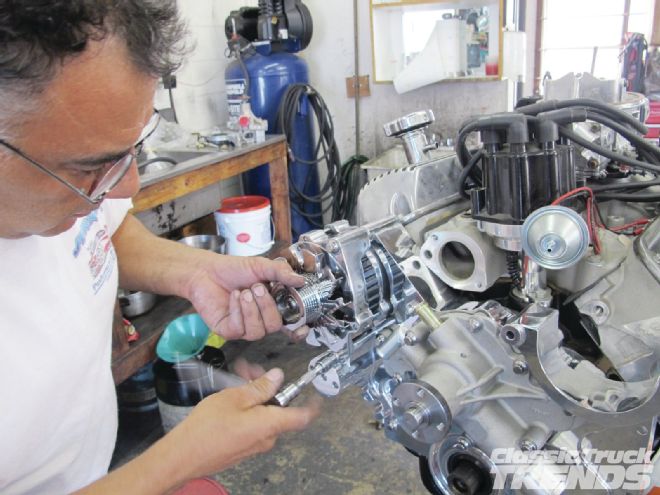
Jerry then slid the Vintage Air chrome alternator onto the bracket and tightened it down with the supplied 12-point bolts.
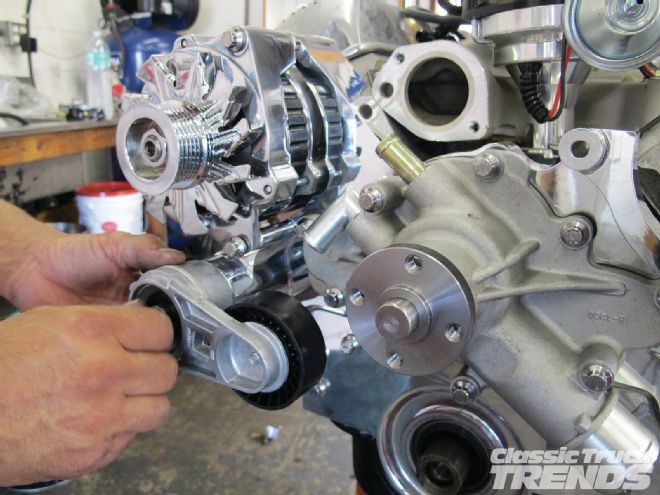
The tensioner was next to be installed. This unit is what keeps the belt taught on all those various pulleys.
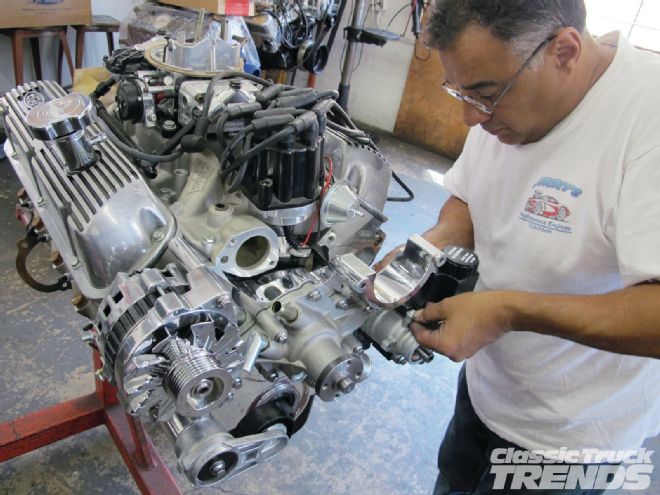
On the other side of the Front Runner Jerry attaches the power steering pump to the main bracket.
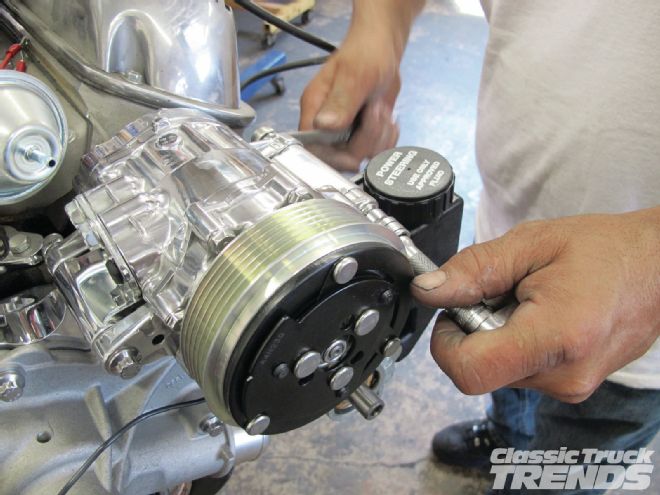
Above that is the location for the air conditioning compressor, which we installed easily.
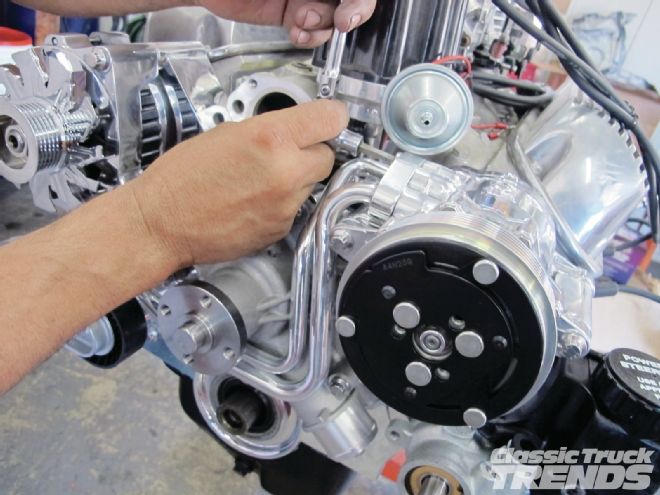
The compressor's hard lines were then bolted up and tightened to spec.
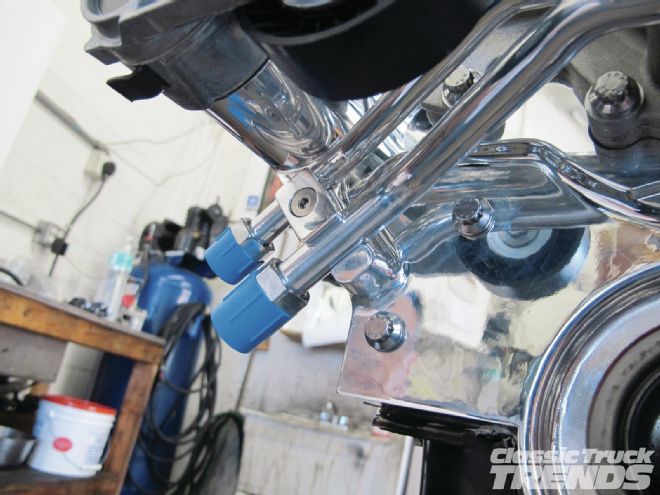
At the other end of the hard lines, Vintage Air supplied a slick billet hardline bracket that secures them to the main bracket with a hex bolt.
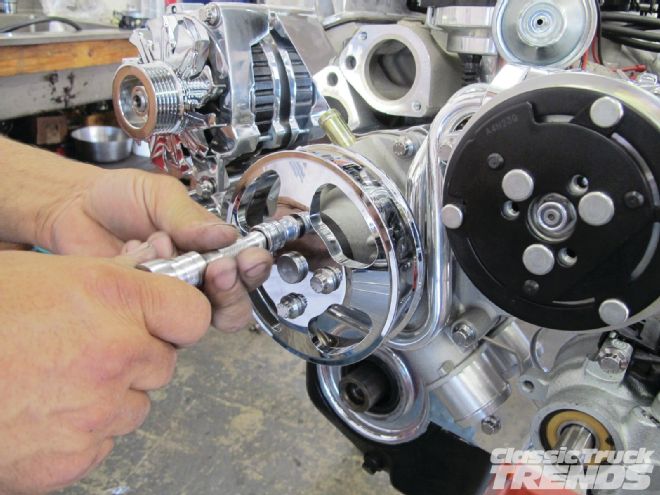
The beautifully machined water pump pulley was bolted onto the water pump with four 12-point bolts.
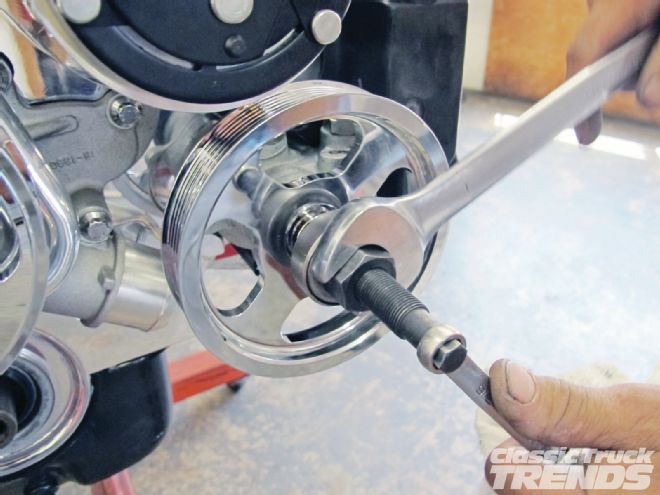
Jerry also installed the power steering pulley to the power steering pump with the proper tool for the job.
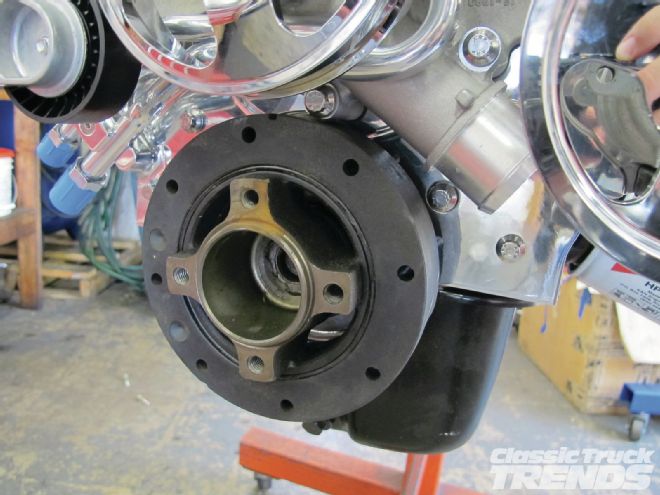
The Ford Racing harmonic balancer was reinstalled and checked to be straight and true.
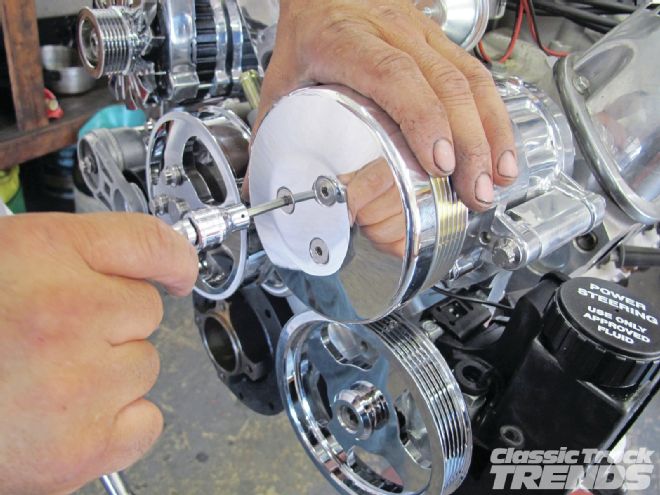
A sweet polished aluminum pulley cover was bolted onto the compressor to jazz things up a bit.
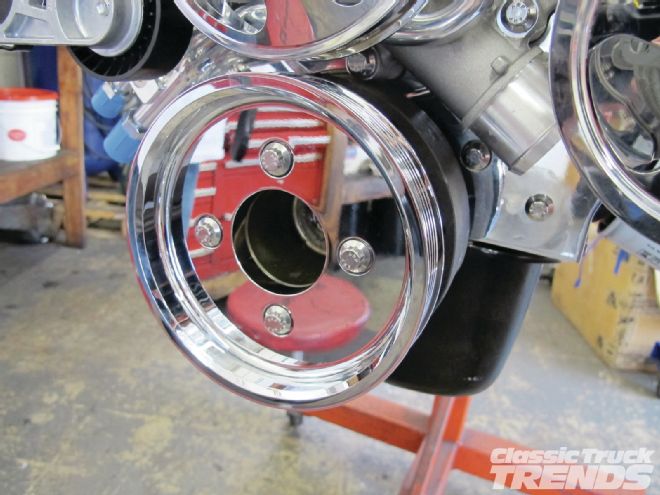
Then the billet crankshaft pulley was bolted to the harmonic balancer with four supplied 3⁄8-inch 12-point bolts.
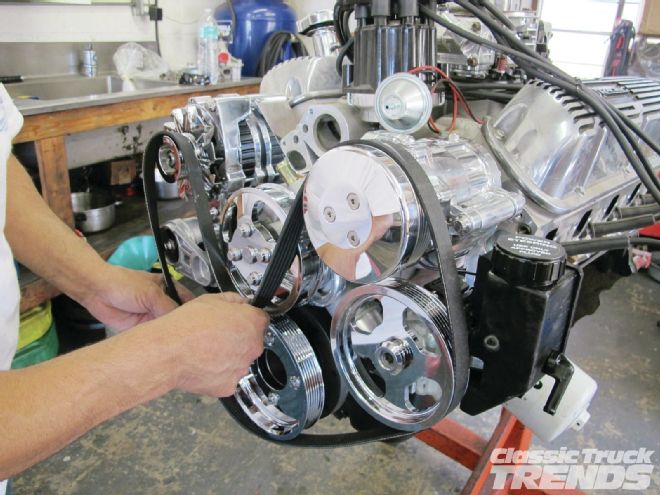
With all the various pumps, pulleys, and tensioners bolted to the Front Runner's main bracket it was time to slide the 60-inch serpentine belt onto the unit.
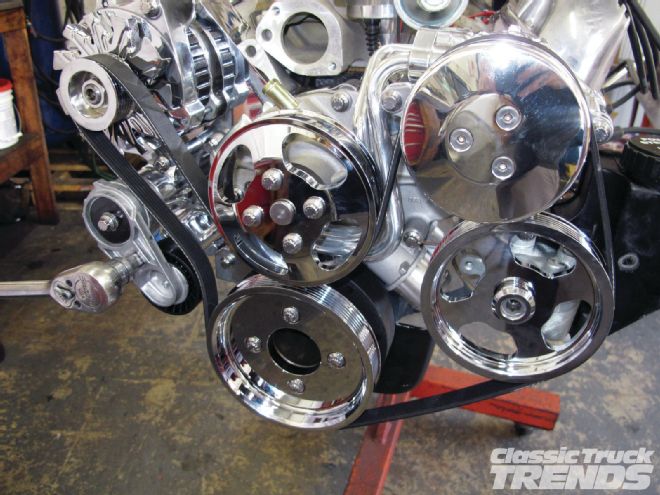
The belt was held tightly in place by way of the tensioner that can be rotated with a ½-inch drive extension to allow easy installation.
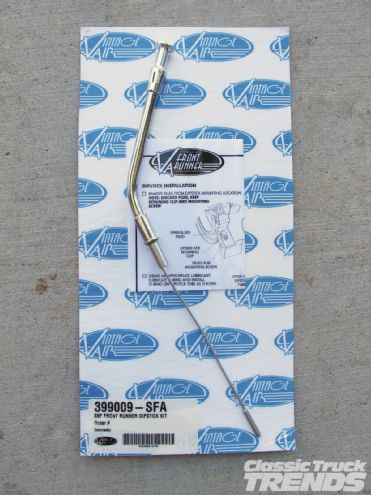
If you don't want to burn your hands on the headers trying to check your oil, Vintage Air supplied an optional dipstick location on the Front Runner's main bracket. Now that is handy!
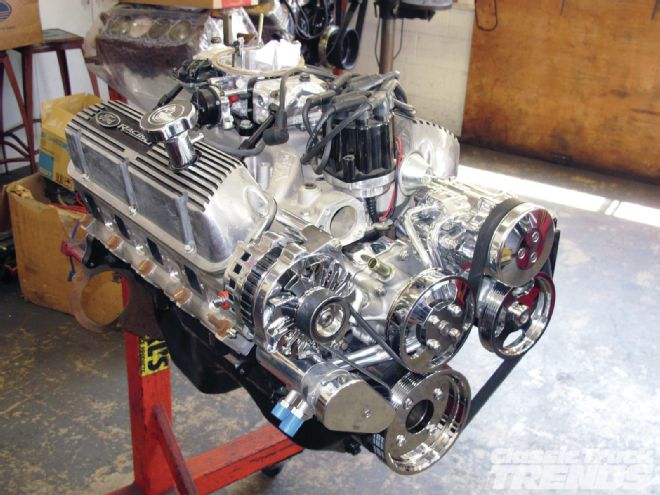
As can be seen on the left side of the 302, this is one clean and simple solution to the Ford 302 pulley debacle.
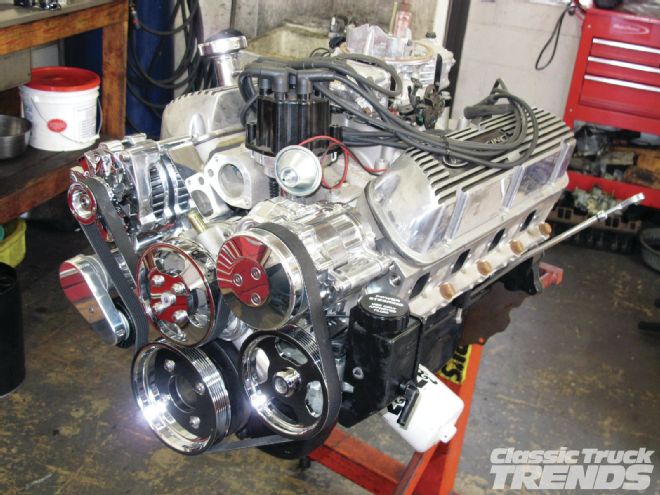
The right side shot shows it to be just as nice with a small footprint and easy access to all of the components. Great work Vintage Air!