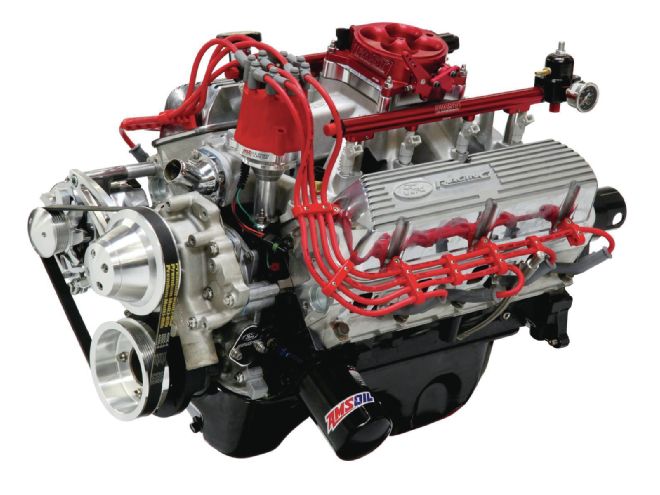
 This is what an 370hp EZ-EFI looks like. While peak power doesn’t really improve over a properly tuned carburetor, EZ-EFI shines under everyday, part-throttle street conditions, where most carburetors struggle to deliver decent air/fuel ratios.
Decades ago hot rod engine projects oftentimes were deemed finished after bolting on a carburetor. The “controlled gas leak” proved successful for decades, regardless of its shortcomings. From this point, getting your engine to run truly well you needed to account for ignition timing, altitude, and an assortment of related “fine-tuning” tips. Many of us were “pretty good” but oftentimes we looked for the local “carb expert” to truly dial in our four-barrel.
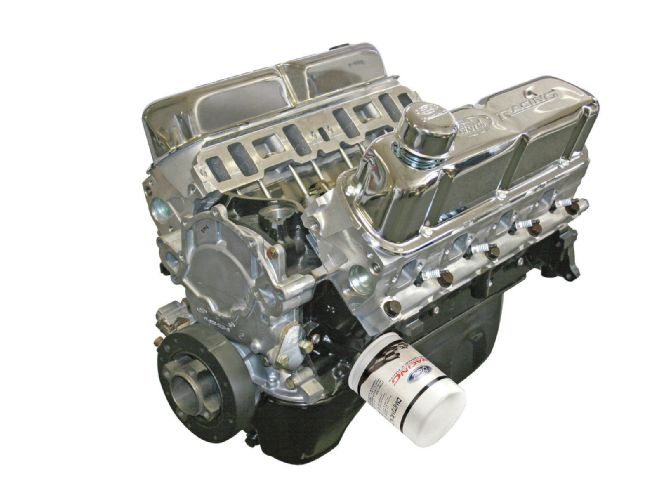 We started with a Ford Racing X302 remanufactured long-block. While this photo shows the engine with stamped valve covers, we opted for the polished, finned cast aluminum covers.
When electronic fuel injection (EFI) arrived, leading edge technology involved a crate engine, bolting on a factory fuel injection system, and then finding a “keyboard cowboy” to tune the system complete with mysterious chips and all the high-tech jargon that goes with it. With nearly 30 years of aftermarket EFI experience, little has changed and there are plenty of rodders who would rather endure the hot-and-cold vagaries of carburetion rather than trudge through the pitfalls of EFI.
What if we told you that EFI has progressed to the point that it can be as simple as bolting the mechanical components in place, entering a few simple data points into a handheld a controller, and turning the ignition key to “Start.” Once the engine fires and settles into a comfortable idle speed that you command, your tuning efforts are complete. While that may sound as overly simplified as the promises of those late-night weight loss programs on cable TV, the honest truth is that it’s this simple. Frankly, the most difficult part of this entire EFI operation will be creating a decent fuel delivery system. If you can handle that, the rest of it rates right up there with the name for this system—EZ-EFI.
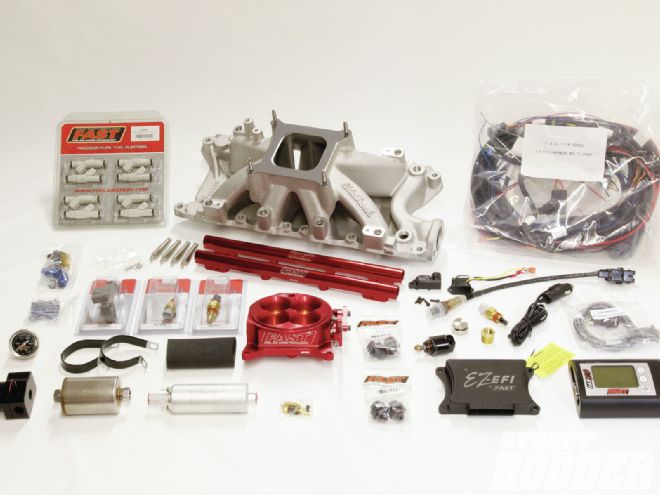
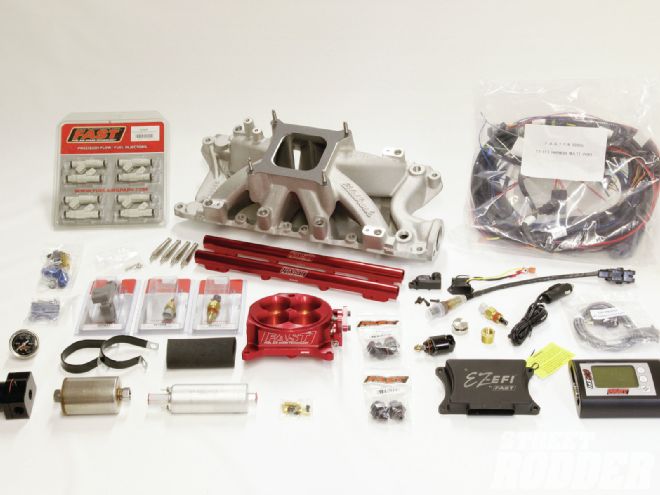 The FAST EZ-EFI kit comes complete with computer, intake manifold (Edelbrock), throttle body, wiring harness, controllers, injectors, all sensors, fuel filter, and so on, to make this system a weekend install.
Editor Brian Brennan’s ’28 Model A pickup (Nostalgia Speed & Cycle newly minted steel) was the perfect candidate for us to test FAST’s EZ-EFI claims. To make this even easier, we decided to start with a one of Ford Racing’s X302 budget-based long-block packages. The engine comes as an assembled (mild-overbore, 4.030x3.00 bore and stroke) 306ci seasoned block sporting a cast crank, I-beam forged connecting rods, and durable forged pistons, helping to make 9:1 compression. Bringing the small-inch V-8 to life Ford also screws in a hydraulic roller E303 cam (220/220 degrees duration at 0.050 with 0.498-inch lift and a lobe separation angle of 110 degrees), and a set of Ford Racing X306 aluminum heads complete with 1.94/1.54-inch valves sitting in 64cc chambers. Topped off with a set of polished aluminum valve covers and we were more than halfway toward a complete running car.
Along with an Edelbrock (PN 8843) water pump, distributor, wires, and exhaust, the main thing we needed was an intake system to complement the EZ-EFI. That choice was as easy as looking in the FAST catalog under the multi-port fuel injection kit. This includes a single-plane intake manifold, fuel rails, 36 lb/hr injectors, a throttle body, fuel pump, filter, idle air control motor, all the sensors, and, of course, the computer and handheld tuner. Once we bolted this system together on the engine, there wasn’t much left to do but test this package on the dyno at Duttweiler Performance and push a few buttons.
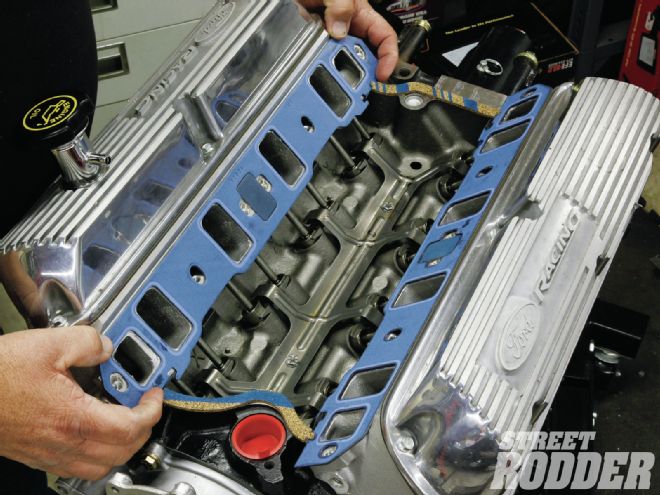 The first thing you want to do is seal the engine by installing the intake. We used Fel-Pro intake gaskets to ensure a tight connection.
After bolting the engine to the dyno, we were faced with the same number of connections that would be required in the car. Including the very simple eight-injector click-ins, there are only nine more connections required to make this system work. Even better, it’s impossible to make the wrong connection because each sensor demands its own specific electrical connector. So you can’t, in theory, screw up. By following simple commands on the handheld controller, with a few simple keystrokes you can configure the EZ-EFI to your specific combination and then that’s when the fun starts.
After a mere 13 controller keystrokes, we hit the starter motor and our small-block Ford fired literally on the first revolution and within seconds it had settled into a comfortable 850-rpm idle speed with literally no drama. FAST recommends that once the engine has fired that you warm the engine and adjust the idle air controller motor to the middle of its range, which is also easy, and then you’re ready to drive the engine. Since our small-block was on the dyno, we were ready to begin pulling for power. After no more than a dozen pulls, we had achieved peak power and the rest of the learning for part throttle will be achieved once the engine is comfortably resting in between the framerails. So how did we do? For our efforts, our 340hp rated engine overachieved to 370 horses, along with 346 lb-ft of torque. This included testing the engine all the way down to 1,300 rpm at wide-open throttle where we made 262 lb-ft of torque. This is something that most carburetors won’t even attempt to achieve. We know because we’ve tried. In the meantime, we’ll take you through the steps necessary to make all this magic happen. It doesn’t get much easier.
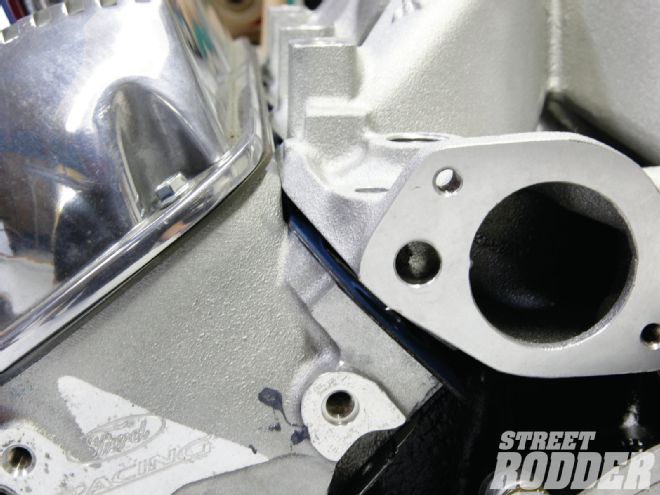 The only custom work involved in our installation occurred when we discovered the intake didn’t clear the sealing surface for the valve covers. This required 1/8-inch-wide bevel on the intake manifold to produce the necessary clearance.
How easy is EZ-EFI?
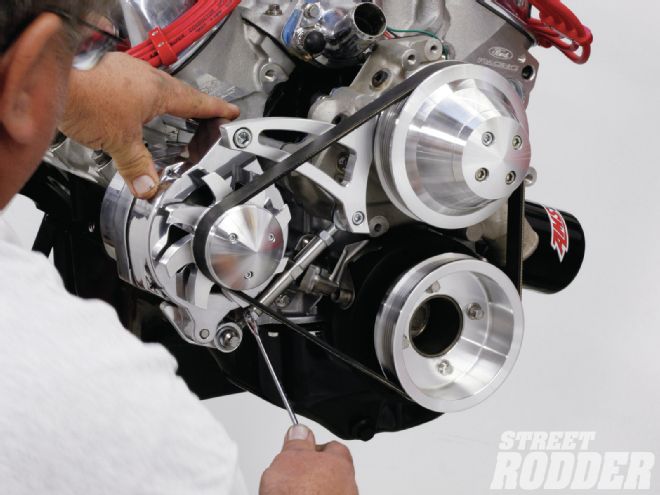 To complete the engine package, we installed a March serpentine front accessory drive (PN 30170) that is not only very clean, but also extremely functional. Belt tension is adjusted with the included turnbuckle.
In all the years of working with aftermarket parts, I have to say that EZ-EFI is one of the few parts that truly lives up to its name. After a few simple electrical and fuel connections, we were programmed and running in less than three minutes. Here is the step-by-step view of the EZ-EFI setup.
Electronic timing curves
Because the EZ-EFI does not control ignition timing, we used an MSD E-Curve distributor. This is a stand-alone distributor that substitutes an electronic ignition curve for the old mechanical and vacuum advance mechanisms of previous designs. This is a stand-alone distributor, which means it also incorporates its own built-in ignition amplifier. Vacuum advance is handled by a built-in manifold absolute pressure (MAP) sensor located on the actual circuit board inside the distributor. This makes for a very compact and clean installation since you now don’t need a large external ignition box. One of the cool things about this distributor is that you can do all your initial setup on the workbench rather than bent over the fender. The following captions will outline the setup procedure for the ignition.
EFI gas tank
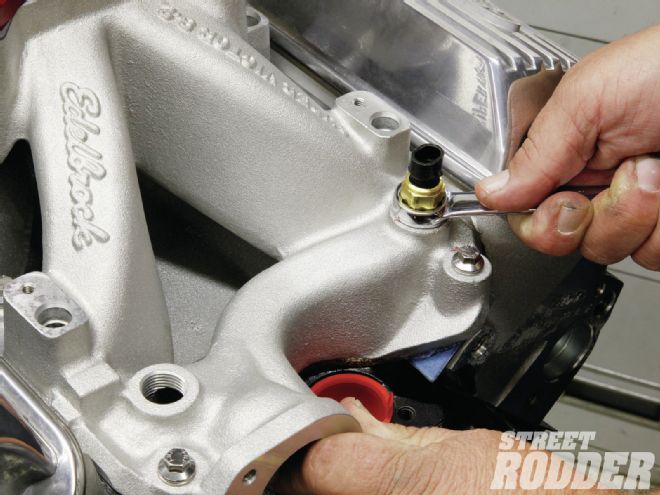 Installing the coolant sensor requires a little dab of thread sealer and a gentle touch to produce a leak-free connection.
One of the important “aha!” moments when converting any engine to EFI is to see if your fuel delivery needs a return line to the gas tank. Some systems (most notable the GM LS from 2000 forward) often utilize what’s called a “dead head” system, meaning that a return line from the fuel rails back to the tank isn’t required.
Our system does require a return line and knowing this we ordered a gas tank from Tanks Inc. It’s a universal tank that we will have Frank “the Riveter” Wallic make an aluminum trunk for that will encase the tank, giving it protection as well as giving the appearance of a storage trunk in the bed rather than an exposed gas tank.
The space we had to work with allowed us to use the Tanks U3-GP, which is a universal steel alloy (galvanneal steel and primered) tank measuring 11-1/2x11-1/2x34 inches. It has a 16-gallon capacity, which is ideal for our small-block Ford V-8. The tank is fully baffled, has a 3/8-inch ID internal pick-up tube, rollover vent valve (very important!), and appropriate mounting brackets.
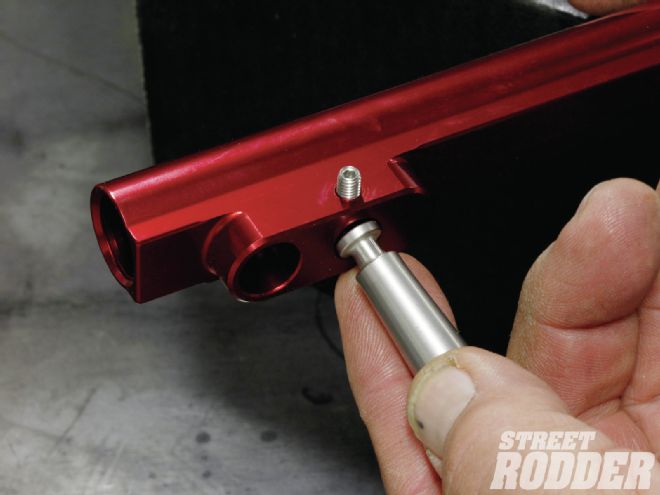 This photo shows how the aluminum fuel rail stands are located in the fuel rail. These are retained by two opposing set screws in the fuel rail. Install the stands in the intake manifold first and then attach the fuel rails to the four corner stands.
The tank also features a bolt-on neck with a billet cap and accompanying O-ring seal and will accept all of the popular aftermarket sending units.
Fuel pump
The gas tank is of little value unless you have a fuel pump. Submersible pumps have proven themselves to be reliable, perform well, and are quiet! To go along with our Tanks tank we also picked up a submersible fuel pump from them. It’s a GPA-4 that’s made here in the States and features an in-tank harness, a heavy 10-gauge, no-warp mounting plate (yellow-zinc plated to prevent corrosion), oven brazed fittings, and will handle 40-100 psi. The internal wiring harness, supply line, return line, filter sock, and insulator sleeve are included.
The fuel requirement for our Ford V-8, according to Ed Taylor at Duttweiler Performance, tells us the FAST EZ-EFI is set to run at 43 psi. We selected a pump capable of supporting 600 hp, even though our max is just below 400. According to Taylor, “This way the pump isn’t running at or near maximum output but rather ‘relaxed’ during normal operation mode.”
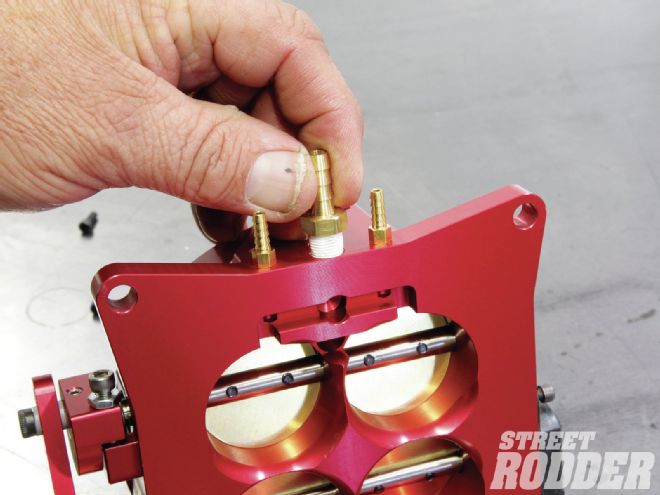 Next we installed the vacuum fittings in the back of the throttle body. The two left connections are for un-ported vacuum while the far right is ported intended for the distributor’s vacuum advance.
The GPA-4 fuel pump (Walbro) works well with the factory-installed reservoir trays. The tray is an absolute necessity for fuel-injection in order to prevent fuel starvation when accelerating and cornering.