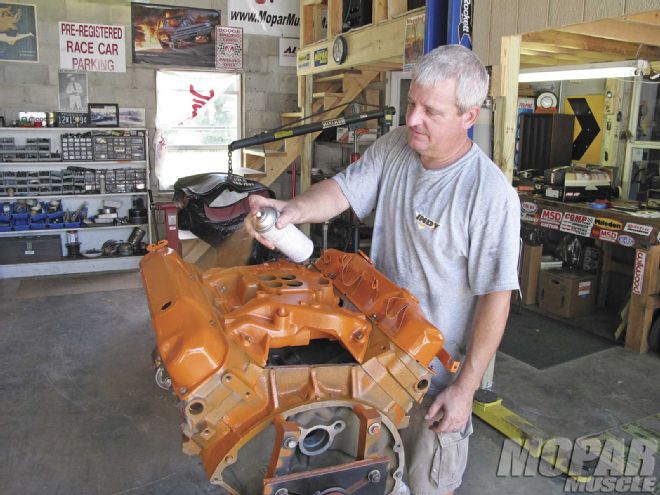
We've said it before: one of the most neglected areas during a car restoration is often the engine and engine bay of the vehicle. There are countless Mopars that would be show winners, and featured here in the pages of Mopar Muscle, if only the engine and engine bay were properly restored. By properly restored, we mean clean, painted, presentable, and matching the theme of the car. If the car is a stock restoration, the engine should be painted like it was from the factory. If the car is modified, modifications to the engine and engine bay are certainly acceptable as well. This month we'll show you how to restore your engine's appearance to factory specs, and also show you some tips to make the engine bay look better than it was when the car was new.
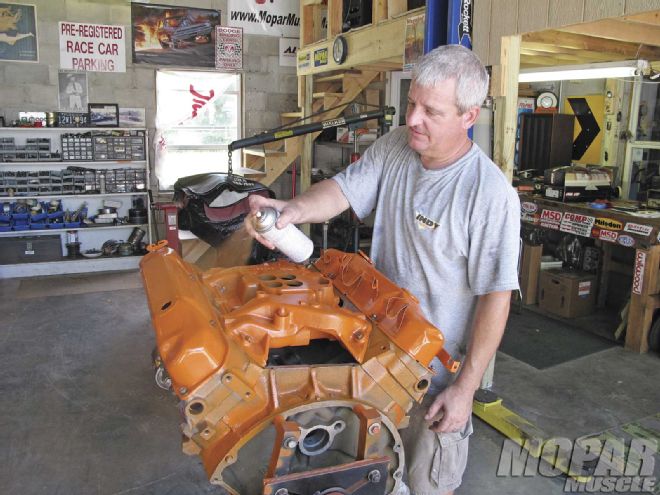 The factory methods for making the engine in your Mopar aesthetically appealing were pretty crude. This month we'll show you how they did it, and how you might be able to make your engine and engine bay look better than new.
When our Mopars were built, they were constructed by regular people working shifts on an assembly line in one of the many Chrysler factories. The automotive industry was in a growth period during the late '60s, so all of the factories were hiring new employees on a regular basis. Like most auto manufacturers, Chrysler would put new employees in entry-level positions, and they would work their way toward more challenging jobs and better pay. For painters, entry level meant painting the engine bay of the vehicle, and perhaps the inside of the trunk and inner body. For this reason, the engine bays of the majority of Mopars we've seen have at least one flaw, and often many, right from the factory.
The same goes for the engine of your Mopar. After being built at the Mound Road Engine Plant (or Chrysler's Marine & Industrial engine plant in the case of 426 Hemis), it was painted the appropriate color with a spray gun just like the car, and the guy painting it may have never painted anything before in his life. He quite likely just got the job at the engine plant and was doing his time painting engines and waiting to be promoted. Knowing this explains the vast discrepancies we've seen in the way factory engines were painted. In some cases, nearly the entire negative battery cable was the color of the engine; in others, just the end of the cable. Some engines got soaked in paint, causing runs, and others just got a light coat, leaving bare cast iron exposed. It simply depended on the painter's attention to detail, or lack thereof.
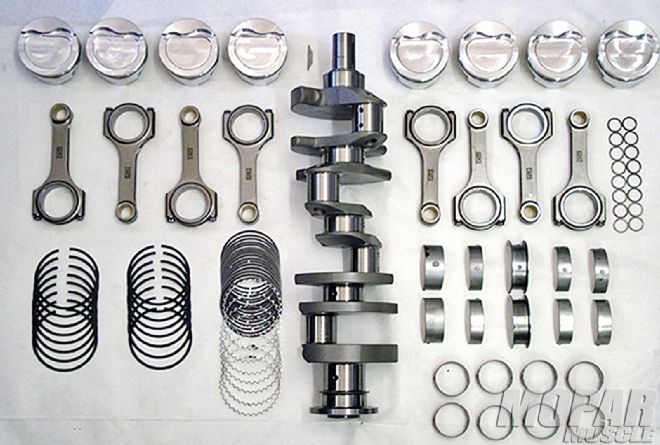 Chances are you spent a lot of money on the parts and machine work necessary to make the inside of your engine perform properly, so don't you want it to look its best as well?
So, if you want to restore the engine and engine bay of your Mopar back to the way it was from the factory, you need to decide whether to document all of the defects and reproduce them, or to do it better than the factory did. For uniquely-optioned Mopars, or cars attempting to achieve OE Gold status, reproducing the engine and engine bay the way it came from the factory is generally considered the appropriate method of restoration, but for most of our mass-produced Mopars, spending a little extra time using modern products and restoration techniques can have your engine and engine bay looking far better than when it rolled off Chrysler's assembly line.
When we build the engine for our Mopar, most of us take advantage of modern lightweight components inside, and modern gasket and seal technology to keep the engine dry and leak-free. Technology has come a long way in the past four decades, and it's generally accepted that even a stock restoration isn't necessarily required to remain stock internally. And although a little bigger cam, lighter forged pistons, and roller rocker arms can't be seen without some disassembly, items like gaskets can, so if you want a factory look, the visible gaskets should be of the appropriate material, like cork for the valve covers and oil pan. If you're not keeping your car completely factory, however, we suggest that you take advantage of modern rubber and coated gasket technology, as the performance will be much better.
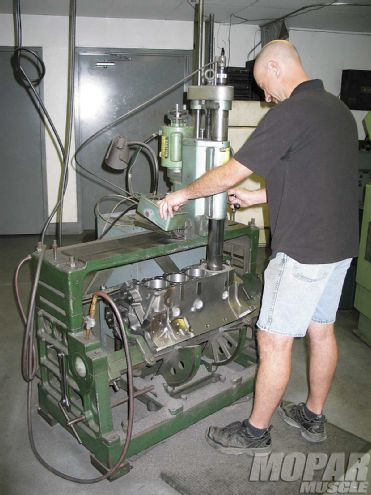 This month, we'll show you some tricks to make your engine look its best.
And what about the area of the engine bay where the engine sits? As the engine bay is basically a display case to show off the engine, it's extremely important for the engine compartment to be restored properly so that the engine will look its best. Again, if duplicating a factory job, you would want to paint it in single-stage paint and reproduce all of the defects, such as runs and thin or discolored paint, to give it the average look of a car built in the '60s or '70s. Since we rarely leave our cars stock, we generally agree that painting the engine bay along with the rest of the car in modern base/clear, two-stage paint is the way to go. Clear-coated paint will last longer, resist fading, and be more tolerant to oil and other fluids related to the engine and engine bay. Taking steps like masking off the K-member and giving it a coat of black paint, and painting or coating all the components in the engine bay their appropriate colors, will also make your engine bay look better than new.
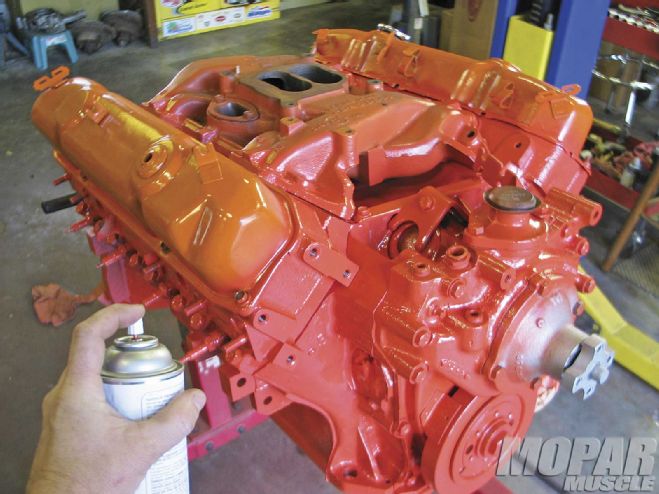 Even if you'll be using an aftermarket intake manifold, distributor, and valve covers, having a clean extra set of stock components can really save time. We bolted on a set of stock valve covers, water pump housing, and intake on this engine so we wouldn't have to tape those areas off for paint. Don't have an old distributor around? A rubber body plug from your Mopar's floor will also plug this hole.
When it comes to the details of the engine's appearance, a lot still depends on the intent of the car. An owner performing a completely stock restoration on a rare numbers-matching car would likely choose to paint the engine after it was built, with the exhaust manifolds, spark plugs, water outlet, and even the negative battery cable attached, and getting a certain amount of paint and overspray in the process. But for the average hot-rodder, especially the perfectionist, the poor appearance that this method produces simply won't do. For most engines, we recommend painting the individual parts when they come back from the machine shop initially, because the parts should be clean and oil-free at this time. Additionally, since most of us will use aftermarket intakes, valve covers, and even cylinder heads on our engines, painting the parts that need paint individually will give the engine crisper lines and a professional appearance. And even if you plan to use factory components on your engine, painting them before assembly, then painting the entire engine once assembled assures that the engine will remain looking good, even if the top coat gets a chip or scratch, as the same color will be underneath.
Another trick we like to employ, especially if we're using aftermarket components like aluminum cylinder heads, valve covers, or an oil pan that won't be painted, is to have an extra set of valve covers, oil pan, fuel pump (or pump block-off), intake, and even cylinder heads that are clean but won't be used. This allows us to pre-assemble the engine with our extra parts, using them to keep paint from reaching the areas we don't want painted, like the intake valley or the block's deck. So, if you ever take an engine apart and won't be using these pieces, have your local machine shop run them through the hot tank. Then, you can use them repeatedly any time you rebuild a similar type engine, saving time and effort when it comes time to paint the engine.
So, now the million-dollar question . . . what color? Again, that largely depends on the intent of the restoration, as well as the tastes of the owner. If you're building the car like the factory did, there are countless resources, both online and in print, to tell you what color the engine in your car was originally. Most factory engine paint colors are available in spray can form from companies like Summit Racing. Chrysler used many colors including turquoise, several oranges, red, and blue over the years, and sometimes multiple engine colors in a single year, so if your car is a factory restoration, be sure you do your research and use the correct color. If your car is not a factory restoration, then the sky is the limit. You can use any color you'd like on your engine, although we do prefer seeing the engine in its factory hue if possible. An exception, of course, is if the factory engine color would clash with the car's paint, or if you installed a high-performance engine in the vehicle that would have been a different color than the stock low-performance engine. One of our favorite Mopar engine colors is Race Hemi Orange because it's a subtle color that looks vastly different from the oranges of off-brand vehicles.
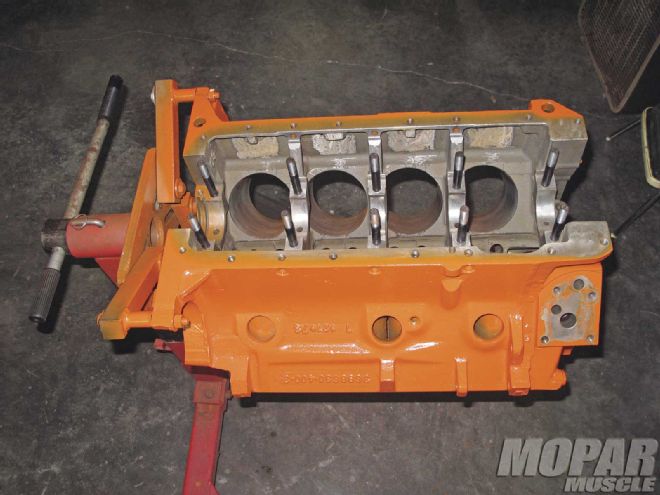 If you use our method of pre-assembling the engine for paint, the next step is to disassemble the engine and clean the parts that will be used for the build.
What if you're not planning a complete restoration at this time? There are still plenty of ways to make the engine and engine bay look better. By simply cleaning the engine bay and repainting highly visible items like the air cleaner and valve covers, you can make your car look much more presentable. So remember, don't neglect the engine or engine bay during a restoration, and you won't be afraid to open the hood the next time you're at the track, a car show, or cruise night.