
Street Fighter
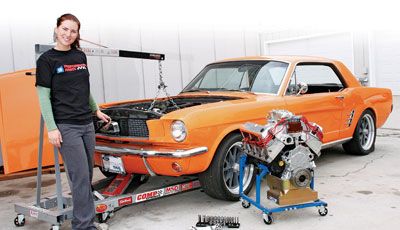
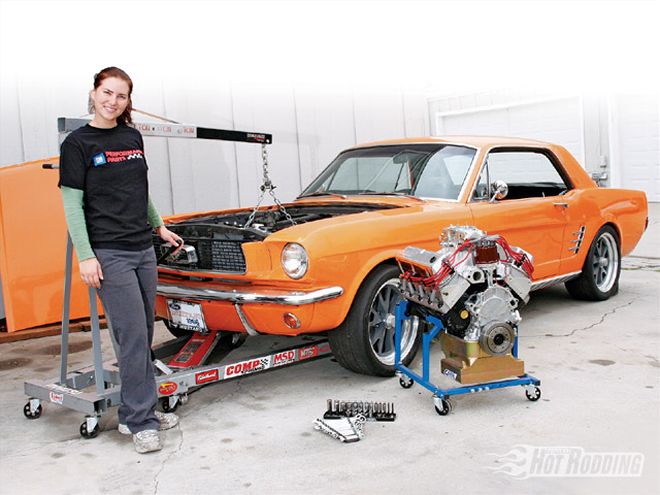
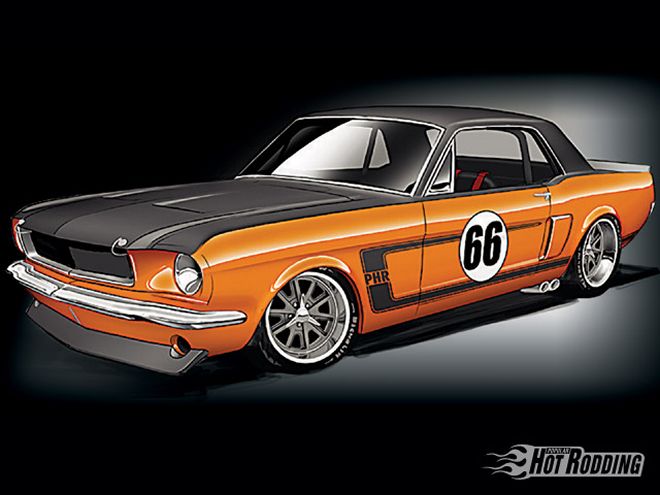
The straight-six toy power plant that came in our '66 Mustang wasn't going to cut it. So far, project Street Fighter has undergone major surgery, replacing all of the stock suspension components with top-of-the-line tubular ones from Total Control Products. These pieces will give the car the adjustability and strength to really compete in the autocross and road racing arenas. We have big plans for this Trans Am-inspired pony that can't be executed without major changes to the current drivetrain. We're covered out back with the Currie-built Ford 9-inch using Chassiswork's Fab9 housing. Now the front needs some attention. We've got a Smeding-built 427 Windsor with over 550 hp ready to drop in, but not before the engine bay gets some attention.

Aesthetics aren't the most important thing when you're building a car intended for the track. Here at PHR, we're interested in both aspects of cars: their purpose and their presentation. With that in mind, we realized that it will never be easier to clean up the engine bay then when we're between engines, so we wanted to take advantage of that.
Over the last 40 years, the inner sheetmetal has seen battery acid, mud, sand, and most recently, rusty coolant. It was looking pretty shabby, and a beautiful new engine would look out of place unless we did something about it. The first step was to yank the original 200-inch six-cylinder and the attached C-4 automatic transmission. With that junk out of the way, we could get into thenooks and crannies of the engine bay. We're not looking for an acid-dipped show-car finish, but something a lot cleaner than what we started with.
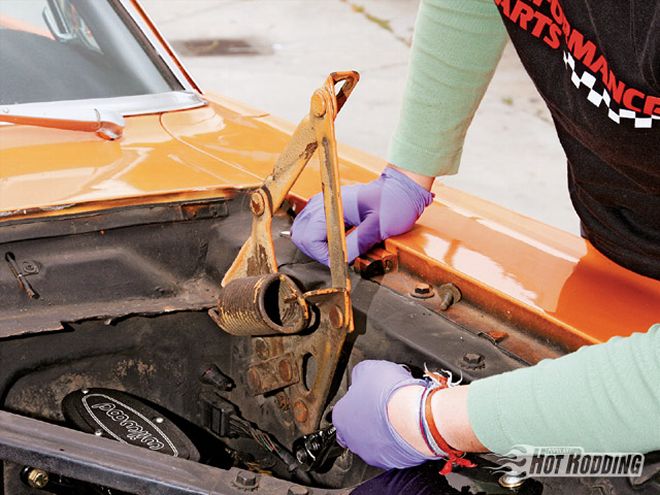
 Step one is to remove the hood and get the hinges out of the way. We needed to clear the engine bay of anything that could be easily removed, including the radiator, overflow, wiring, and Monte Carlo bars. Also, we removed everything attaching the engine to the car, such as fuel line, shifter, wiring, speedo cable, and engine mount bolts.
To start, we needed to get all of the heavy grime off. We spent a couple hours scrubbing and de-greasing the inner fenders, firewall, and framerails. It's a laborious job, so be prepared to spend some time on this step. Without a clean surface, nothing else you do will turn out nice. The inner fenders looked as if they had been shot at with a machine gun. There were at least a dozen unnecessary holes drilled on each side. Instead of leaving them how it was, we wanted to weld them up to give the panel a cleaner look. Our apartment-friendly 110-volt Lincoln MIG welder did that job beautifully. With the holes welded and ground down, we could start the painting process.
Rather than just spray bomb everything, it's important to mask off what you don't want painted. A little extra time in this step can save you work during cleanup. We used three different paints made by Dupli-Color and VHT to give the inner sheetmetal a new, clean look in preparation to swap the big, bad Windsor
The steps we took to clean up the engine bay can be applied to almost any part of the car. The truck, floor, and wheelwells can benefit from a good clean and re-spray. The supplies are cheap, and your labor is free, so spend a day on cleanup-you'll be glad you did.
Welding Up Excess Holes
Our engine bay, especially the inner fenders, had a ton of unnecessary holes drilled from the factory. Since we're trying to give the engine bay a clean look, we opted to weld them all up, only leaving the ones we knew we'd use again.