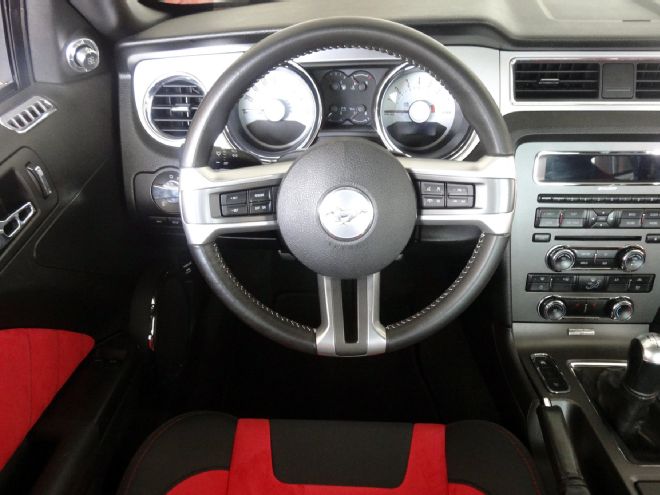
Our 2011 Coyote is still humming away with plenty of power and Kenny Brown handling poise, so this time around we are choosing to leave our mildly boosted 5.0L Camaro-eater alone with its 592 rwhp. Not that we are taking it for granted, but after 20 years of changing head gaskets every other week and tuning our FMUs just to make 400 hp, we are going to lean back and enjoy what we have under the hood in this installment and make some nice aesthetic upgrades.
BYOB’s Race Red paint and complementary black wheels and trim from American Muscle make things really pop. But when it came to adding bling to our ride to set it apart, we thought there were a few areas of opportunity. We decided to add billet dress-up accessories from the most recognized name in this area, UPR.
Our friends at UPR are quite an interesting group. Aside from making serious chromoly race suspension and hard parts, they also balance their product portfolio with billet aluminum dress-up items that can radically transform the rather mundane engine compartments and interiors of our Mustangs into show-stopping arenas for all to envy. Having started their line of billet interior items when SN95 Mustangs were still new, they logically moved into S197s and, more recently, into the 2011-up Coyote/3.7 market.
UPR designs and manufacturers its own pieces here in the U.S. and provides several choices for shape and finish. Want an ovoid look for your Fox with raw billet? No problem. How about a rounded look in a mirrorlike polished finish? You got it. Thankfully, there are many ways to get your Mustang the way you want it to look. We went with the polished aluminum since we are a sucker for gleaming metal bits. Since there are so many choices to consider, we recommend going to UPR’s website to see all the details.
Installation of nearly all of UPR’s parts requires little to no expertise. We picked up the engine compartment kit (Stage 2.2, PN 5000-24, $449.99) and grabbed several awesome pieces for the interior. This included trim rings around the radio and climate controls, door lock buttons, seat recliner handles, and seat controls. The one thing that requires a bit more expertise was installing the billet interior door handles. To remove the handles, you’ll need to remove the door panels and negotiate some mechanicals, so if you’re not very delicate with trim items and such, let a professional install them. Otherwise, most of the items easily stick or slip on and the results are simply stunning. Follow along as we have some fun with our beastly BYOB.
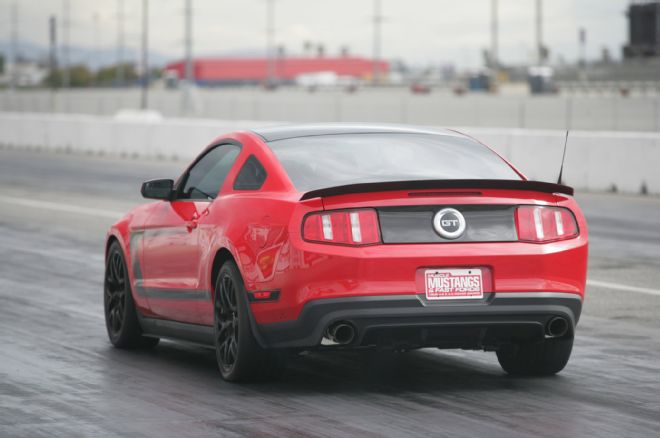
1. BYOB has been killing it on the street and the strip. This time around we talk about the flash that goes with the dash, with billet dress-up items from UPR.
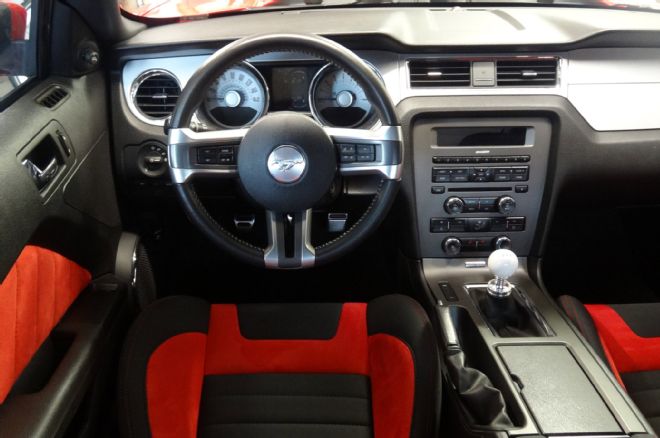
2. We have TMI to thank for the awesome upholstery work in the car, but the factory dash has been lackluster at best. Yeah, there is some shiny silver throughout the interior thanks to Ford, but we really need some bling to this masheen!
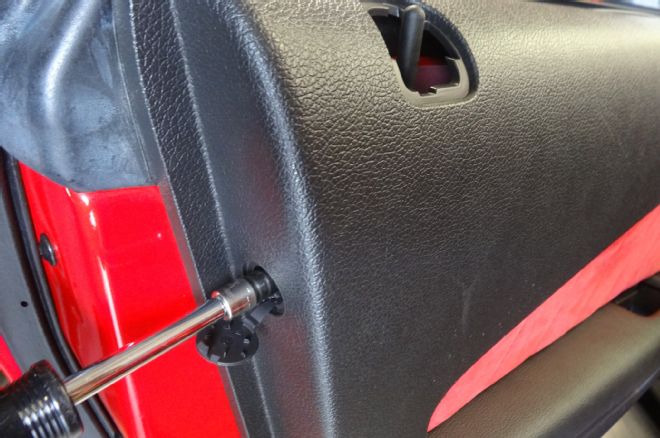
3. UPR offers a bunch of cool billet accessories. We decided to go for the whole catalog of polished aluminum bits, including the interior door handles. This requires pulling the door panels off. After removing the two decorative caps at the rear of the door panel, we removed the two screws with a 7mm socket.
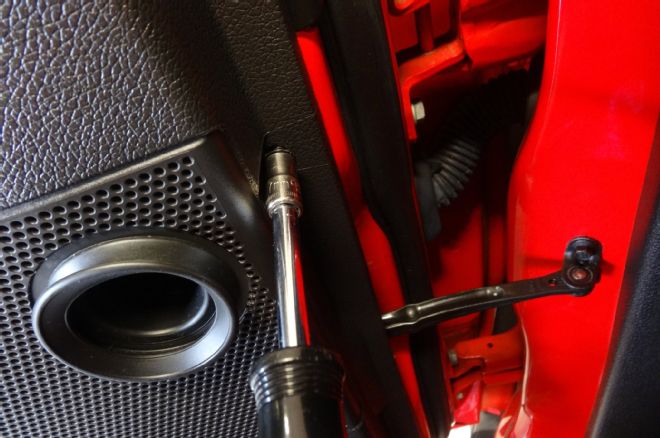
4. At the front of the door panel are a few screws hidden from view; they also come off with a 7mm socket.
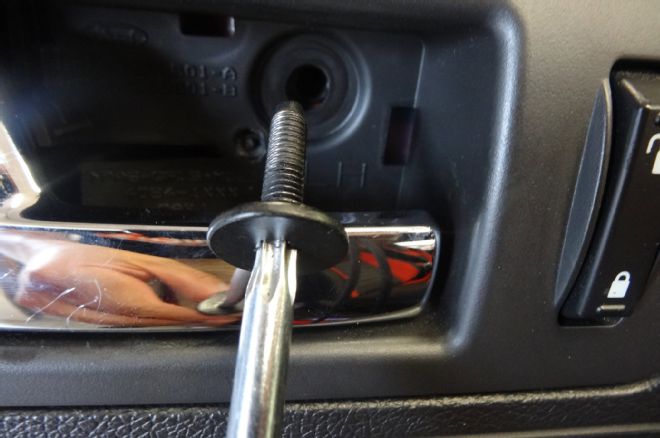
5. Behind the interior door handle, a black plastic trim piece needs to be carefully pried off. With it removed, you can then remove the bolt with a T25 driver.
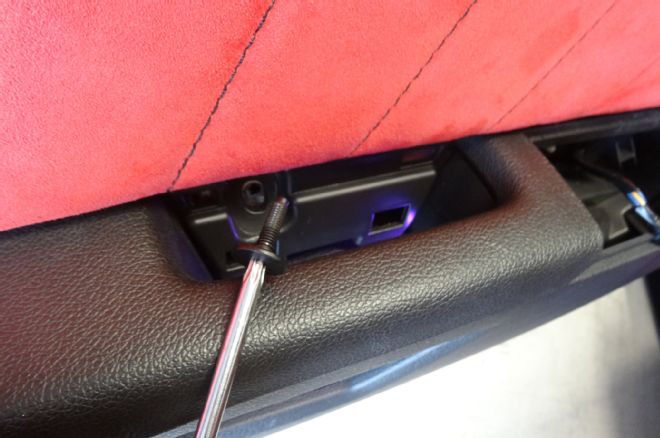
6. Behind the armrest’s hand slot is a cover you need to pry off carefully to access another T25 bolt, which needs to come off as well. With all the bolts removed and the corner mirror cover cap taken off, pull the door cover off and lift it up and out of place.
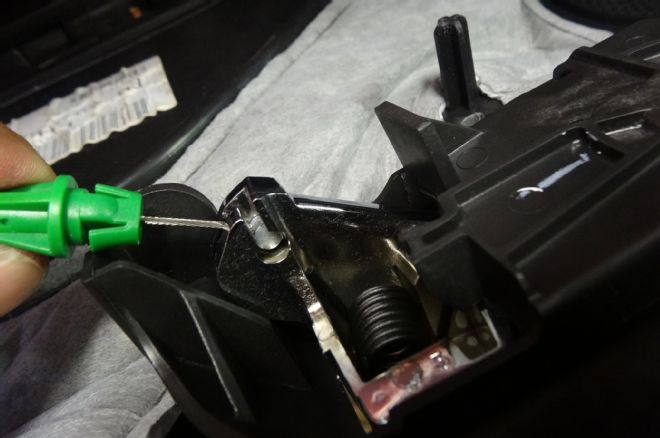
7. From behind the door panel, unclip the green cable sheath lug and remove the cable end from the door handle.
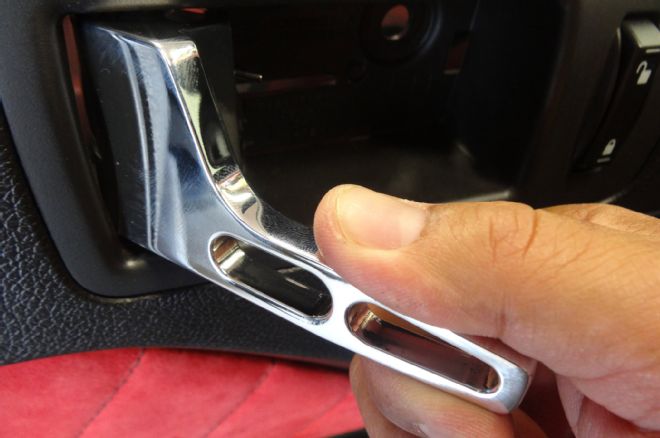
8. Insert the new door handle by pushing straight in. There is plenty of leftover grease from the factory installation to lubricate the new UPR piece sufficiently. Reattach the release cable and you’re all set.
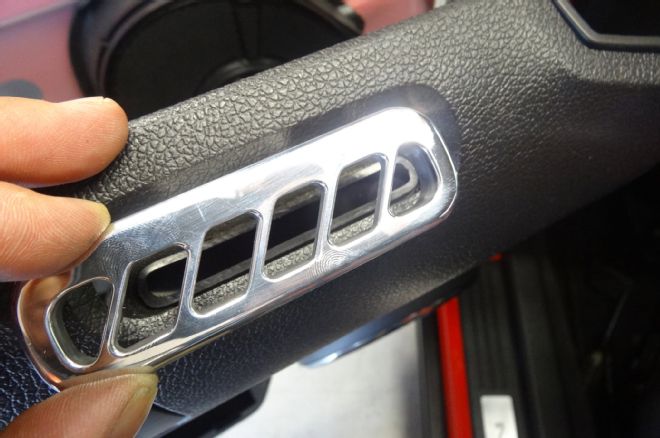
9. The billet aluminum UPR door window vent replaces the factory piece perfectly by snapping right into place.
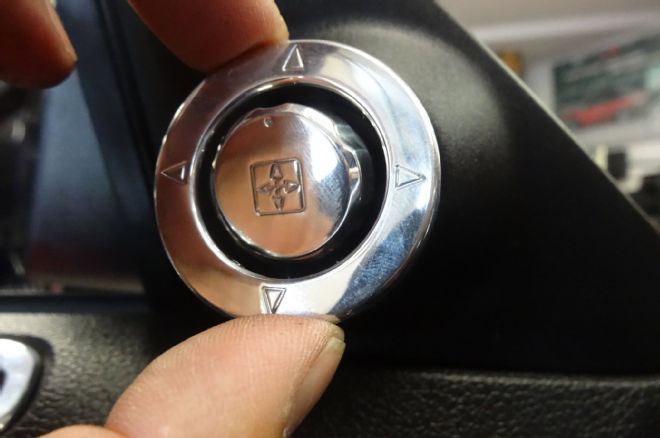
10. With the driver-side door panel back on, we then installed the mirror adjuster cap and trim ring into place. Two-sided tape is provided here, but we took extra precaution and used some silicone gasket maker to make sure it would never come off.
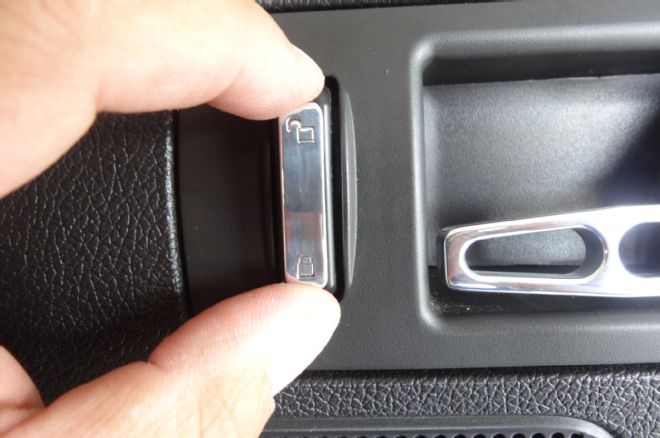
11. The door lock switch also gets a polished aluminum cover. The two-sided tape was a bit thick for us (as you could see it from the seated position), so we used clear silicone gasket maker again and glued it into place. Check it out—there is a lock and unlock logo engraved. Cool!
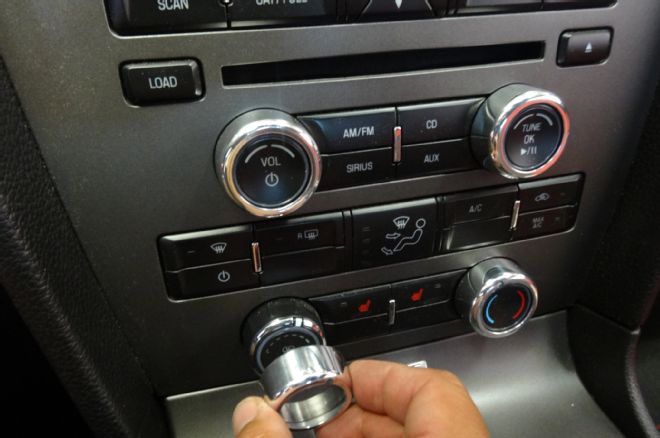
12. For the four round knobs that control radio and HVAC function, UPR’s billet covers slide tightly over the factory chrome knobs with a slight interference fit.
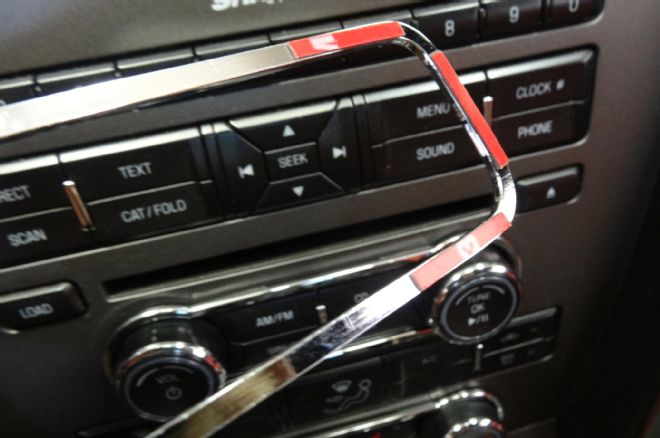
13. Next up, we installed the radio display surround trim. It simply goes into place with two-sided tape, which is already applied to the backside of this billet aluminum piece of art.
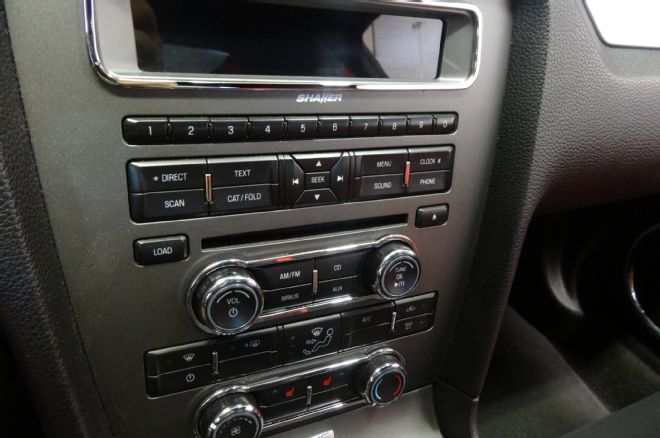
14. The billet trim rings around the radio and HVAC knobs look great. One thing to note is that you are unable to combine it with the billet knob covers, as they interfere with each other. You have to go with either the trim rings or the knob covers, but not both. We removed the knobs and stuck with the trim pieces.
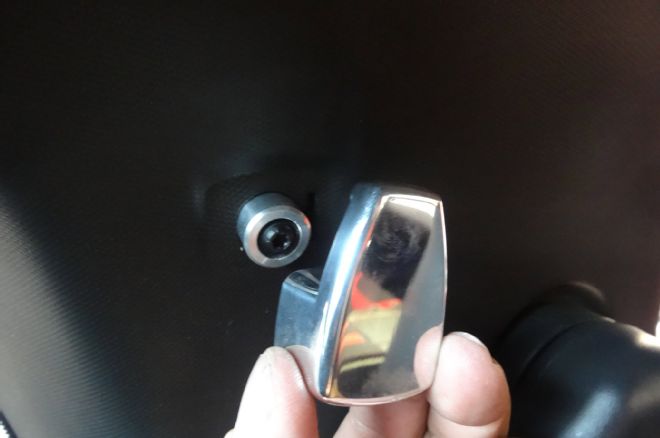
15. Out back, UPR’s billet aluminum coat hanger hooks are installed. First, the billet collar is installed, and then the hook is placed over it and held in place with a small setscrew.
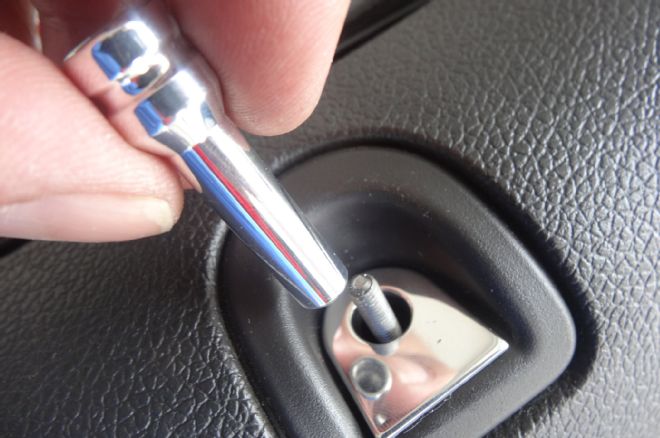
16. The factory door lock pins were replaced with fresh billet pieces that simply screw into place. Inside the cup, UPR’s polished aluminum trim is also installed.
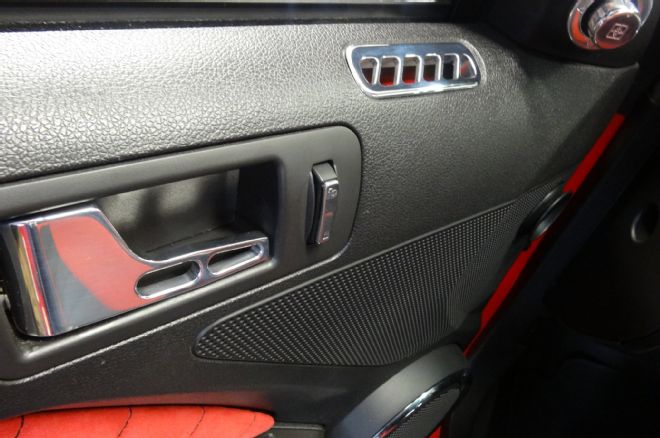
17. Check it. Billet goodness.
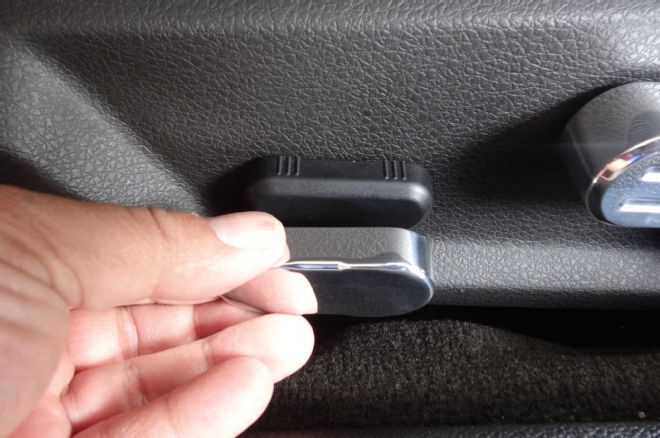
18. The seat control switches are another area that UPR decided to accentuate as well. The switch control cover simply slides into place with a slight interference fit. Again, we chose to apply some clear silicone to make sure it would never come off in the future.
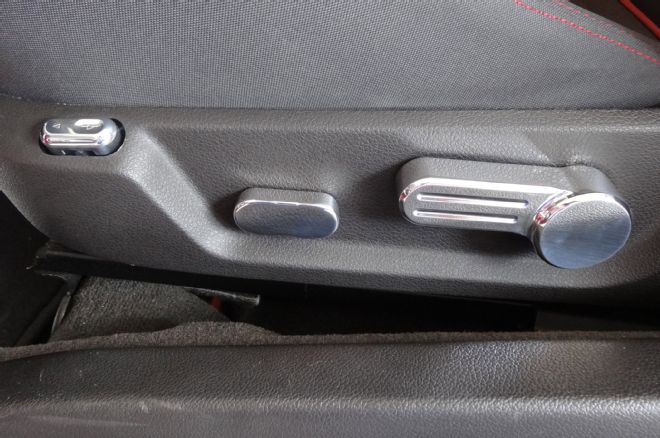
19. Aside from the seat control switch, UPR also offers covers for the recliner lever and the power lumbar adjustment knob. We added all three to BYOB and love the look. We did the same thing for the passenger side on our Premium coupe.
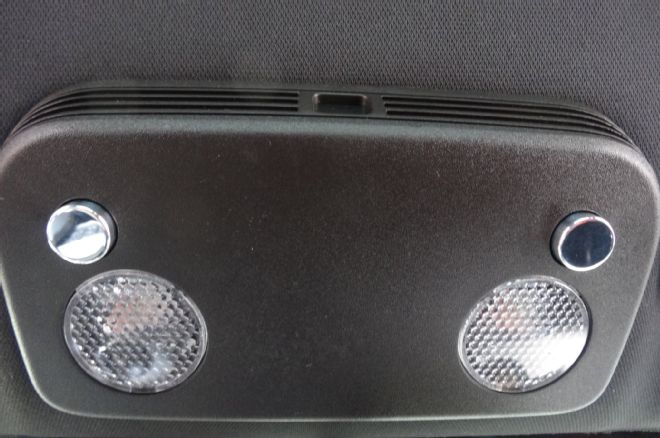
20. T map light switches also get the UPR treatment with polished billet caps. A dab of clear silicone does everything justice.
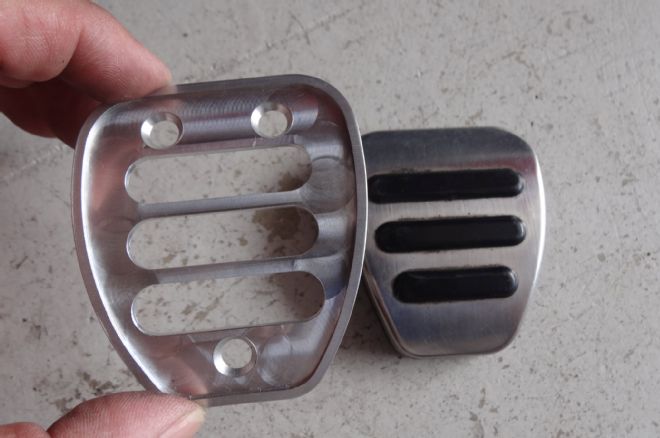
21. UPR’s billet pedal covers require drilling, but in our opinion this is the best way to get high-traction grip with your pedals. Remove your existing pedal pads to do this out of the car.
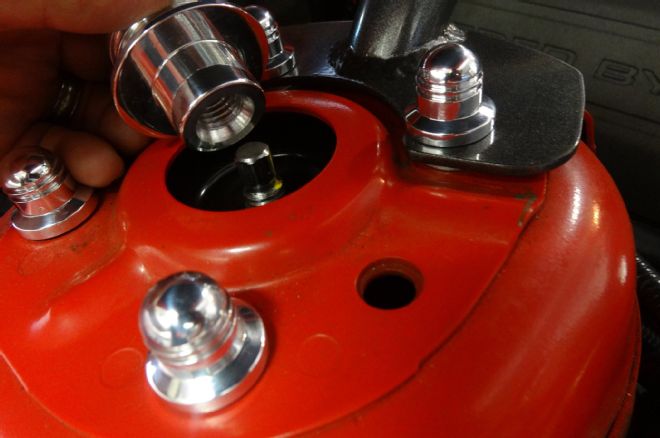
22. We moved on to the engine compartment. First, we screwed the billet caps into place over the four strut studs. Then we added the center strut stud cover and tightened with our hands. Don’t use tools here, as you would surely damage the surface of the covers.
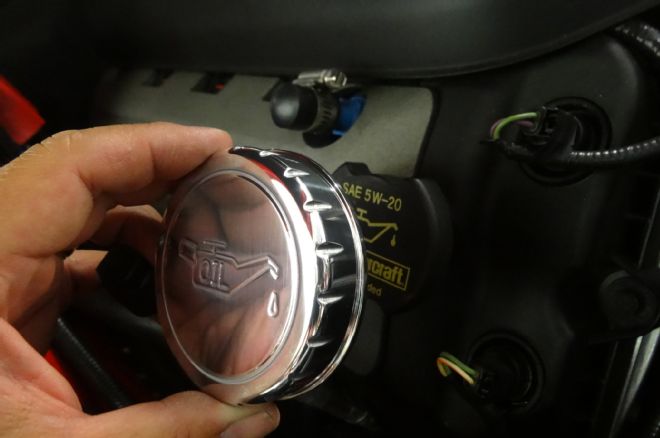
23. The factory oil cap remains and is replaced with UPR’s polished sliver of goodness. Just press into place.
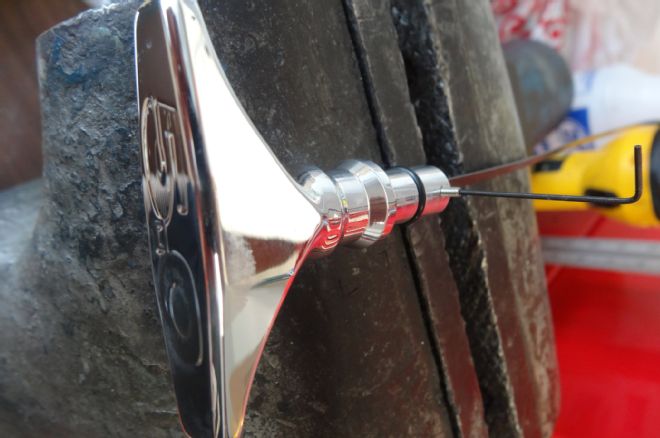
24. UPR also produces a replacement dipstick handle in billet aluminum, so you can ditch the yellow plastic piece that the factory gave you. With the included setscrew (and hex wrench), simply tighten it into place and grab a hold of machined perfection. Ours is emblazoned with the fabled 5.0 logo.
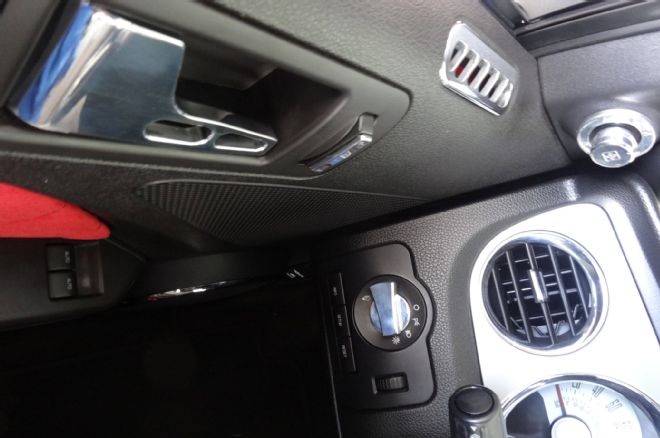
25. The master brake/clutch fluid reservoir gets the UPR treatment. The main cover goes over the reservoir, and the billet cap then snaps into place, festooning this area of the engine compartment with grace and polished looks (pun intended).
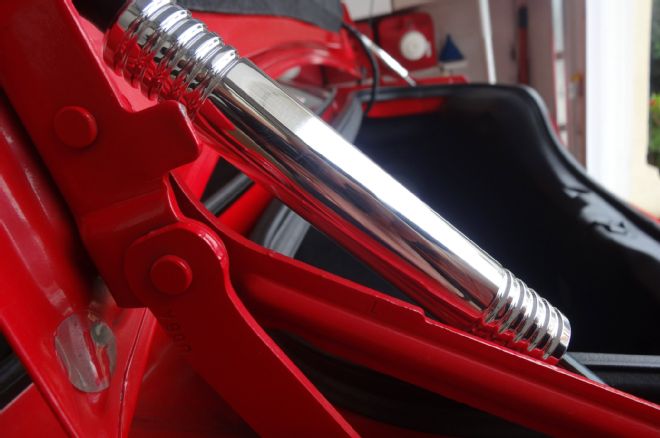
26. In back, UPR even makes these awesome trunk lid strut support covers that lock into place with a hex key. We love these things!
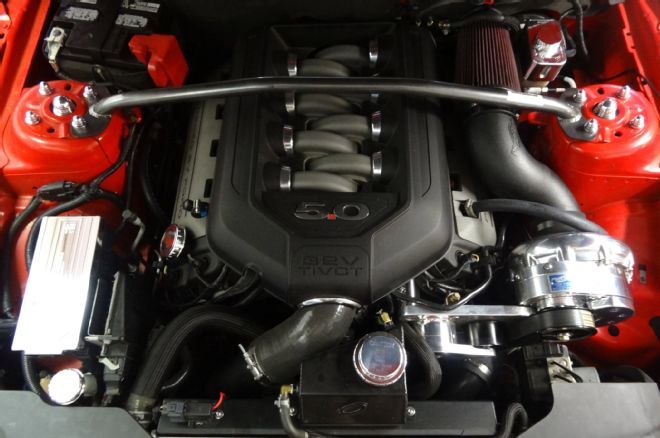
27. With UPR’s coolant reservoir cover, windshield washer fluid cap, and fuse panel cover installed, we took a look back and were amazed at how drastic the transformation was. We didn’t go for the battery cover that UPR offers because we like to look at anything that says “Ford Motorcraft” (in truth, we forgot to order it).
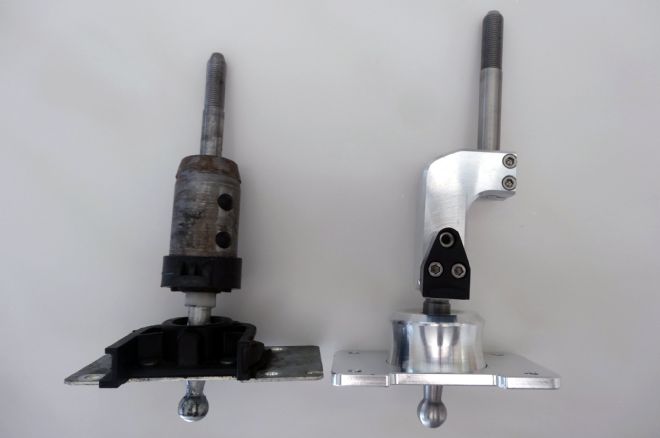
28. Lastly, we decided to test out UPR’s billet aluminum shifter. Most notable is how tall the shift lever is, but through careful engineering, it has throws that are no longer than stock because of the revised geometry in the base. The benefit of this is greater feel and shift knob location (it is set farther back by about an inch.)

29. With the door panel reinstalled and the polished billet headlight control knob in place, we were able to sit back and enjoy the view from the cockpit.
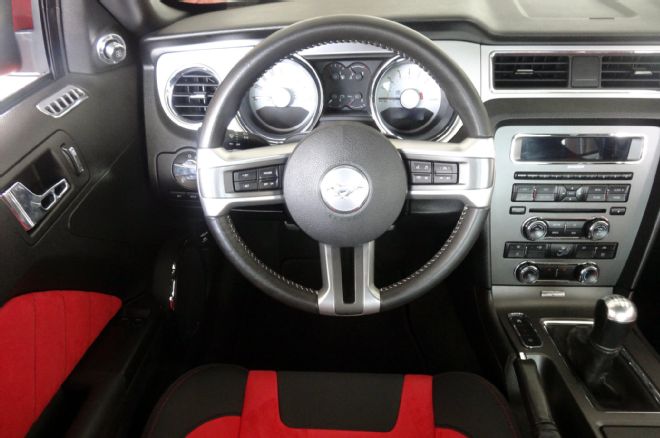
30. From the helm, UPR’s billet accessories have drastically improved the look and feel (literally) of our project car.
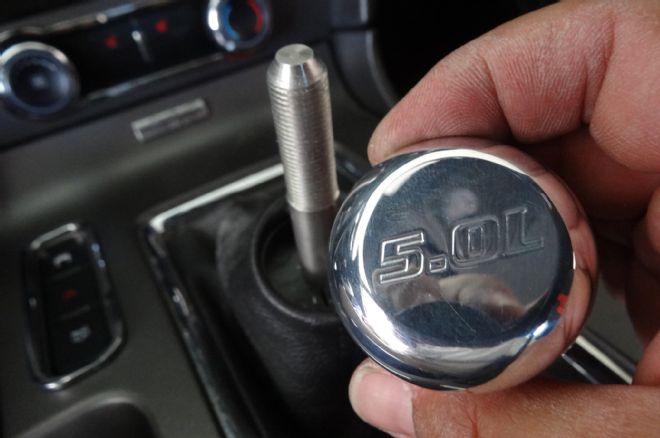
31. Aside from the stock knob, UPR’s billet shifter also accepts a line of custom shift knobs from UPR, including this piece, engraved with the 5.0L logo.
Items by UPR Used on This Installation PN Description MSRP 5000-22 Engine Dress-up Kit 2.2 $449.99 1004-15 Headlight switch knob $19.99 AMP-MU50SCPL HVAC Bezels $31.99 AMP-MU52SCPL Console switch Bezel $15.99 AMP-MU49SCPL Radio Bezel $20.99 1003-11-01 HVAC knobs $29.99 1015-13 Radio knobs $29.99 1024-05 Clothes hangers $29.99 1605-02 Polished door handles $109.99 TB-1001-02 Polished door pins $13.99 1114-04 Polished door pin bezels $14.99 1159-02 Polished door vent louvers $57.99 1157-02 Billet dome light buttons $24.99 1017-05-08 Polished door lock switches $15.99 1156-02 Rear trunk strut covers $39.99 1011-05-01 Pedal cover kit $49.99 1135-20 Polished mirror switch cover $38.99 1117-04 Polished seat recliner handles $59.99 1158-02 Polished lumbar switch covers $24.99 1148-02 Polished seat switch cover $32.49 1151-06 Polished seat release lever $39.99 1008-3-13-05 Polished tall shift knob $44.99 3002-08 Billet shifter $139.99
Catch up on the rest of Project BYOB here!
American Muscle Mods
E-Force Supercharger
Kenny Brown Suspension
Baer Brakes
Custom TMI Sport RS Seats
ProCharger Stage II
Centerforce’s Twin-Disc Clutch